Don’t forget to hashtag your own photo recreations of these waves by using #CGHDeepWaves on Instagram and Twitter… they just might be reposted by us!
* ~ * ~ * ~ * ~ *
Many of you have asked how I have achieved the waves worn in my past several videos. Well, today is the day that I teach you how to do it!
Nothing special, nothing complicated… it is actually quite easy. I use a deep V waver.
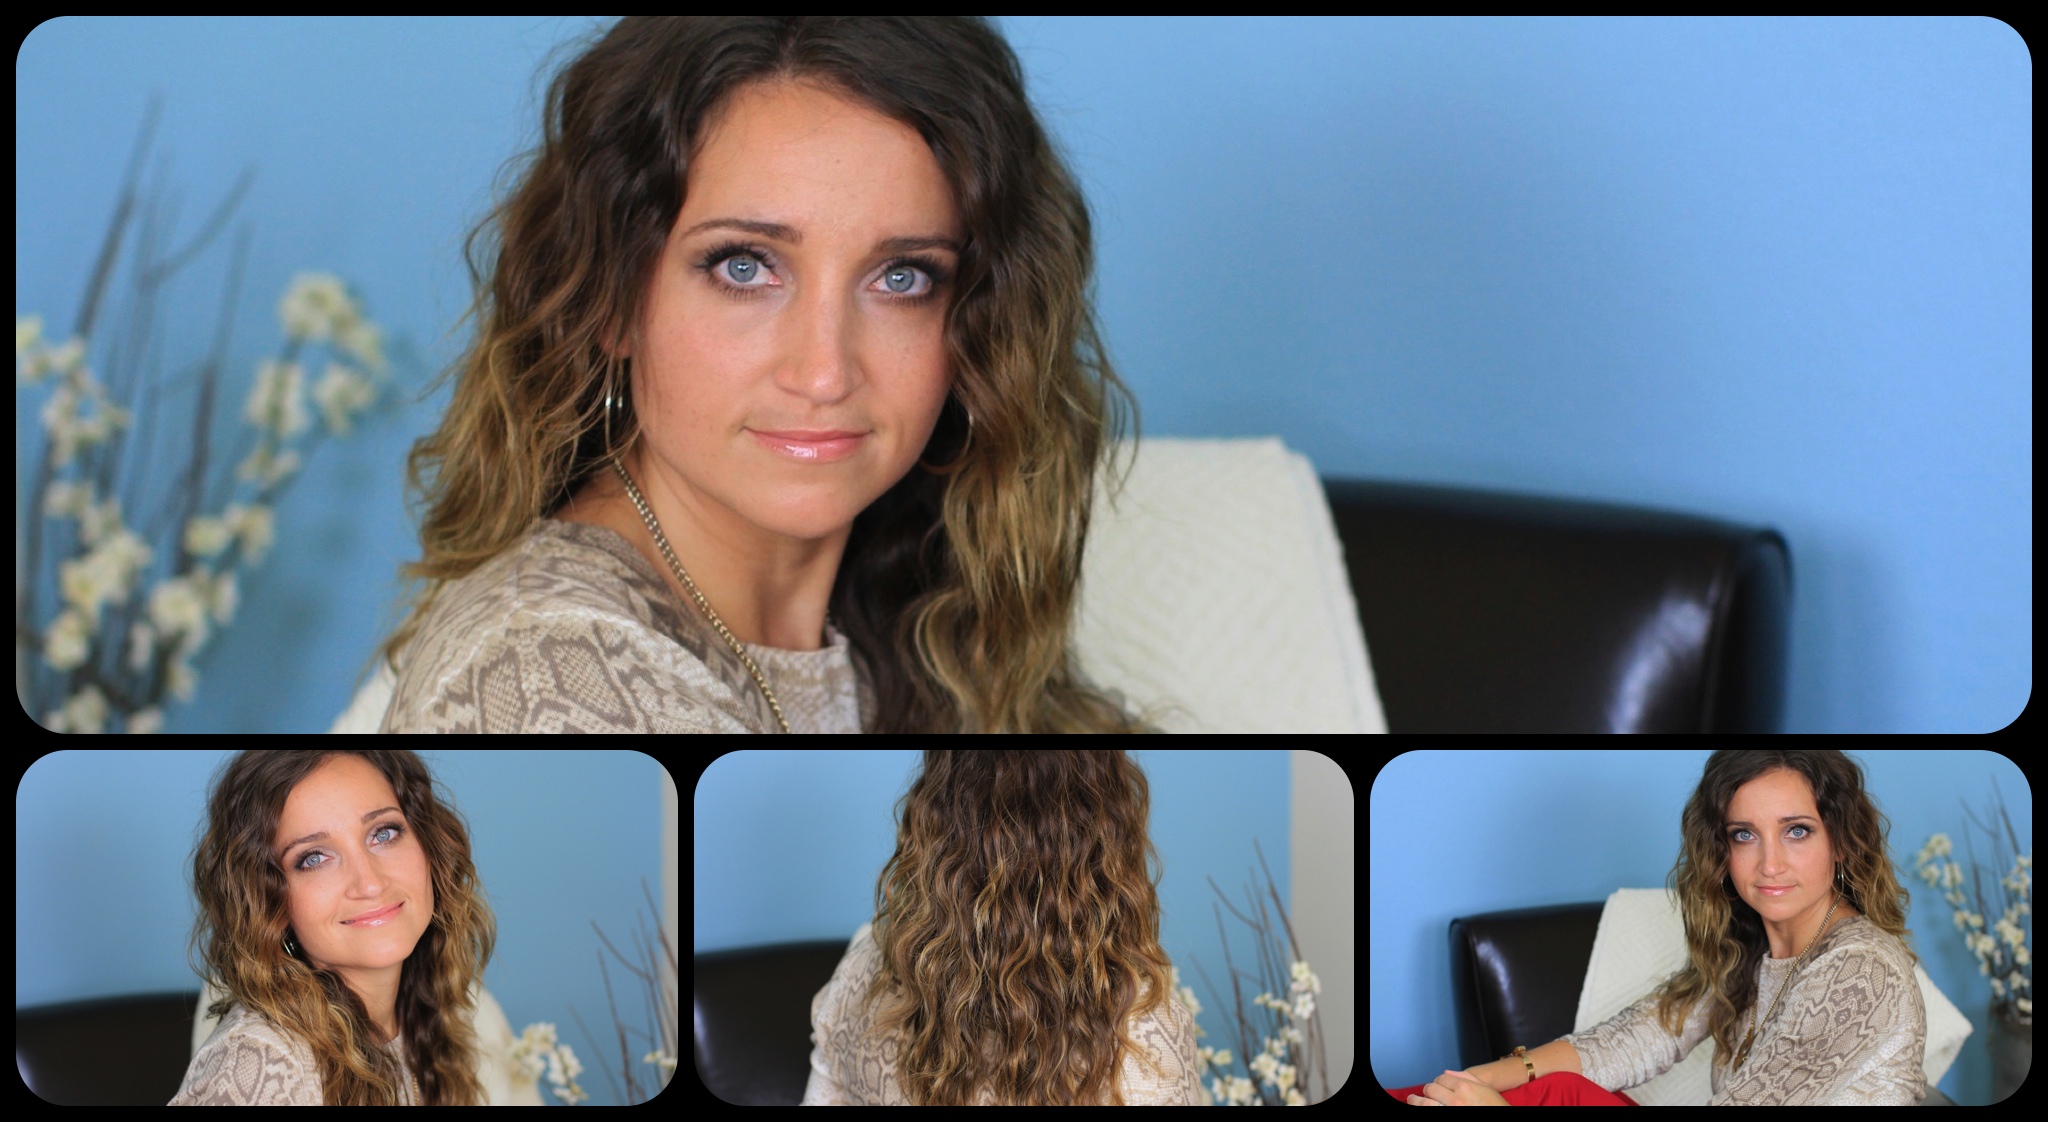 What I love about these deep waves is that it makes perfect base for a second day hairstyle. All you have to do on day 2 is re-crimp the top layer and finger comb it… and you are good to go!


 As always, it is important to remember to first spray your hair with a good heat protectant never to use too much heat. When I crimp, you will notice that I also never hold it more than 2-3 seconds. These irons get super hot, so that should be all you need.
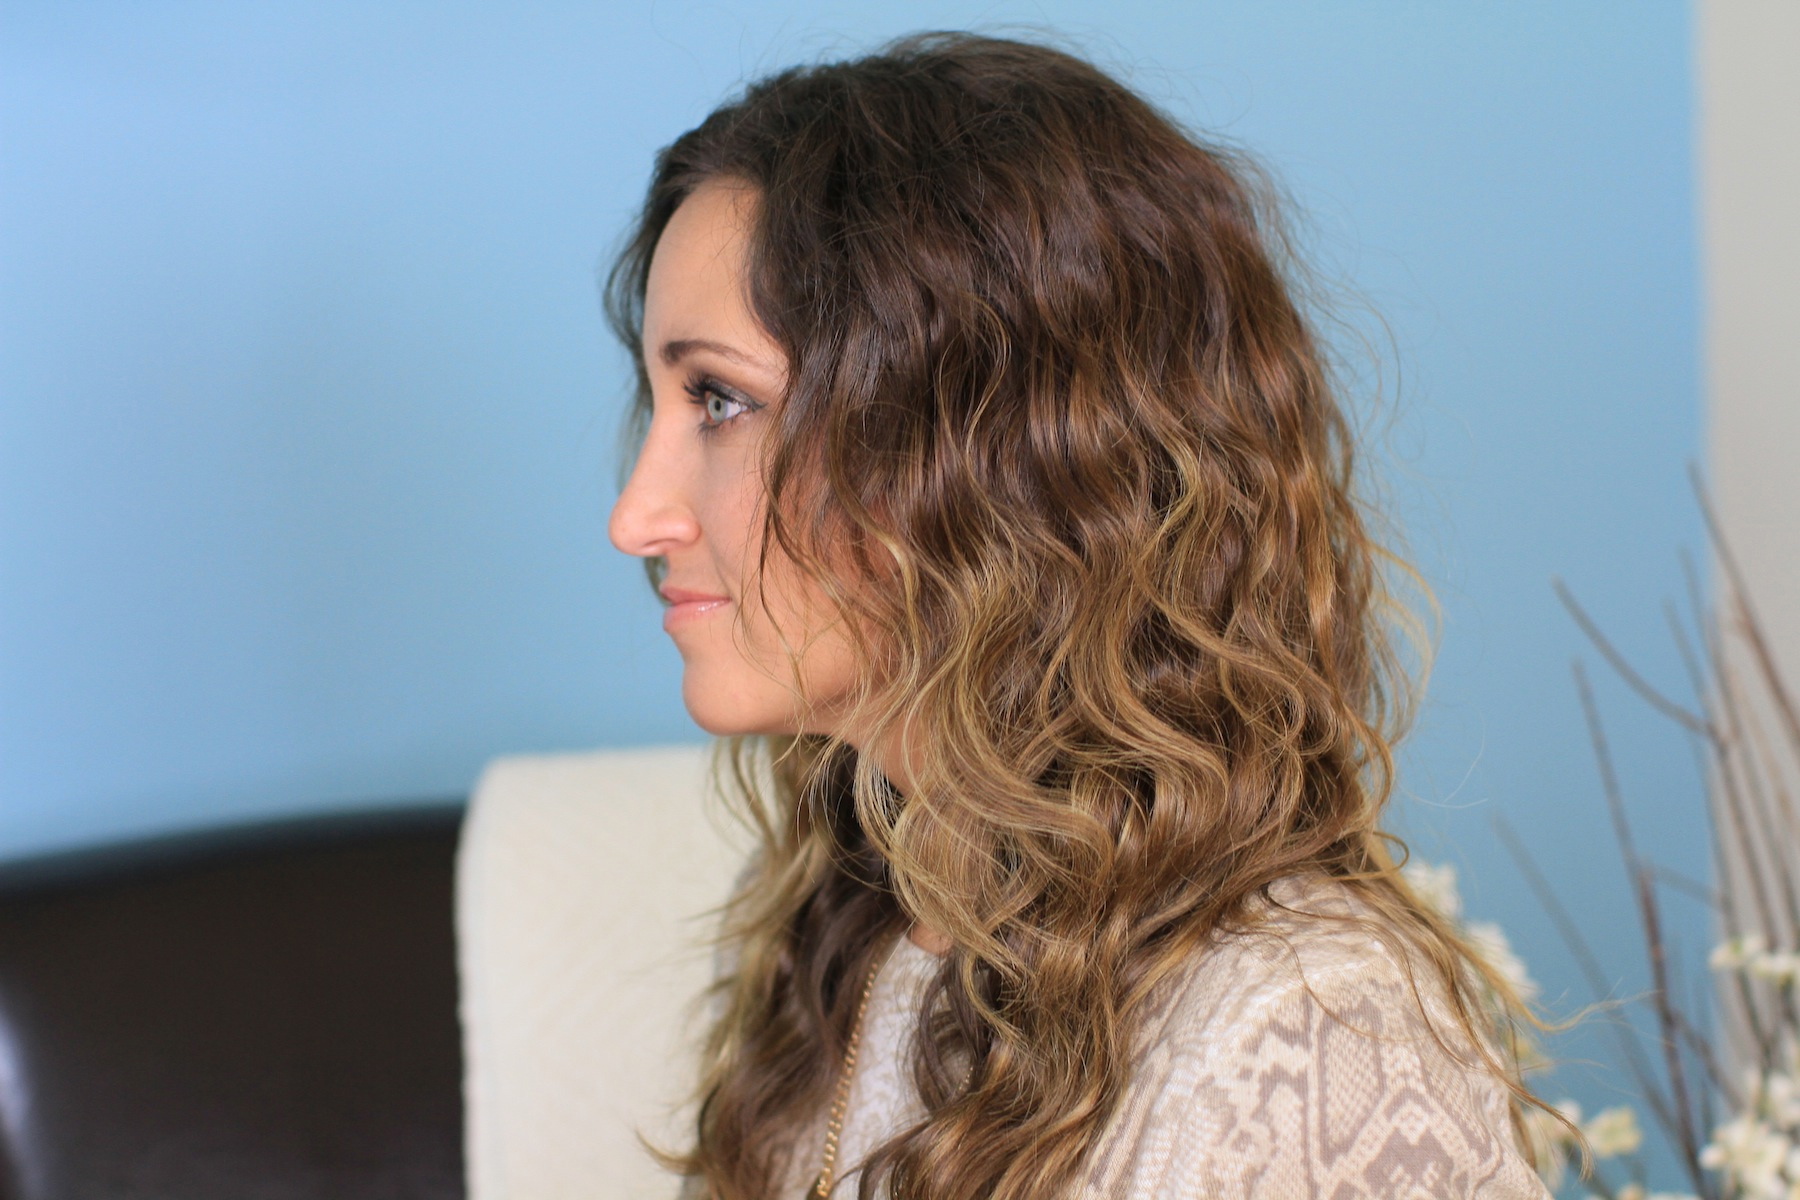
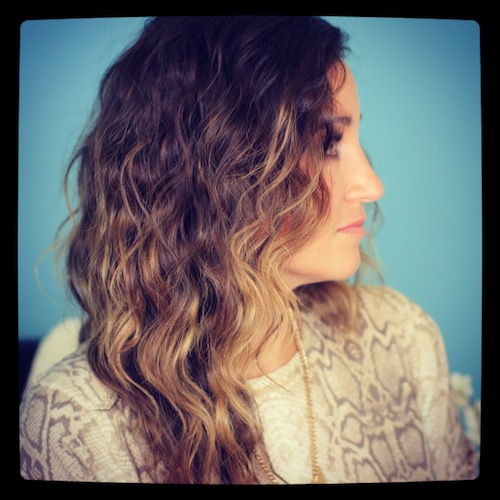
 Pay attention to how I manage my part line and wave the top of the hair, because my cool trick will leave your hair looking more natural!
As promised, here are links to a few deep wavers that I have used…
KQC Deep Waver
Hot Tools Deep Waver
Enjoy!
Items Needed: Brush, rat-tail comb, heat protectant, Deep V Waver, hairspray {if desired}.
Time Requirement: 8-12 minutes
Skill Level: Easy
Step-by-Step Instructions:
- Begin with dry hair, although you do not have to blowdry before this style {it is just as cute if you sleep on wet hair and let it air dry}…
- Always spritz heat protectant on your hair before using heat…
- Section your hair into thirds and pull the top two thirds up and pin out of the way…
- Take a strand of hair in the bottom section and begin crimping with the heated Deep Waver at the base of the strand next to the head. {Crimp the waver down on hair and hold for 2-3 seconds. You do not want to hold for a long time.}
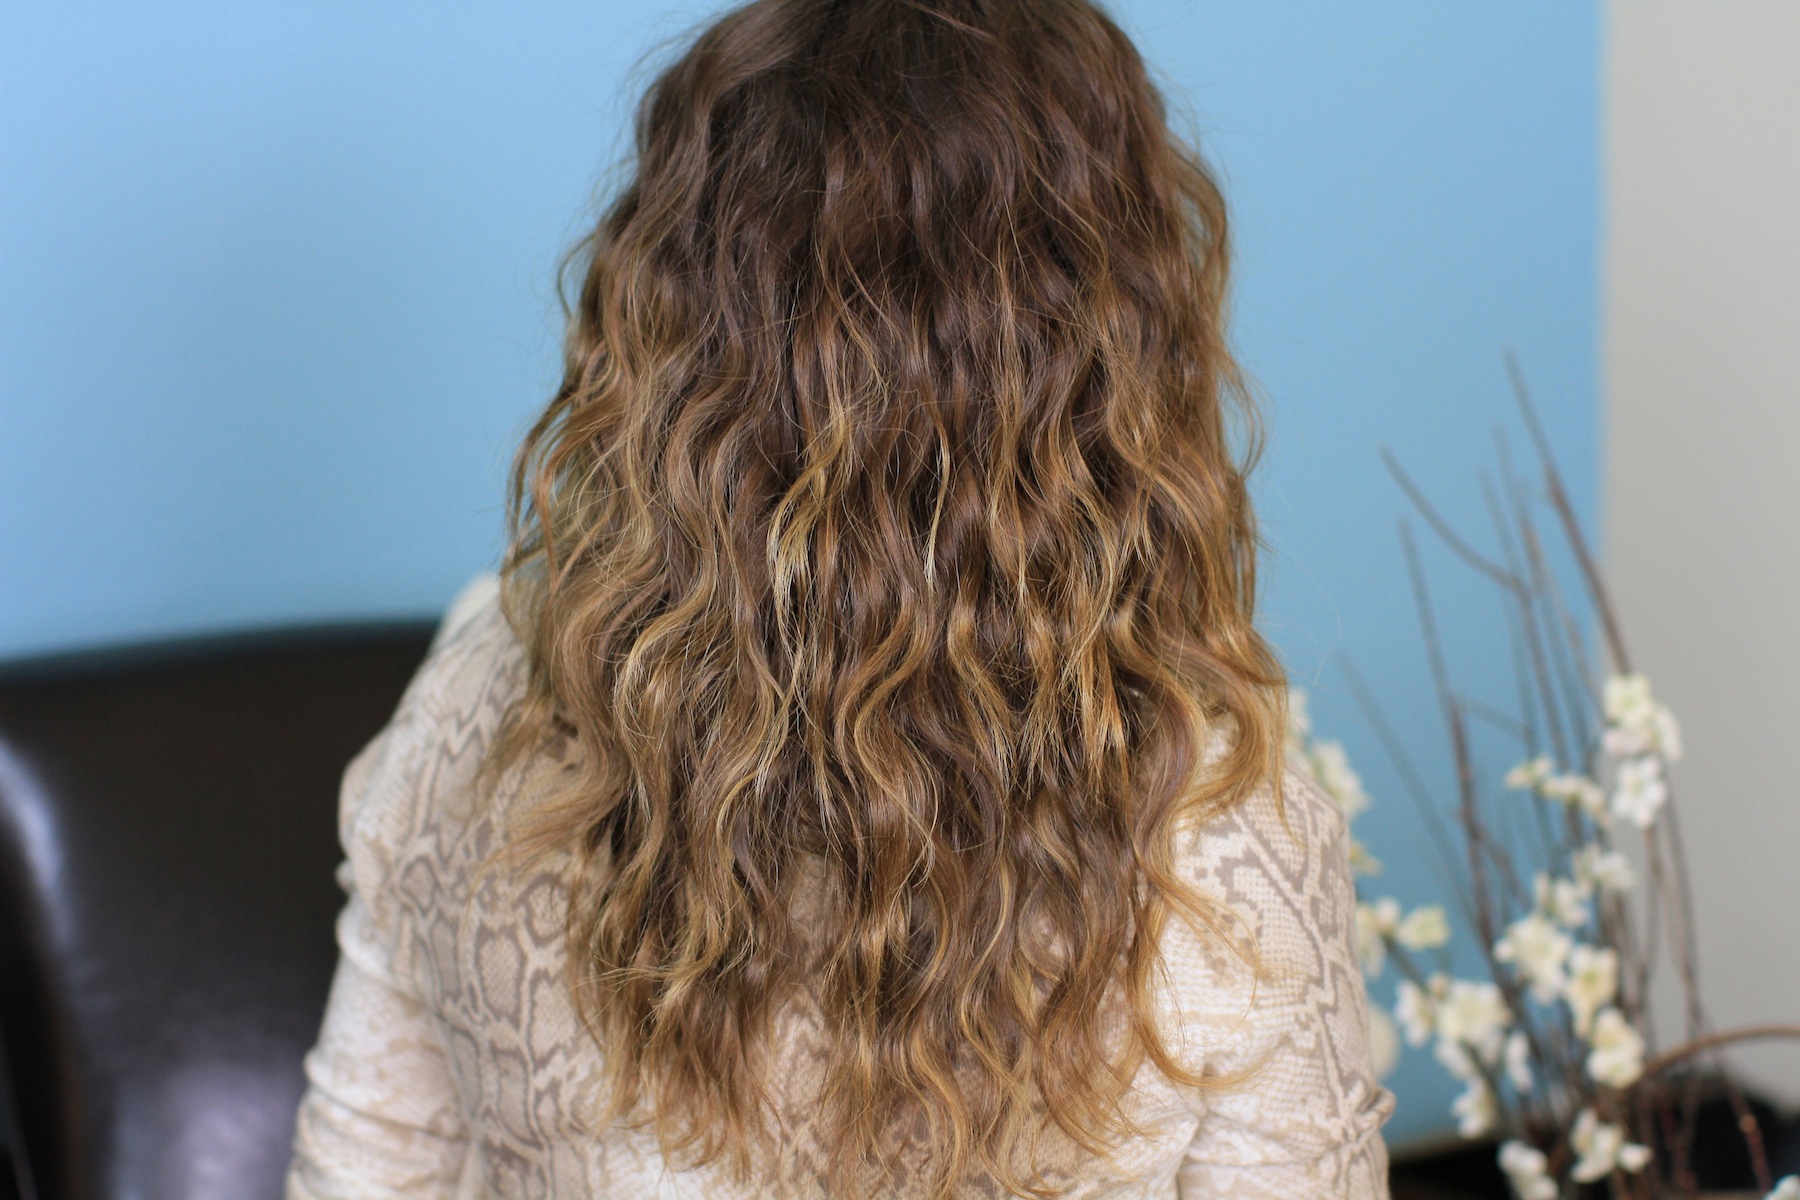
- Move the waver down the hair strand about 5 inches and repeat the crimp, continuing down the entire strand…
- When you are done crimping the bottom section, pull the next section of hair down and begin waving it in the same manner…
- Continue the same with the top layer, except you part the top layer down the middle first and then wave it…
- Next, find the side part you want and flip the hair over the middle part {this gives a more natural look for the waves on top and does not show the waver crimp marks on top as much.
- Finger comb the hair to get the desired look, and feel free to crimp any missed strands.
- Add some hairspray {optional} to hold the waves.
Please feel free to leave me a comment below letting us know what you think of these deep waves! As always, if you loved this hairstyle, please feel free to share it!
Happy Hairdoing!

Mu twins uploaded a super cute “Midnight Eye Nail Art” video on YouTube. If you would like to see how create that nail look, please click below…


Q hermosas q son!! no entiendo nada de lo q hablas, no hablo ingles, pero haces tan facil peinados hermosos con tanta simpatia, q me encanta! Son bellos los peinados, bellas las modelos, y bella tu, q explicas todo con tanta simpatia y simpleza!! bellas bellas!!!
Is the hot tools waver a smaller barrel/make a smaller wave than the waver you use in the video? I like the size you have in the video but would rather spend less $ if they are the same size. thanks
I don’t have a crimper but I’ll try it out with my karmin g3 flat iron, awesome! thanx
Do you think we could use a normal curling iron?? (I don’t have a crimper, and I’m most likely not getting one any time soon.)
hi Mindy could you please tell me what time you normally do your videos because I live some where else in the world and you are 8 hours behide where I live
This is great! Thanks for this. Just curious though, what size crimper did you use?