I’ve been receiving requests on FB, Twitter, email, etc, for today’s hairstyle from viewers everywhere. It’s likely been our most requested hairstyle to date! {You’ll understand why if you’ve seen the many photos of this style floating around on Pinterest, Facebook, and Instagram.}
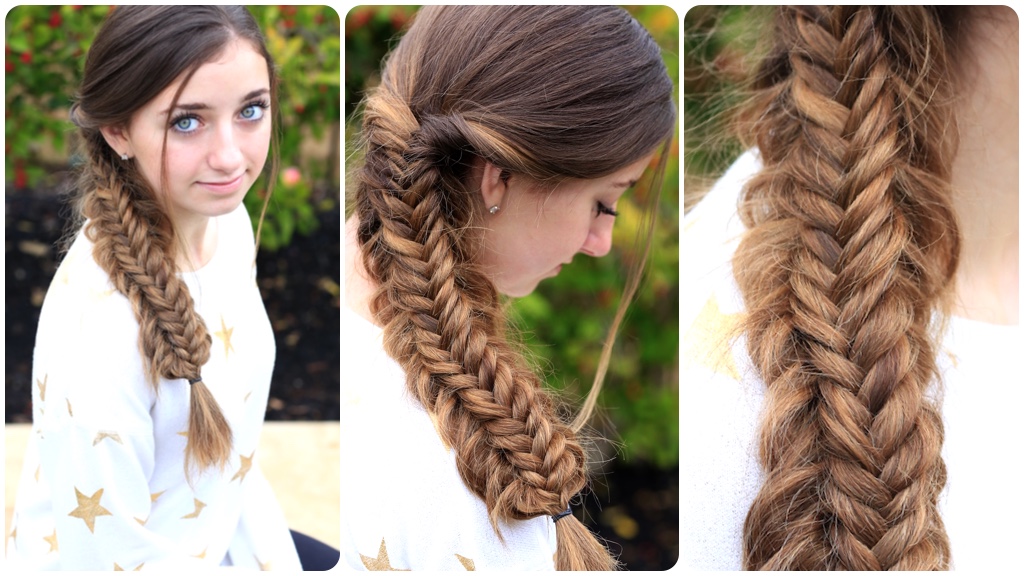
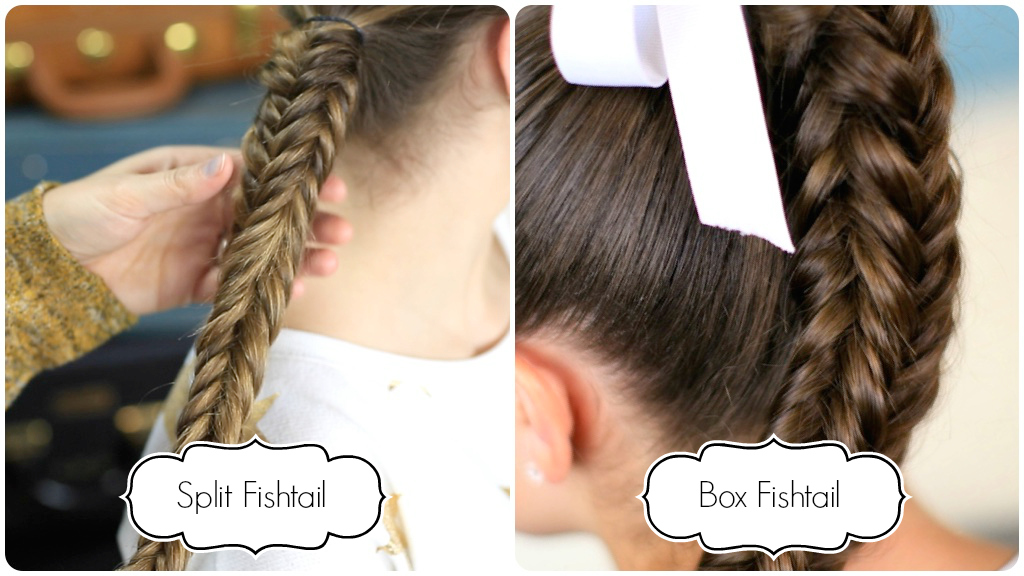
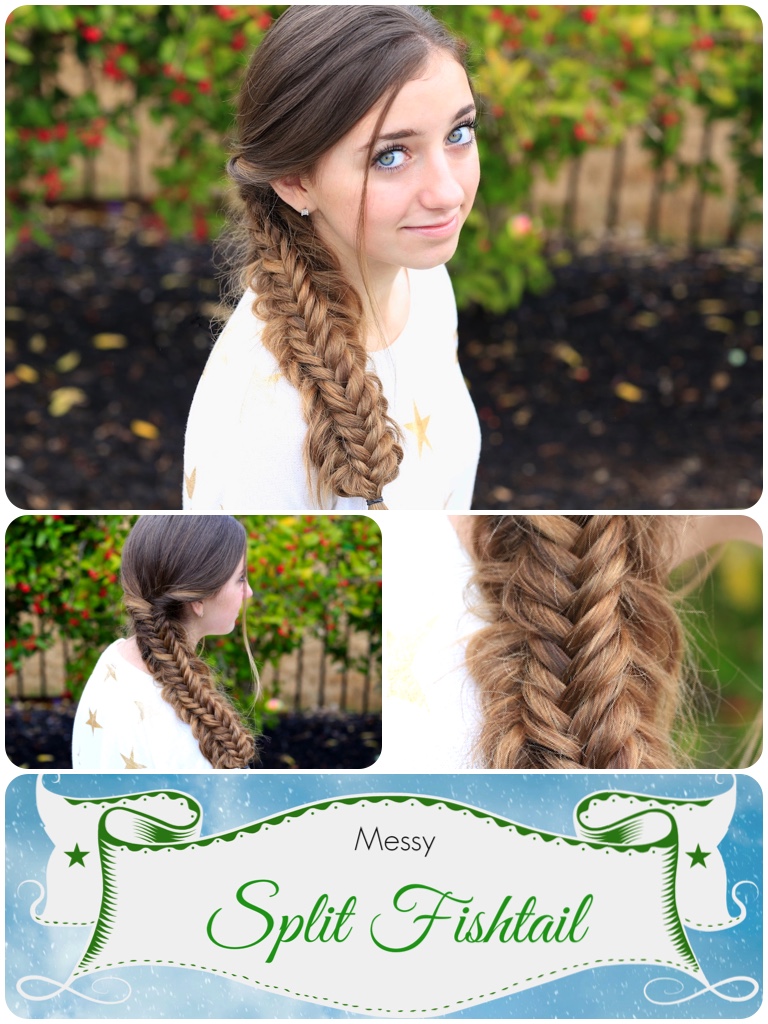
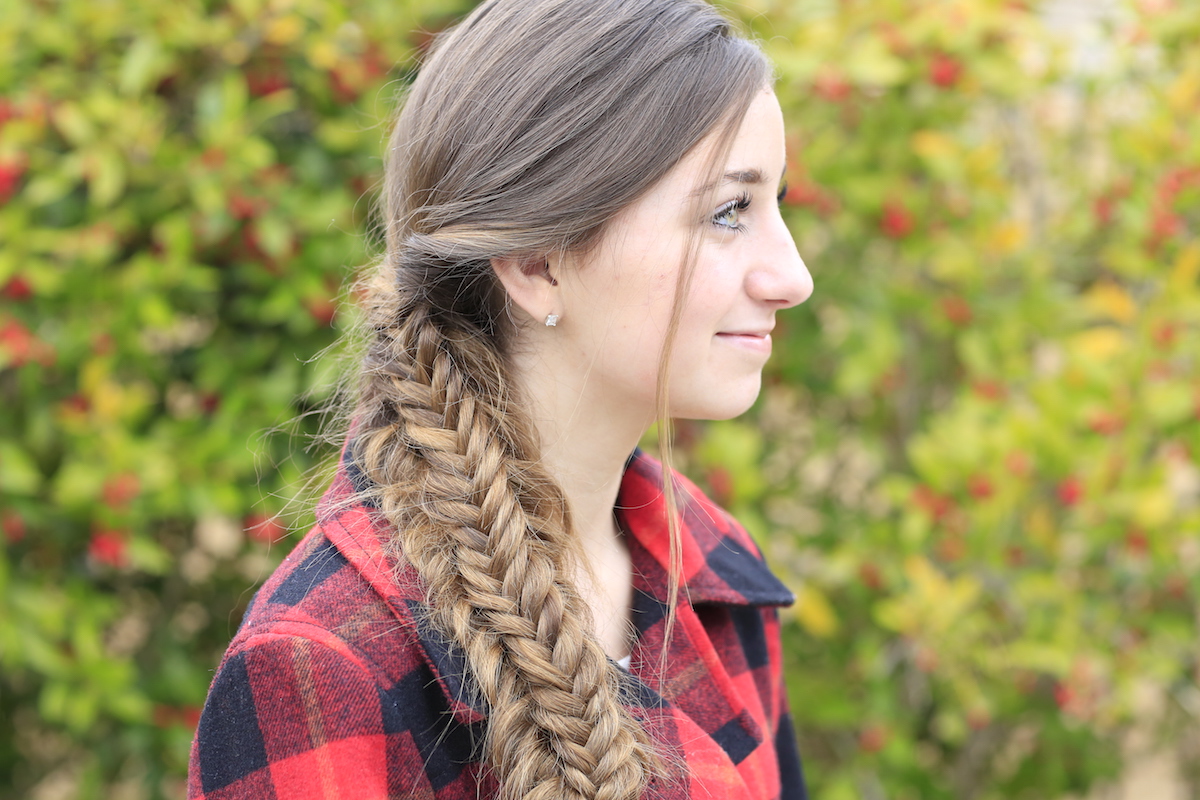
Today, we will be showing you how to create a Messy Split Fishtail Braid! There is nothing super new or special about the Split Fishtail, as the braid itself is exactly the same as our Box Fishtail from last year. It’s the braiding technique we will show you today, however, and the final look, that’s different.
 For a cute final look, simply pancake only the underside and you’ll end up with a very beautiful braid look similar to our Stacked Braid tutorial from a few years back! This one has much more of a messy look to it, which I love!
To see your own photo recreations featured in our CGH App, feel free to tag your own photos of this hairstyle on IG with: #CGHMessySplitFishtail

 As always, any fishtail braid will take you a while to complete. This one not super difficult, which is why we are categorizing it as “Easy”, but do plan on spending about 8-10 minutes on the braid.
Items Needed: Brush, rat-tail comb, 2 small hair elastics, hairspray {if desired}.
Time Requirement: 8-10 minutes
Skill Level: Easy {but time consuming}
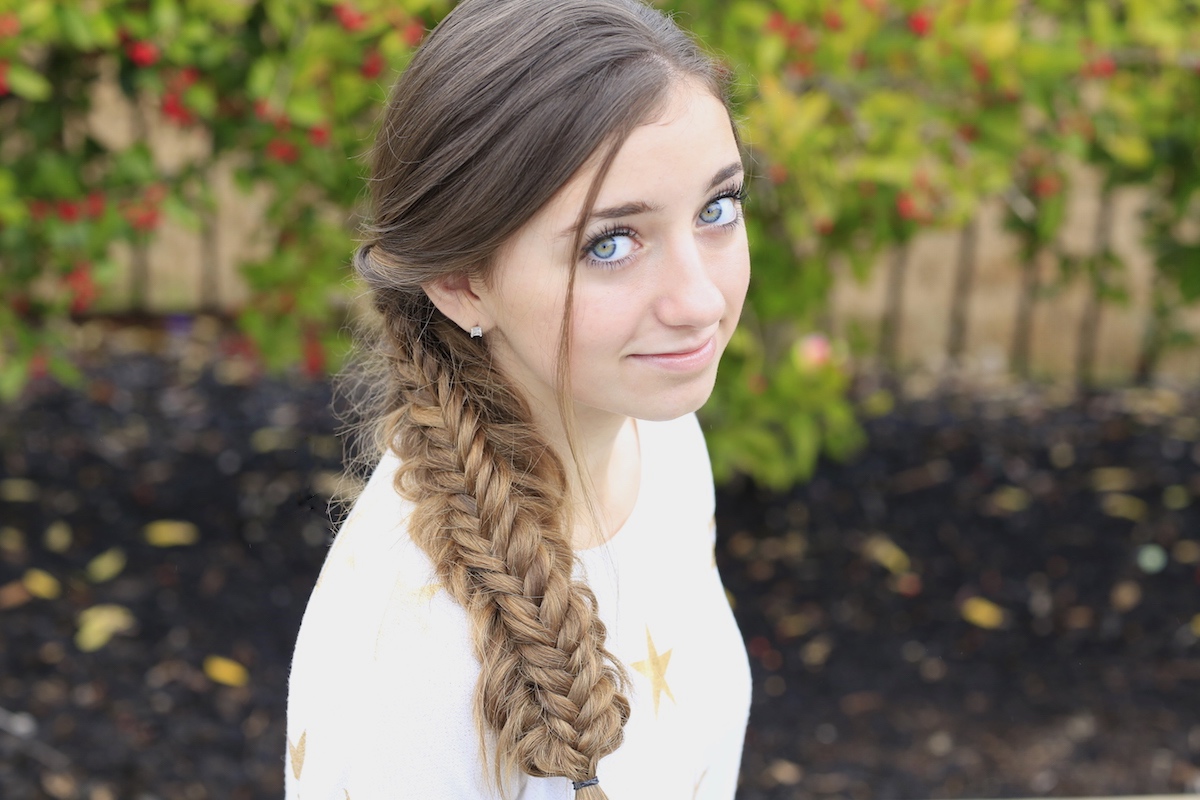
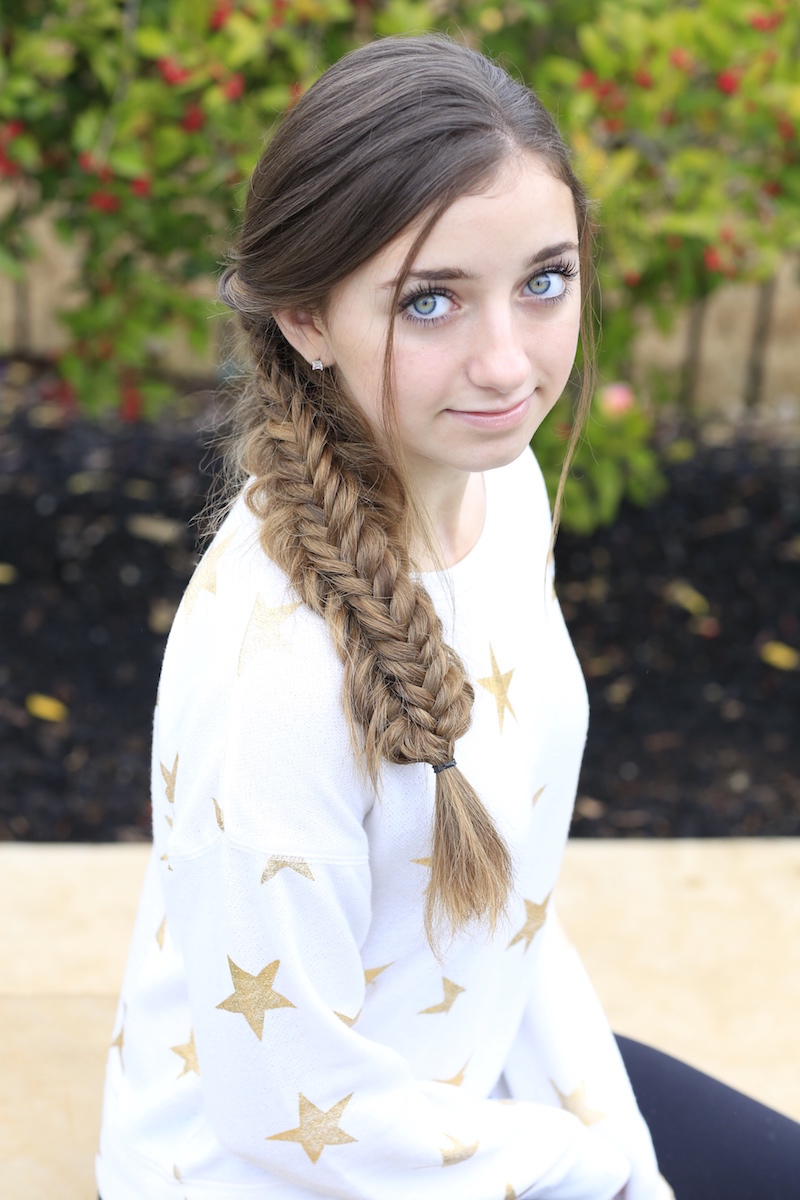
- Begin by parting hair slightly off to one side…
- Be sure to pull out any small strands you want left out of the braid to frame the face…
- Pull the rest of the hair back into one side ponytail, just behind the ear, and secure with an elastic {the elastic is temporary and optional, as it helps me keep the braid tight to begin with, but you do not have to use use it}…
- Split the ponytail into two equal sections…
- Take a small amount of hair off the outside edge of the right section and divide it into two pieces…
- Next, take the top strand over that larger right section, and the other small strand under the larger right section, and combine both those smaller strands into the left large section…
- Take a small amount of hair off the outside edge of the left section and divide it into two pieces…
- Next, take the top strand over that larger left section, and the other small strand under the larger left section, and combine both those smaller strands into the right large section…
- Continue Steps #5-8 until you have 3-4 inches of hair remaining in the braid {the braid you have just created looks like a fishtail from all four sides, just like the Box Fishtail tutorial we taught you a year ago {braid is the same, but the technique is different}…
- Now gently tug on the outside edges, or elbows of the BOTTOM braid only, all the way up to the top of the braid {this ends up giving you a Stacked Fishtail braid look, with the bottom half being messy}…
- Add hairspray or accessory {if desired}.
Hope you enjoyed this Messy Split Fishtail hairstyle tutorial! Are you a fan of fishtail braids? If so, please leave a comment below!
Happy Hairdoing!
My girls uploaded two videos this past week, and DIY Friend Christmas Gift tutorial, and a Christmas BONUS VIDEO! Both are on their BrooklynAndBailey YouTube channel. To watch them both, click below!


I love this split fishtail. It shows up more on my hair than a plain fishtail. 🙂
Love the 4d effect!
Love this hairstyle!! Wish I was able to do it! Xoxo❤️
I love these hairstyles I always get compliments I’ve even referd my friends.plus they’re unique in so many ways
Awesome!
OMG!!! I am a huge fan of Brooklyn and Bailey I have watched literally all of your videos I won’t be surprised If I know every word you say in your videos since I watch them so much. Love you guys and stay cool;)
Will Brooklyn and Bailey reply to my comment if i said i am a huge fan and want y’all to come to Memphis to see me in person!!!!!!
Thanks Mindy & family
keep up the good work
you work is wonderful and unique i like it we tried to again visit your site for more latest hair designs.thnx