Bailey takes a spin this week on a tutorial we’ve shown you here before, and shows us all a variation you can do on it with curly hair. She had a drill team friend forward her a picture asking if she could teach her how to do it. {Brooklyn volunteered to be Bailey’s model for today.}
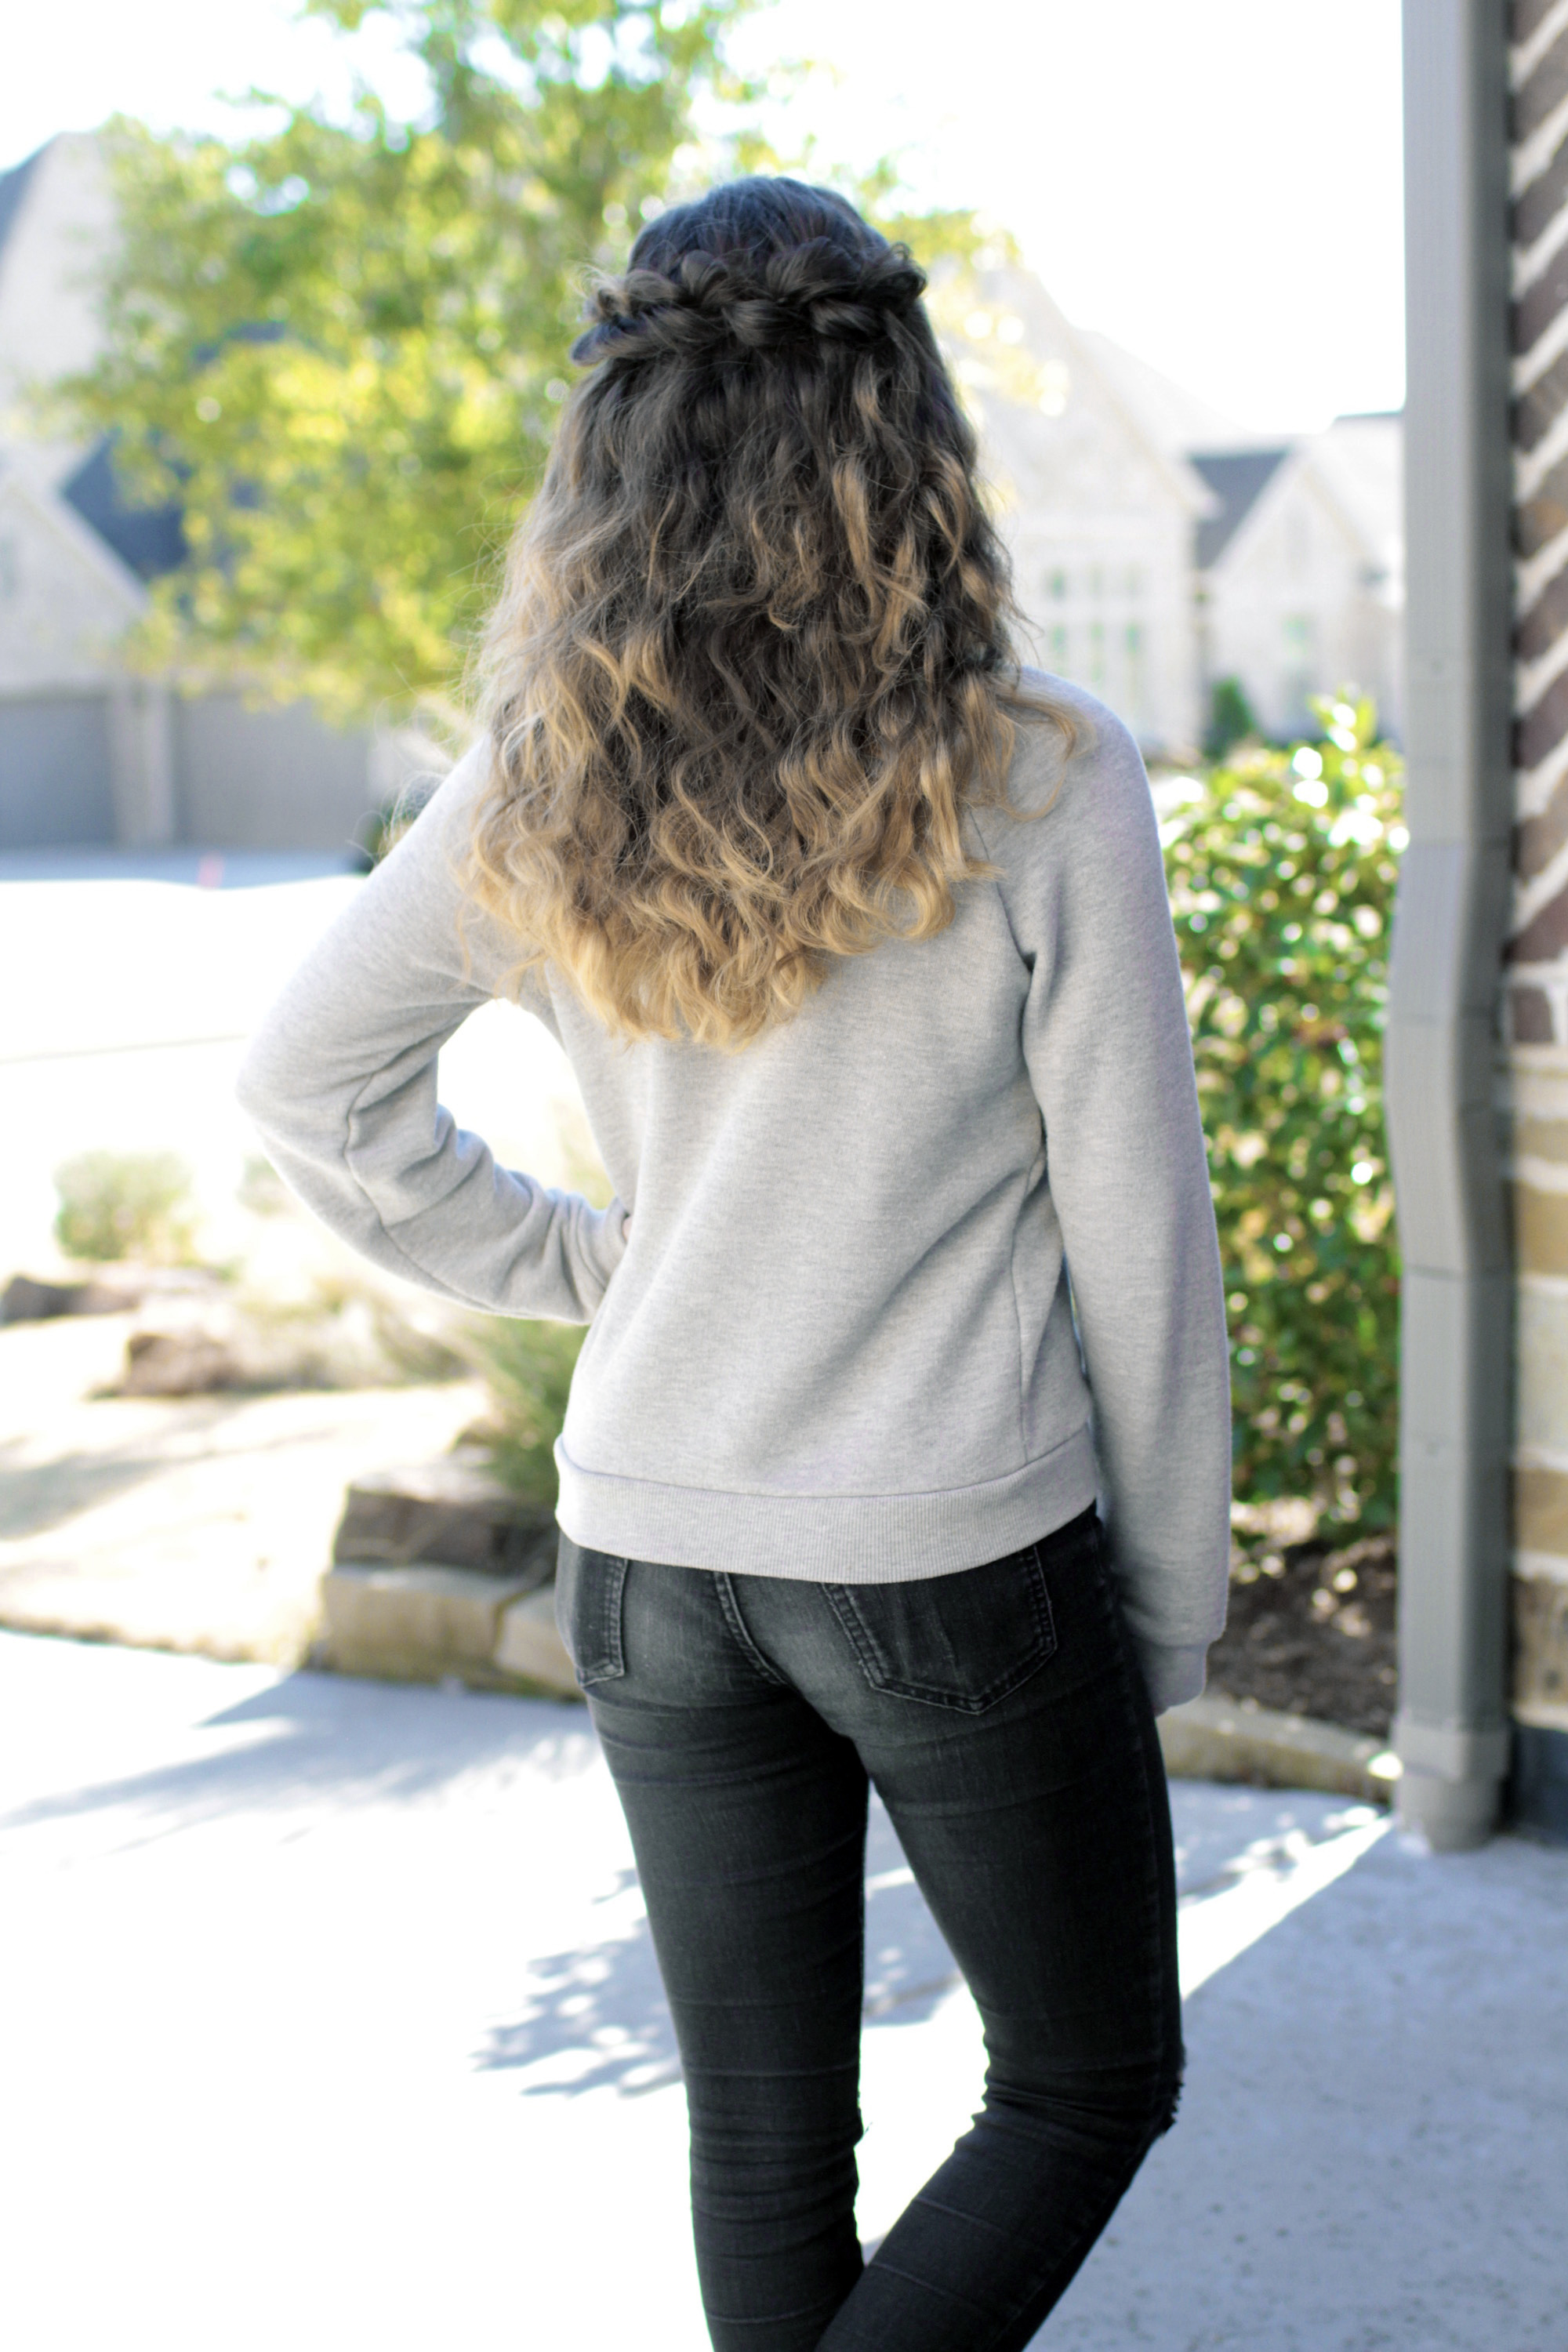
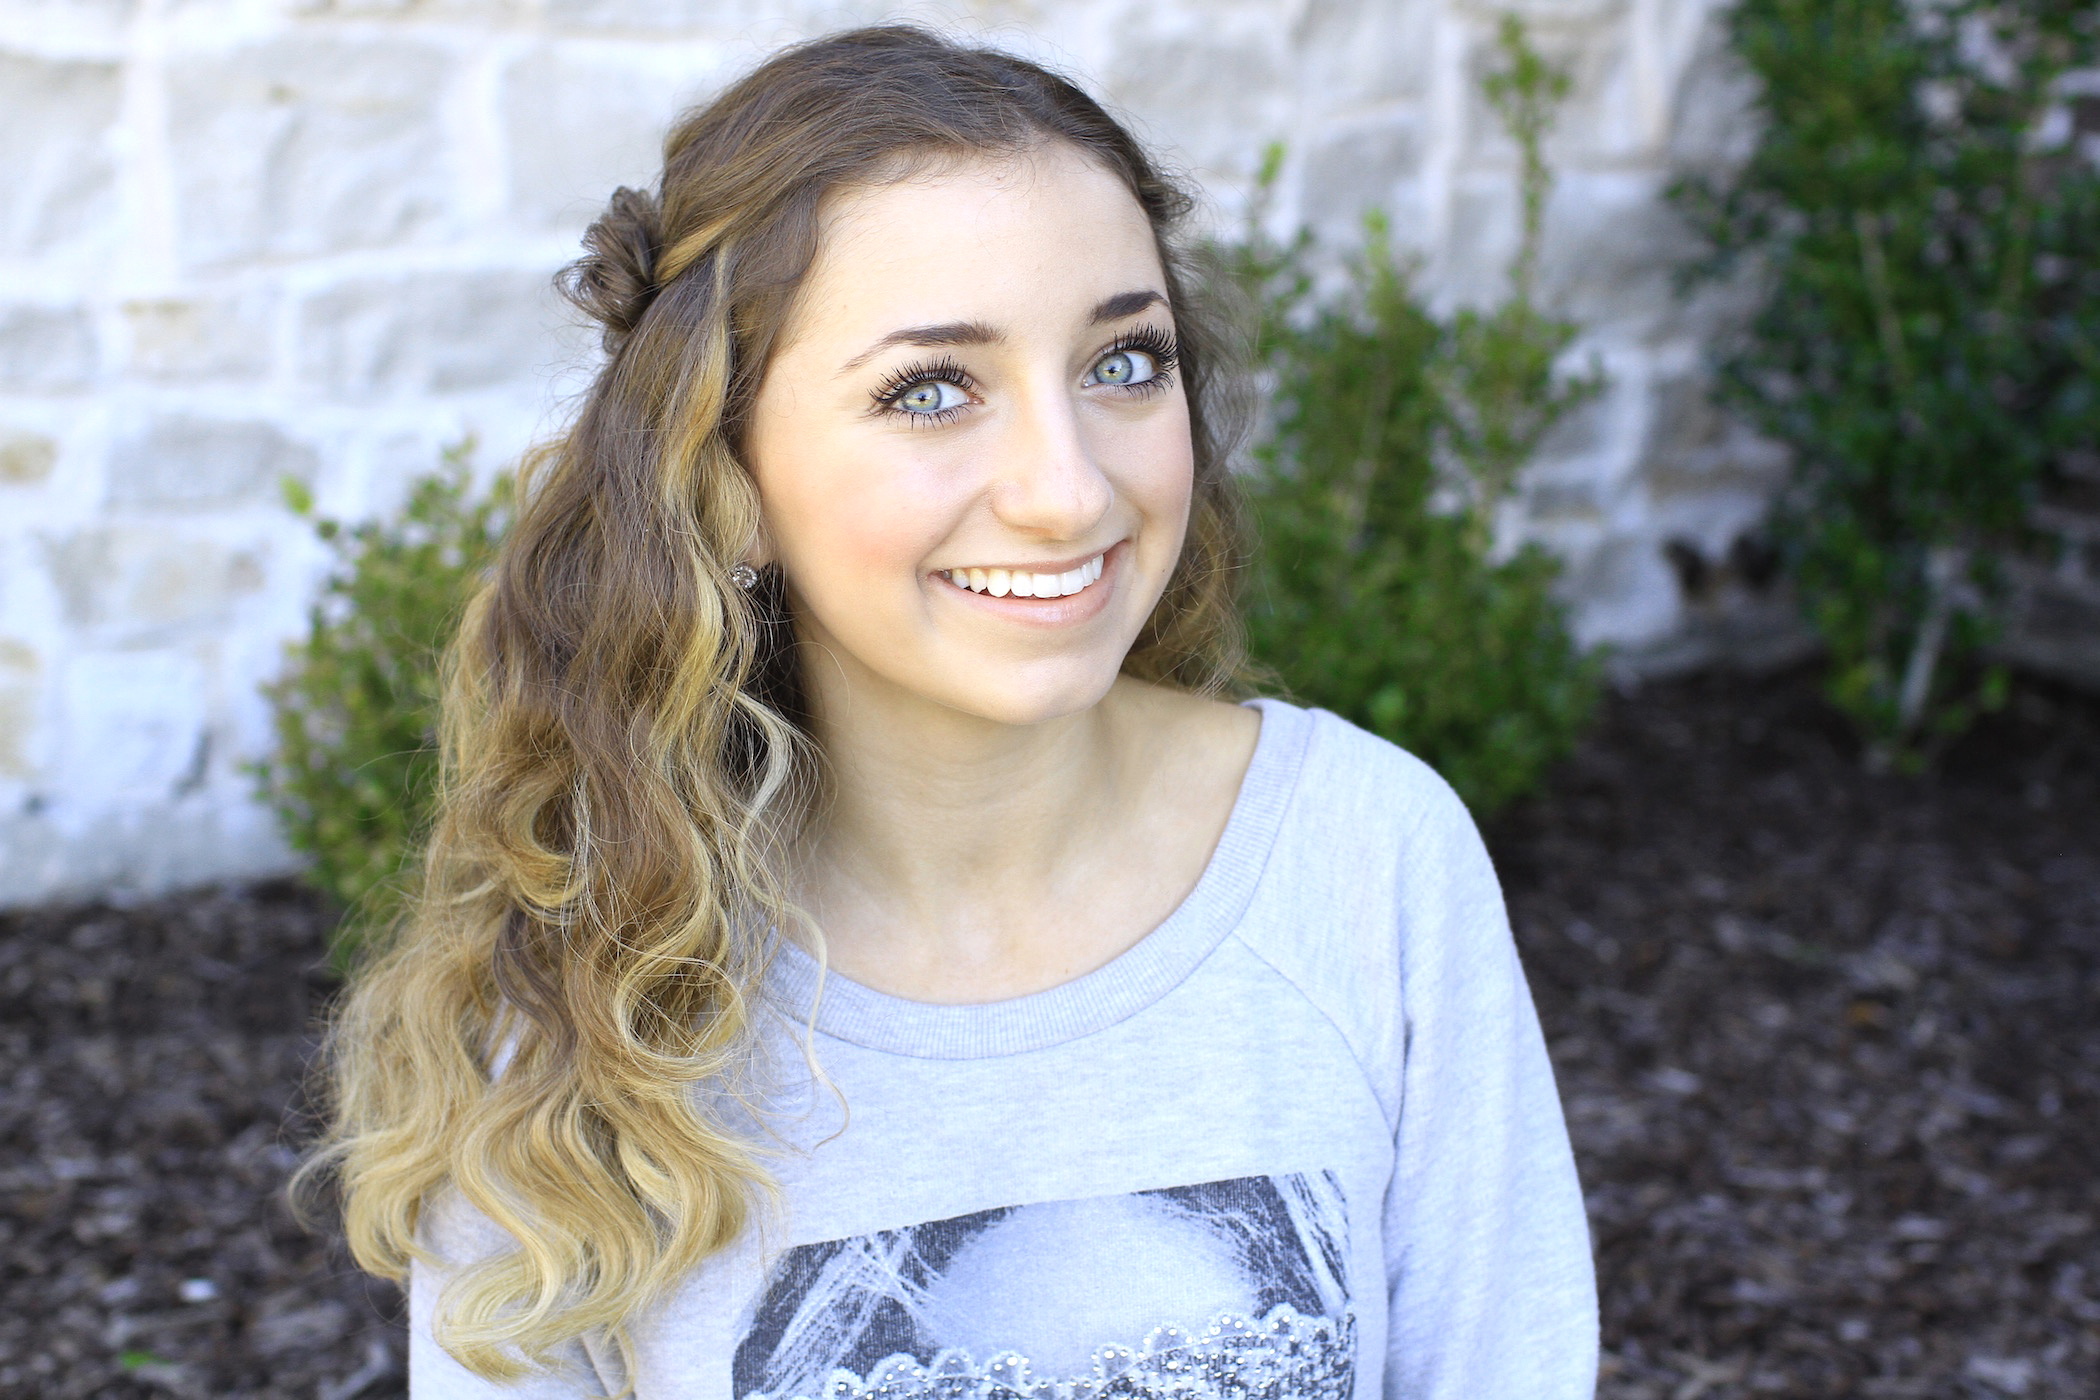
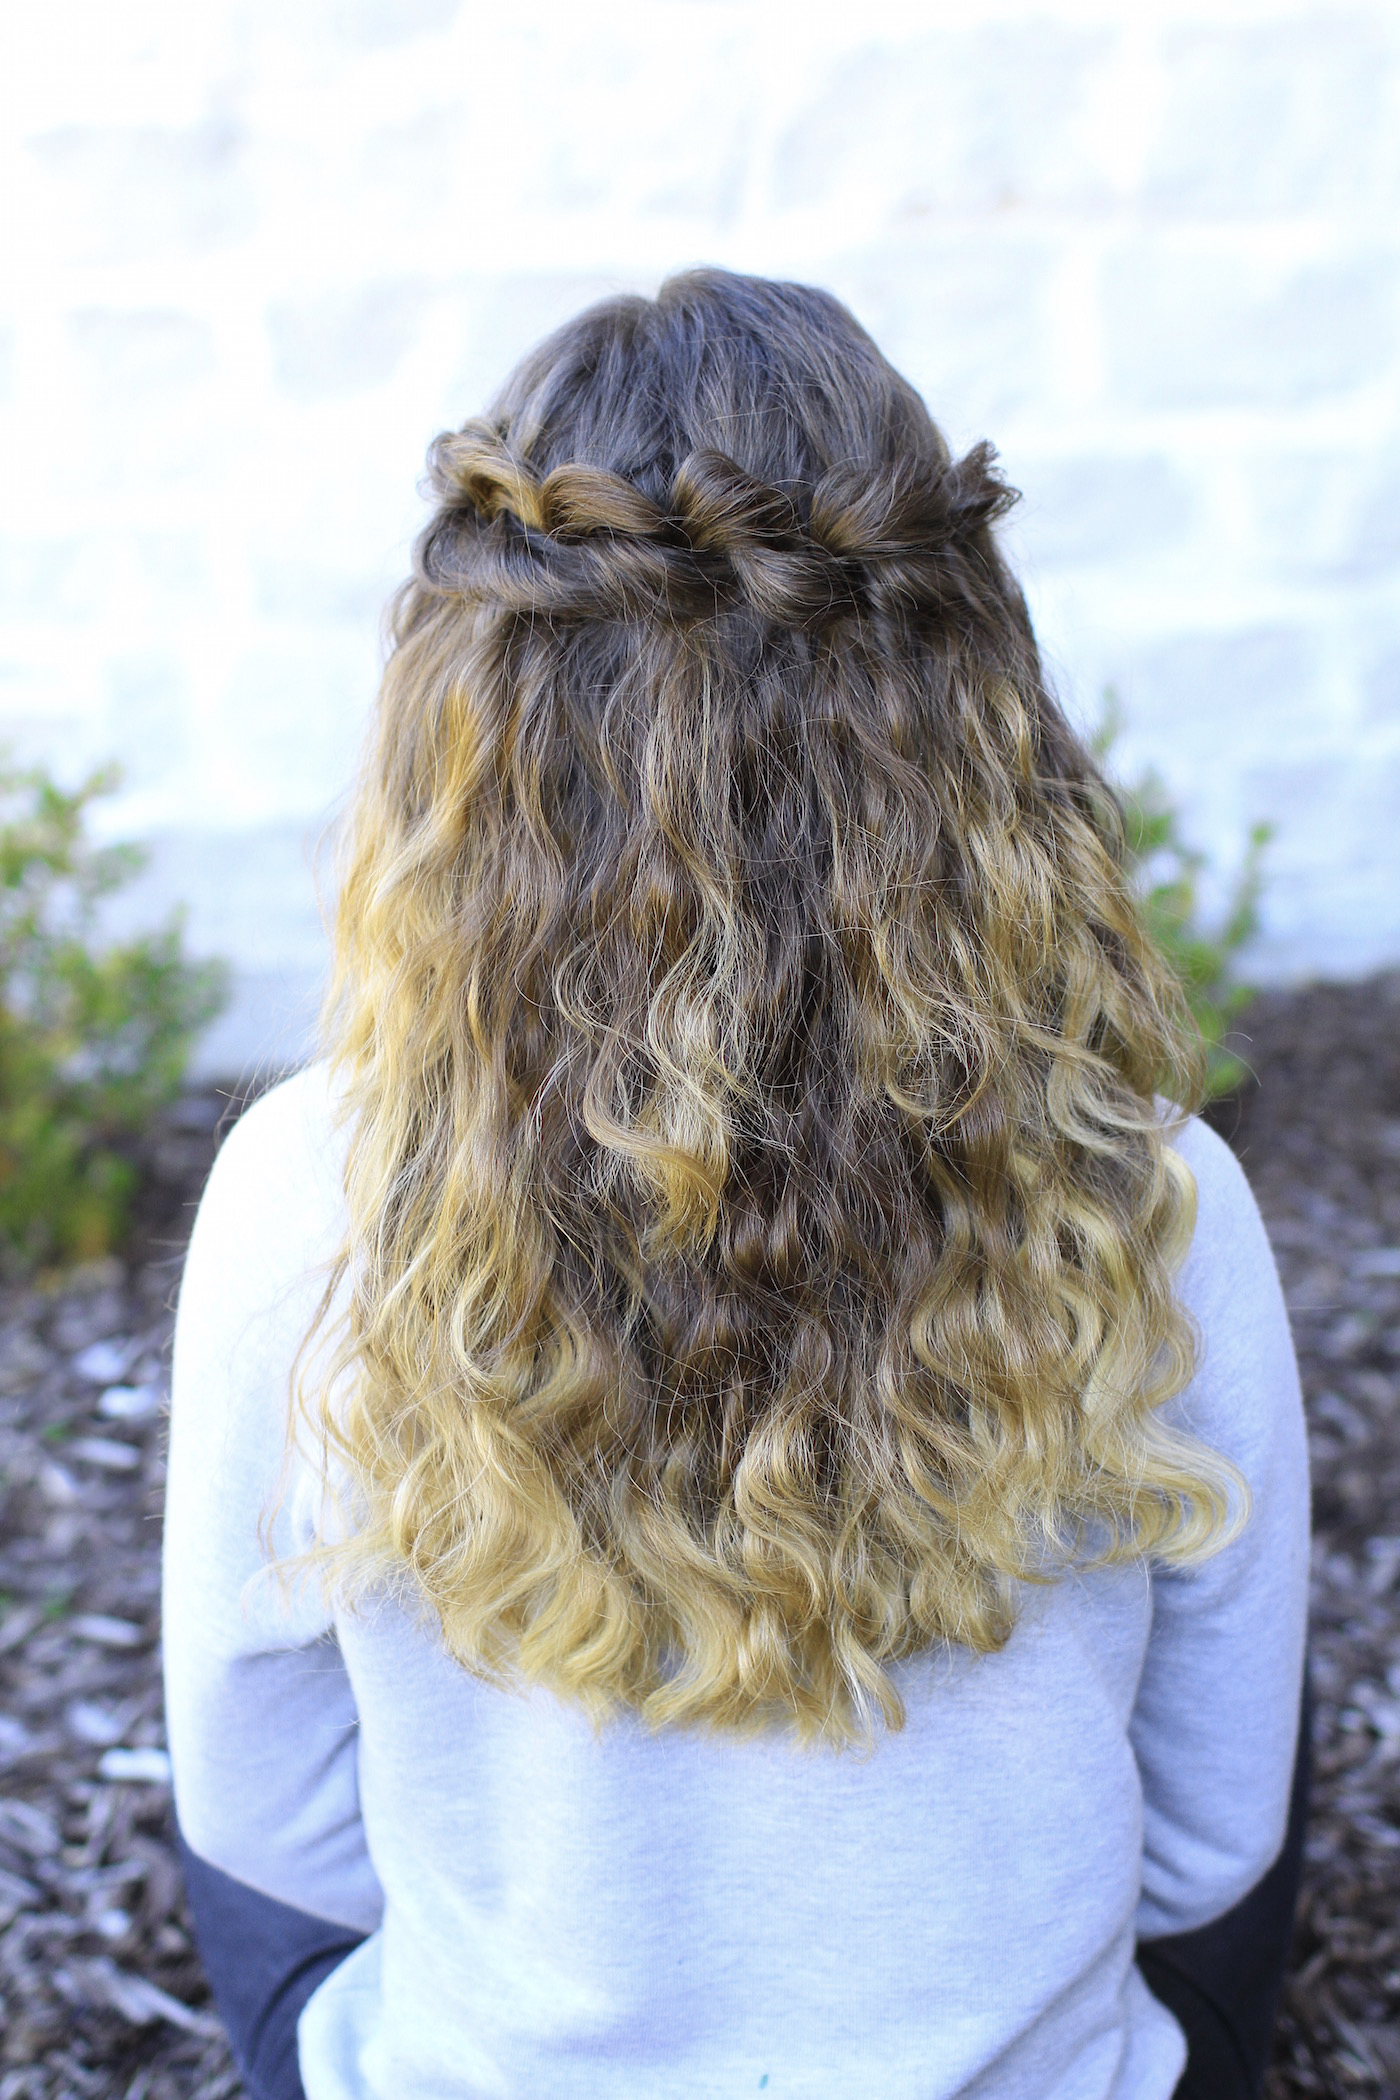 Brooklyn’s curly hair texture adds quite a bit of volume to the braid, and pancaking it gives the hairstyle a very bohemian feel. Once you get the braid stitching down, you can complete this look in very little time!
 To see your own photo recreations of this style featured in our app, feel free to tag your photos on IG with: #CGHPuffLoopBraid
If you do not have naturally curly hair, or some with a little wave in it, that is OK… feel free to add light curl/waves to the hair using a wand or waver. The curls are what helps add enough texture to the hair to give the style its volume.
 We hope you enjoyed this tutorial! This Puffed Loop Braid is another braid style that can be dressed up or down, depending on the event you are attending. We also recommend that it not be worn during an active day, given that it is only secured by bobby pins.
Girls love braids like this, because they look effortless and complicated all at the same time! Only you know that you spent only 5-8 minutes on it!
Items Needed: Brush, rat-tail comb, spray bottle, 10-12 small bobby pins, hairspray {if desired}.
Time Requirement: 7-8 minutes
Skill Level: Medium
Video Tutorial:
Step-by-Step Instructions:
- Begin with hair down, either with soft curls or straightened {the curls add more volume}…
- Pick up a section of hair near the left temple above the ear, and divide it in half…
- Take the left-most strand and cross it under the right strand to form a “X” shape…
- Then take that same strand up and over the right strand and then pull it down through the triangle you just formed, then drop the strand…
- Add a bobby pin into the loop knot to secure it…
- Since you just dropped a strand, you will now need to pick up some more hair to create a second strand. Again, take that same strand up and over the right strand and then pull it down through the triangle you just formed, then drop the strand…
- Add a bobby pin into the loop knot to secure it…
- Repeat Steps #3-7 as you move along the back, from one ear to the other, adding bobby pins to secure each knot as you go…
- As you reach to right behind the right temple, add two crossed bobby pins into the last knot to anchor the end of the braid…
- This will leave you with a braid that is cute, but flat and slightly noticeable, so go back and pancake the hair in each knot by gently tugging the top of the knots until they form loops and the braid is puffy and full.
- Add hairspray or spray wax {as desired}.
Feel free to leave a comment below telling us what you thought of this Puffed Loop Braid! We’d love to hear from you!
Happy Hairstyling!
If you would like to see Bailey get even with Brooklyn, by acting as her arms for a “Not-My-Arms” Makeup Challenge, be sure to click below! The video can also be found on BrooklynAndBailey’s YouTube channel. {It’s is a fun activity that always has us laughing no matter who participates!}


Can’t wait to try this look!
Love this! ????
Tried this the other and it looked so cute!
Love this look – I’d love to be the model and have my hair done all different styles…how awesome 🙂
Love it!!
Cute!! Good job, Bailey!! Mindy, Bailey, or Brooklyn how can you achieve curls like Brooklyn’s without heat? Thanks!