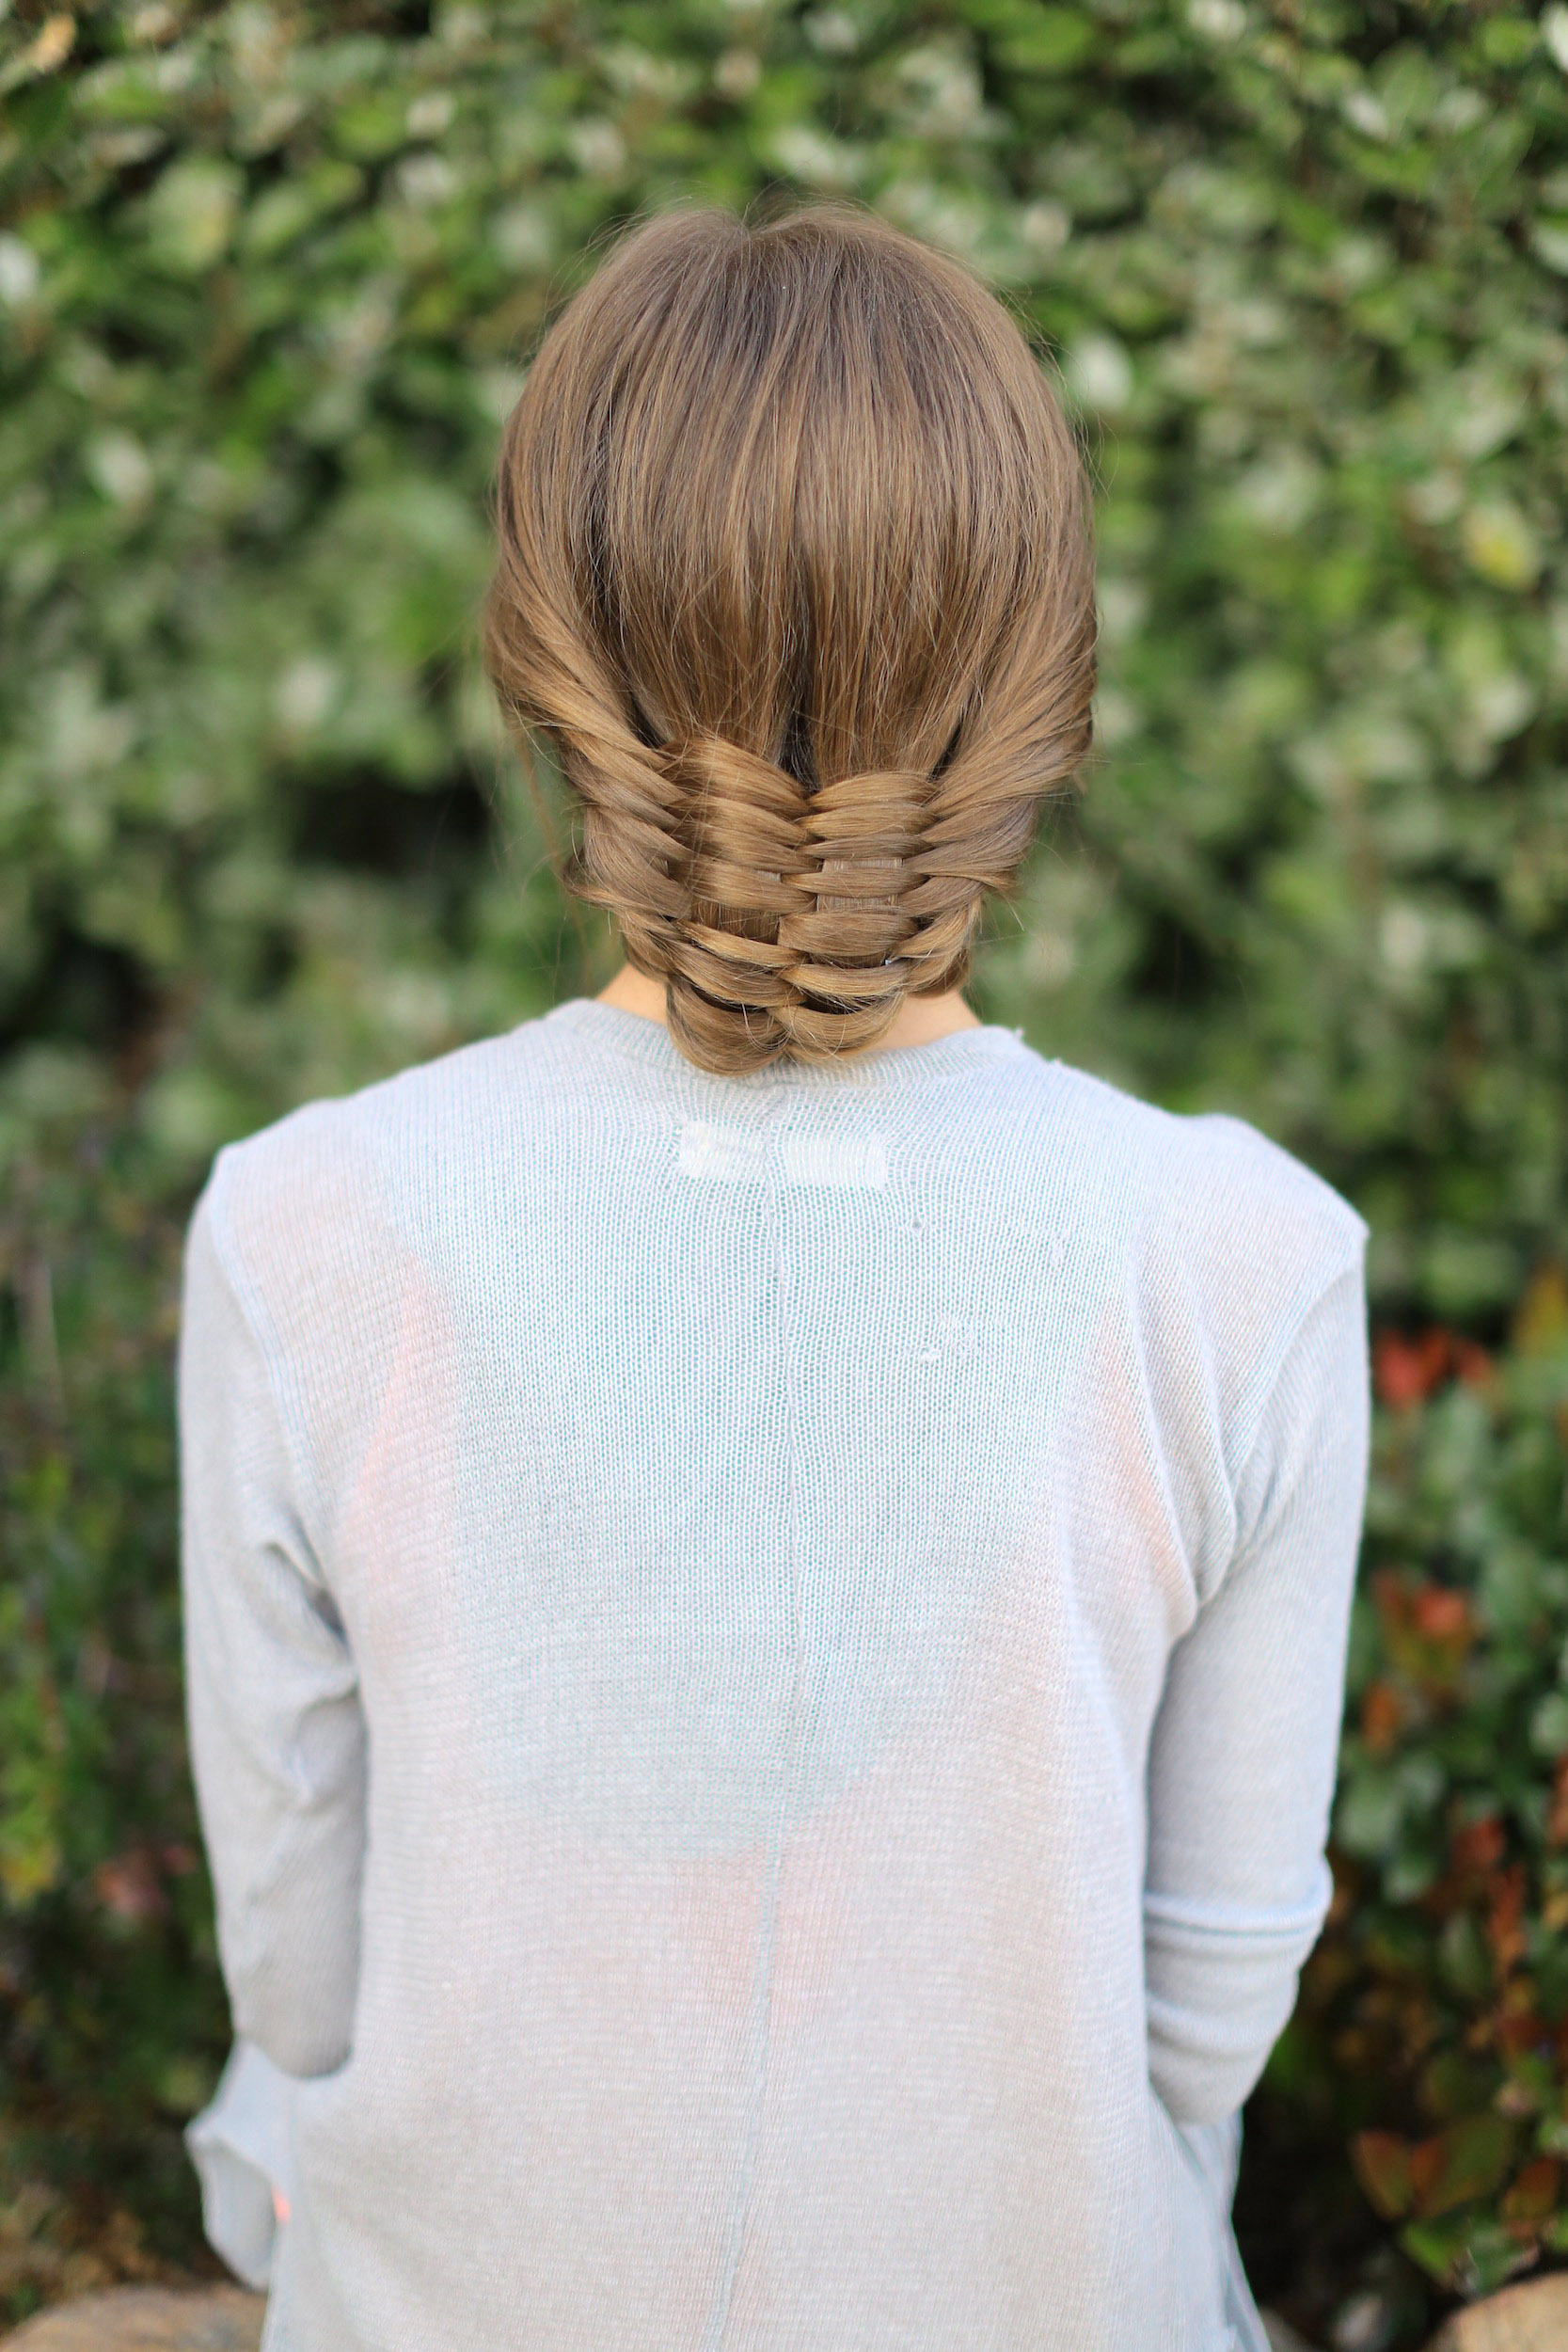
For this week’s Woven Updo tutorial, we used a centuries-old technique used in basket weaves. The stranding isn’t super complex, especially once you get the hang of it. The look, however, has people thinking that you spent a long time on it when you really only spent about 8 minutes.
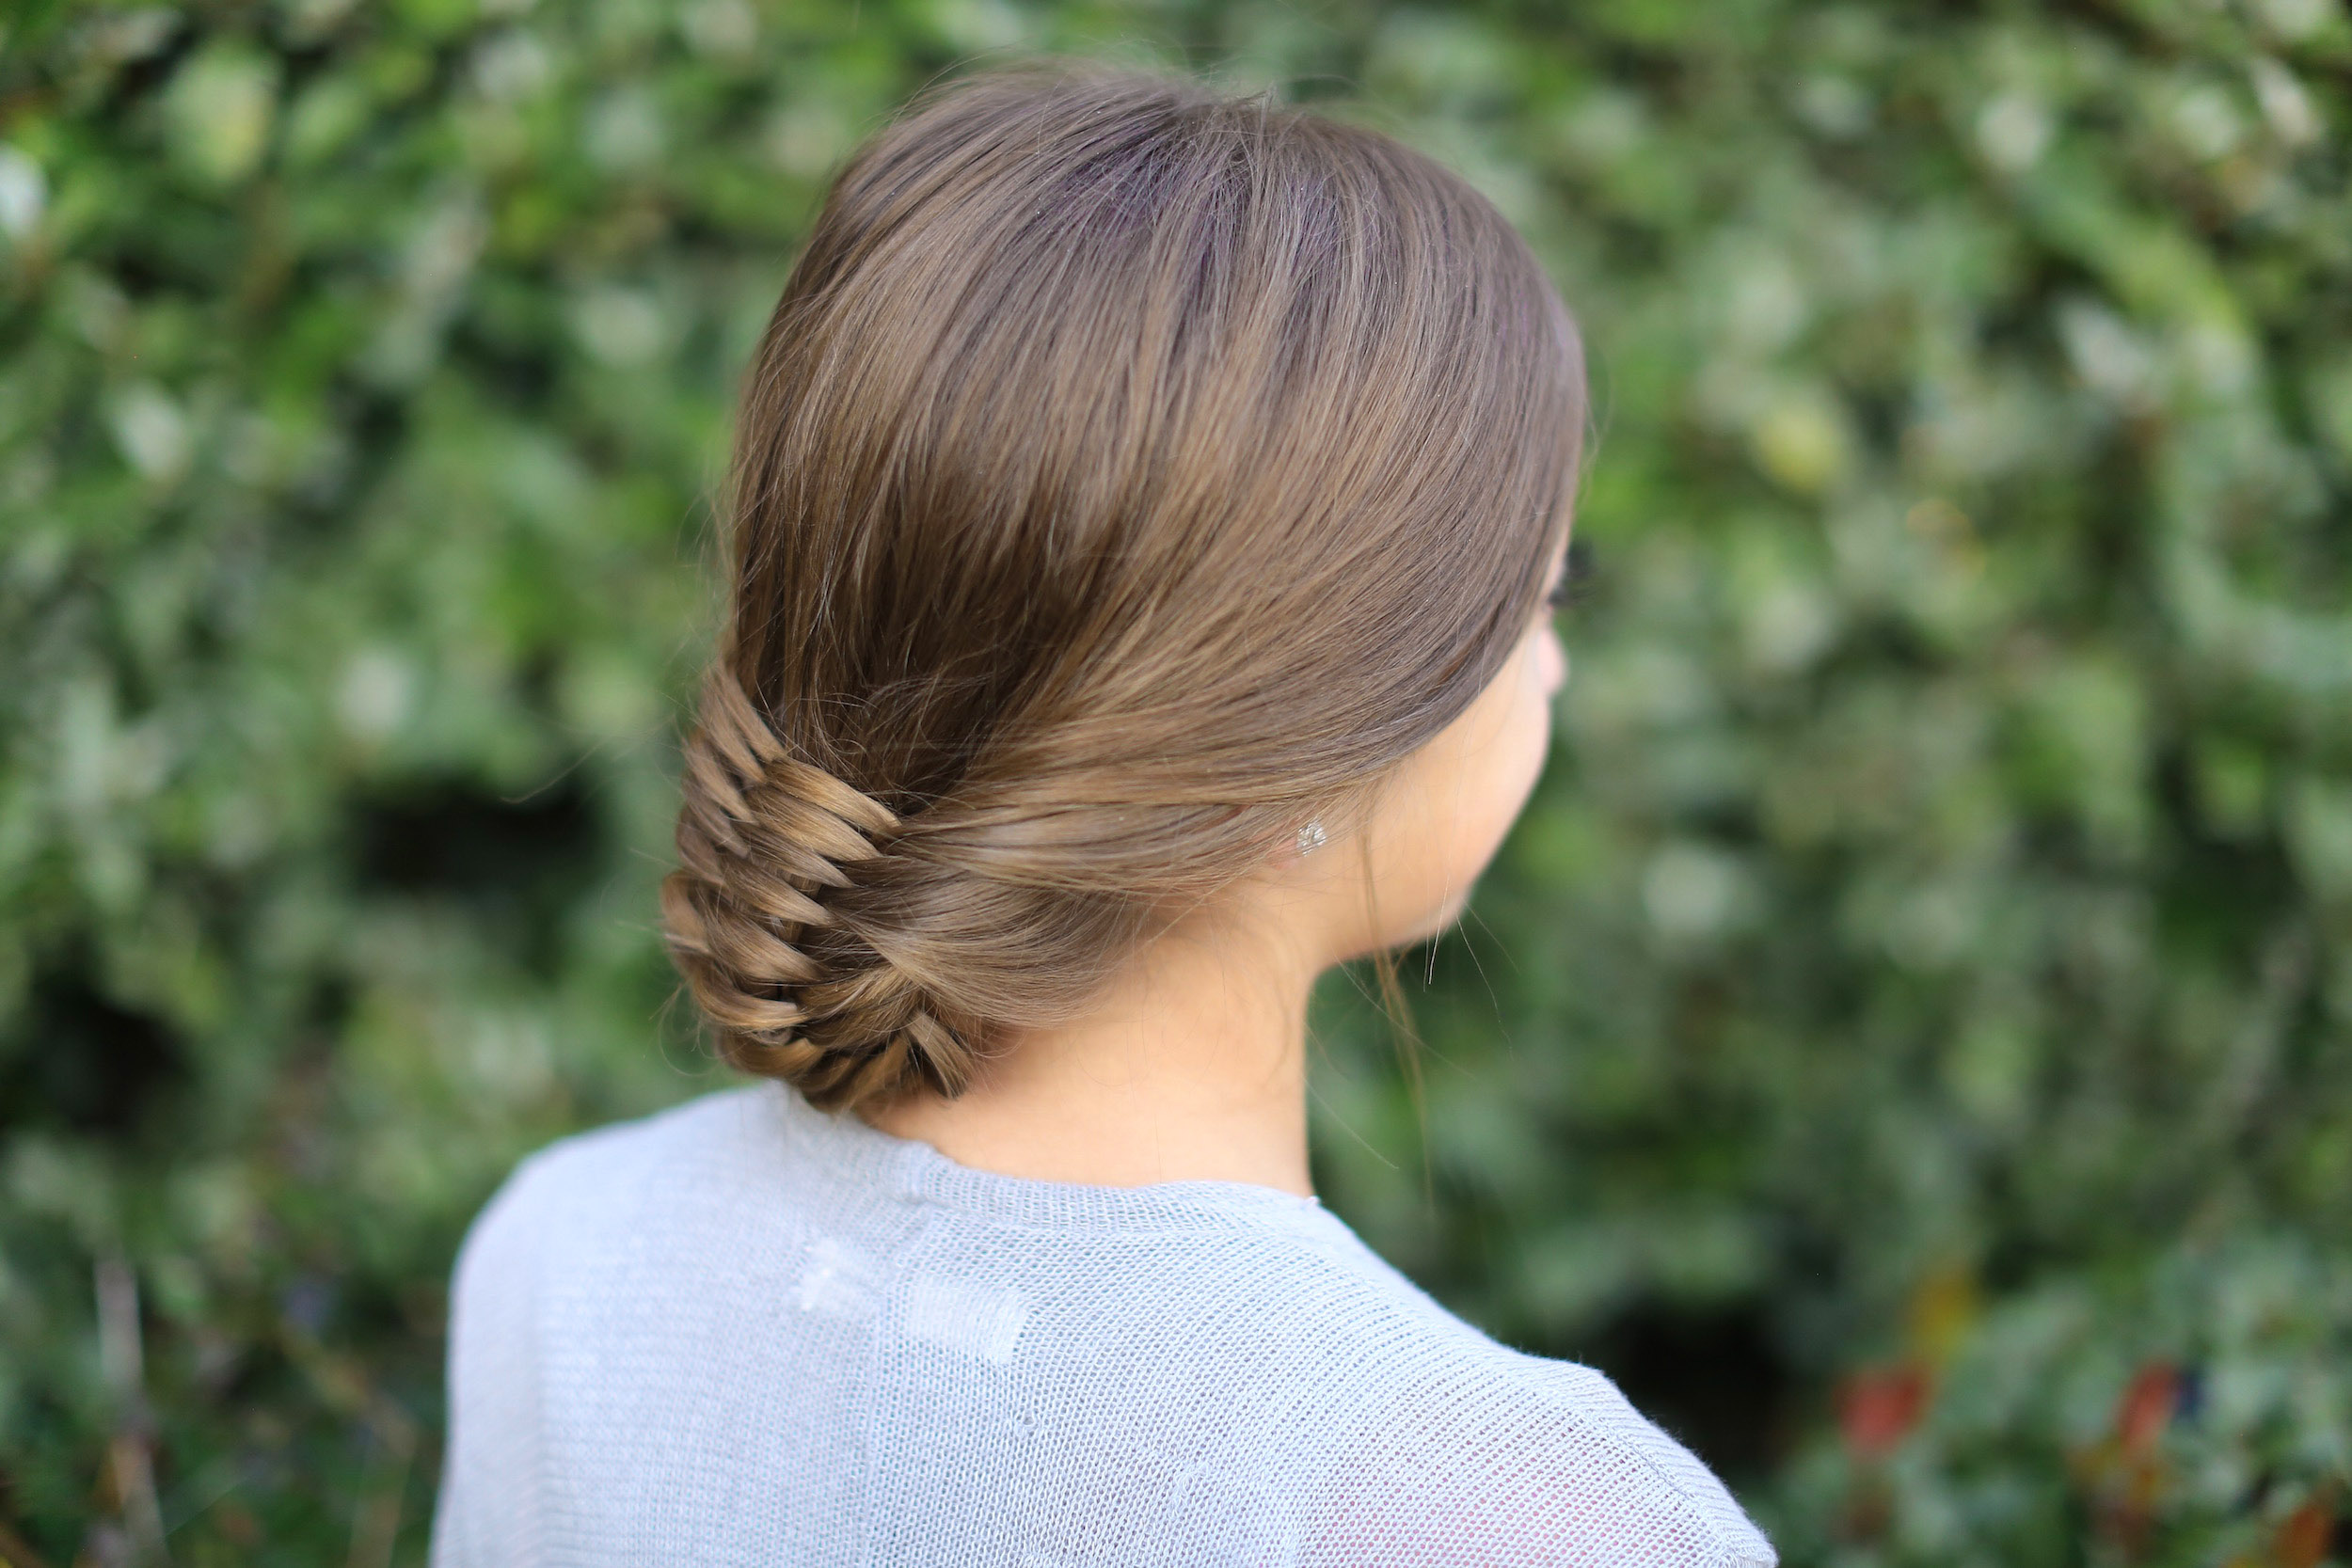
We did place our own variation on the hairstyle by rolling the braid up into a super cute updo.
This updo can be worn for pretty much any occasion such as Prom, Homecoming, weddings, work, flower girls, etc. I would not, however, recommend this hairstyle for sports or days when you plan on being active. The Woven Updo can also be dressed either up or down, depending on your preference, and there are countless combinations you do by using this braid as a base.

To see your own photo recreations of this style featured in our app, feel free to tag your photos on IG with: #CGHWovenUpdo
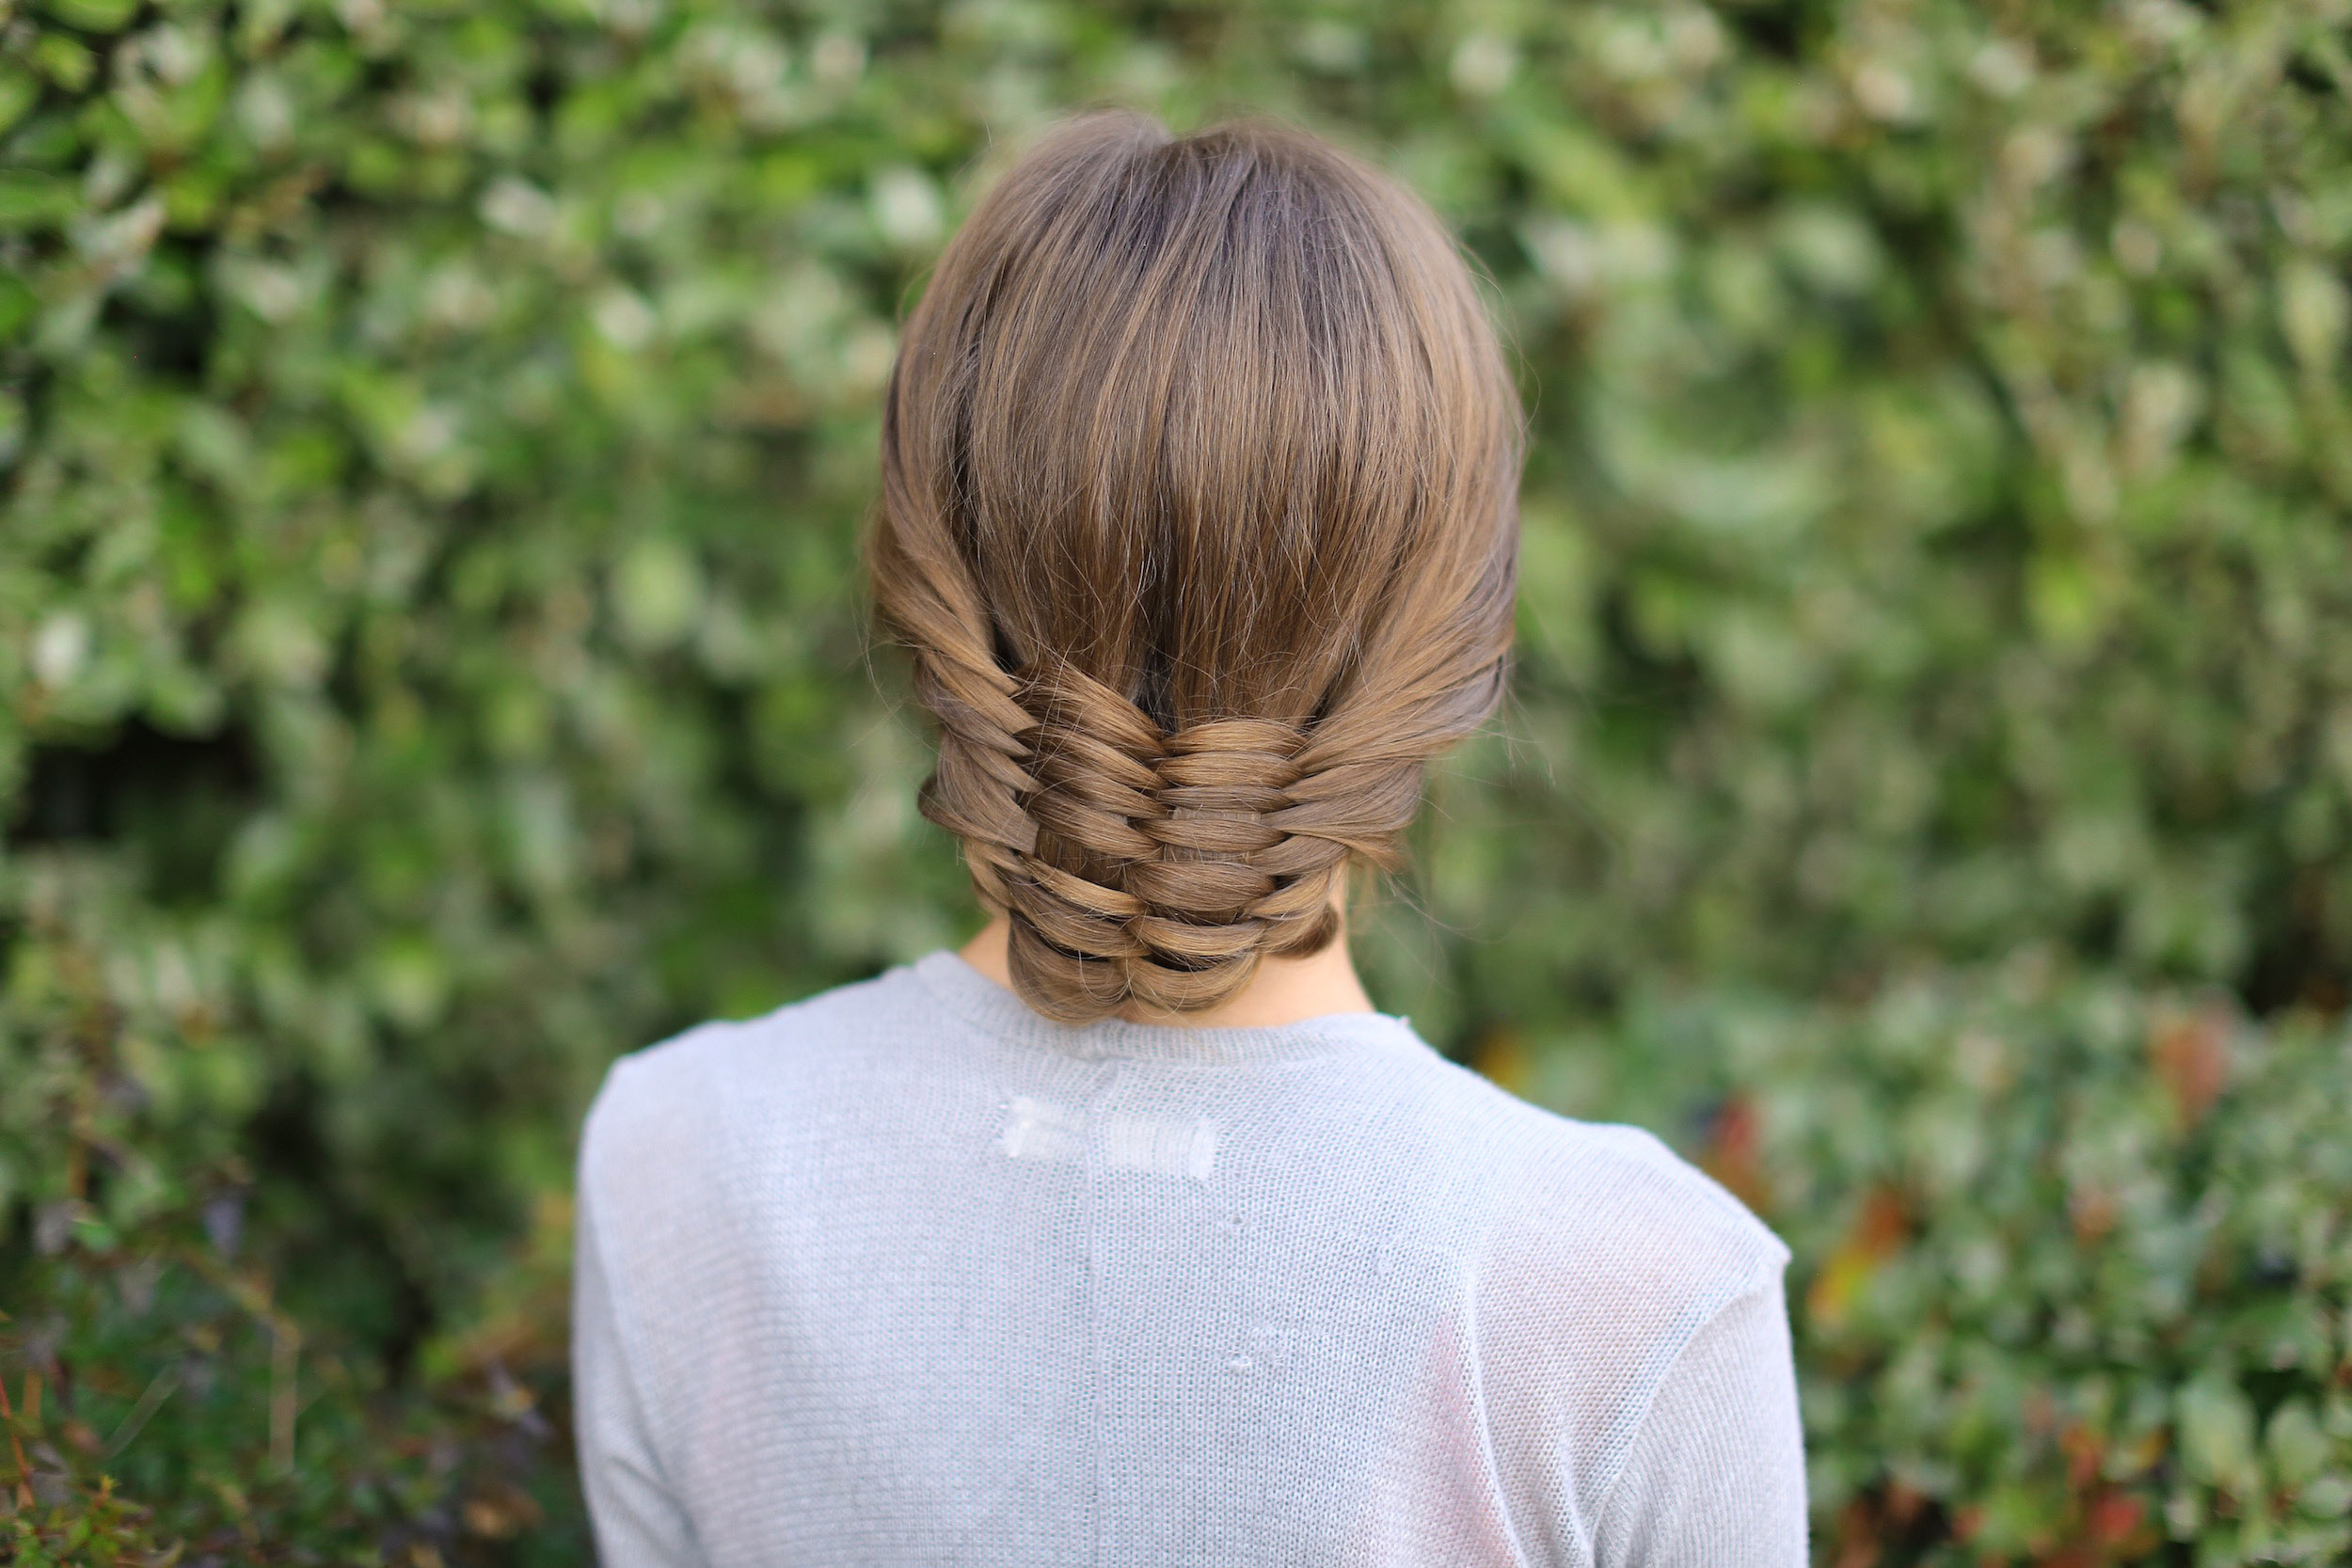
We really love how this Woven Updo turned out, and the girls and I think that it looks great from all angles, too!

Items Needed: Brush, rat-tail comb, spray bottle, 1 small hair elastic, 4-6 bobby pins, hairspray {if desired}.
Time Requirement: 8-10 minutes
Skill Level: Medium
Video Tutorial:
- Begin with the hair down, a divide the hair down into two equal sections…
- Then divide each of those sections down again into two more sections, but with the inner sections having 1/3 of the hair and the outer sections {closest to ears} with the 2/3 of the hair remaining…
- You should now have a total of 4 sections of hair, with the outer strands beginning with slightly more hair…
- Section off a small strand of hair from the far right side and take it over the first section of hair, under the second strand, and back over the 3rd strand, then add it into the 4th strand…
- Now, section off a small strand of hair from the left-most section and take it over the 4th strand, under the 3rd strand, over the 2nd strand, and add it to the 1st strand…
- Repeat steps #4-5, the basket weave pattern, until you run out of hair to weave through the braid…
- Finish off the braid in a regular 3-strand braid and secure with an elastic…
- Then roll the braid up until you reach the nape of the neck, essentially hiding the lower braid section and leaving only the basket weave pattern.
- Secure with 4-6 bobby pins and add hairspray {if desired}.
If you loved this hairstyle tutorial, please feel free to let us know by leaving a comment below! Please also be sure to check out our NEW MillennialMoms YouTube channel!
Happy Hairstyling!
BrooklynAndBailey turned 16 a few weeks ago, can you believe it? {I mean, seriously, where has the time gone???} Well, Bailey and I decided to go get some frozen yogurt, and just happened to crash Brooklyn’s first date! Want to see the vlog from their Sweet 16 party, too? Catch it all by clicking below!


So flamboyant. Look especially great on kamri
Love this! It would work really well for a job such as nursing, where it’s nice to have your hair up or out of the way, but still want to look nice. I’m going to try it on my sister next time she works. 🙂
I love it!
I really like this one… my grandma sews, so I love seeing her patterns on hair! Pretty cool 🙂
Did this today, got heaps of comments!