BONUS: Be sure to see our Disney-exclusive “Tinker Bell Hair Bun” tutorial on the DisneysStyle YT channel!
* ~ * ~ * ~ * ~ * ~ * ~ * ~ *
This is not a new hairstyle by any means, and it can be seen all over Pinterest, but we wanted to show you how we create it in our household!
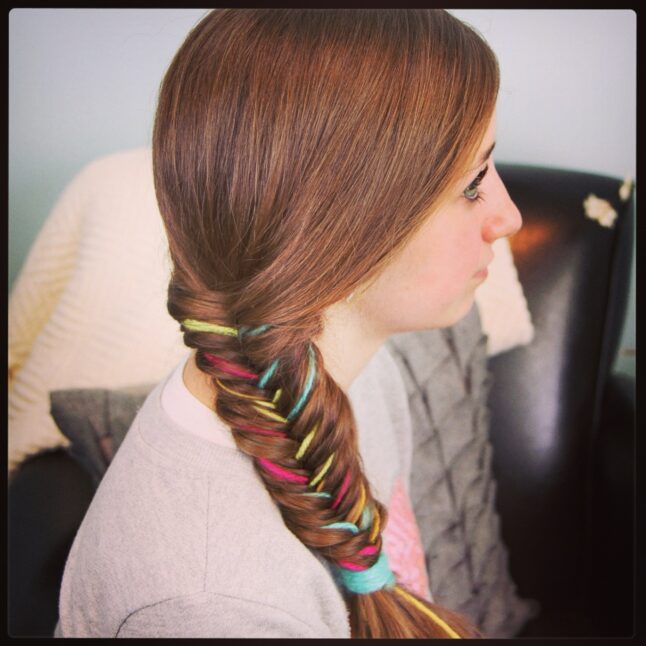 We were simply feeling the urge to help bring out the “Spring” feeling by filming this tutorial! It definitely helped!
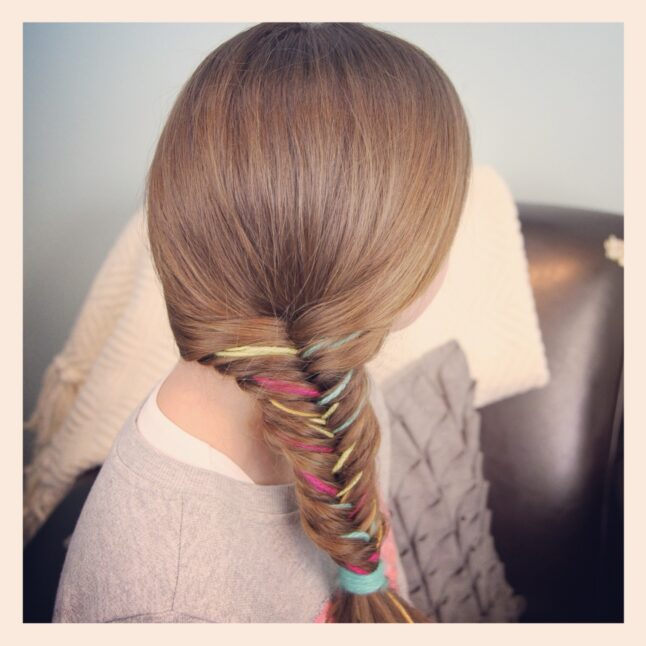
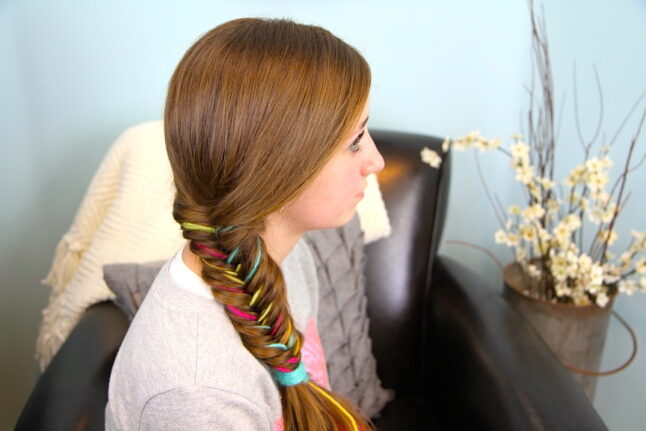
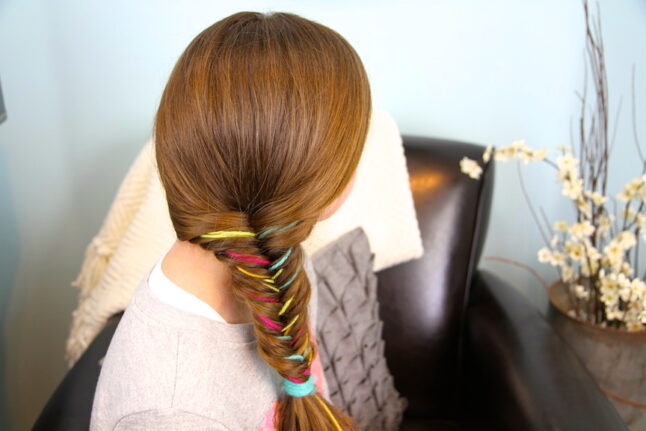
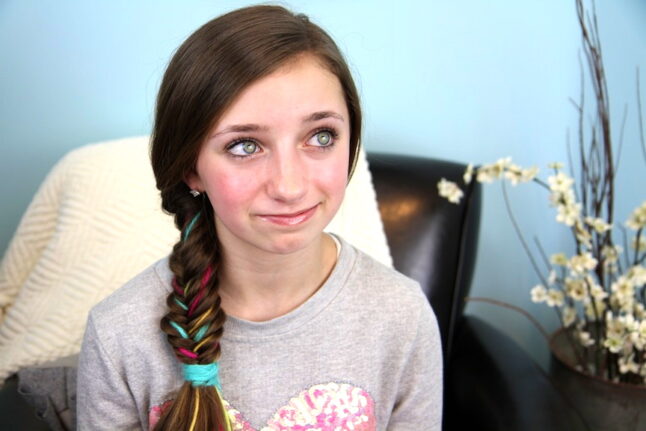
This fishtail braid with blended yarn highlights is perfect for cheerleaders and dancers, but also great for girls during Spirit Week {using school colors} or Crazy Hair Day! My twins wore this out last week and had lots of people intrigued and taking photos!
Now, you all know that I am not a fan of highlights or permanent coloring in my young girls’ hair.
What I love about our Chalk Highlights tutorial and this Yarn Extension Braid, is that there are ways to get a cute color accents in the hair without a long-term commitment and potential chemical damage!
Items Needed: Brush, rat-tail comb, 1 hair elastic, 12-14 yarn strands {from 3 or 4 colors} each measuring twice as long as your hair.
Time Requirement: 10 minutes, including tying in the yarn.
Skill Level: Medium
Step-by-Step Instructions:
- Begin by sectioning off the top part of the hair and securing with a rubber band to keep it out of the way, leaving the rest of the hair down…
- Now, take a yarn strand and tie it onto the base of a sectioned strand of hanging hair {you do this by placing the yarn perpendicular behind the hair and at the base, and tying a simple square knot in the yarn around the hair. To keep the knot from slipping, you can teaze the hair a little below the knot}…
- Next, grab another piece of yarn {different color} and tie it on the next strand of hair {try to place different colors of yarn next to each other, so their is a variety}…
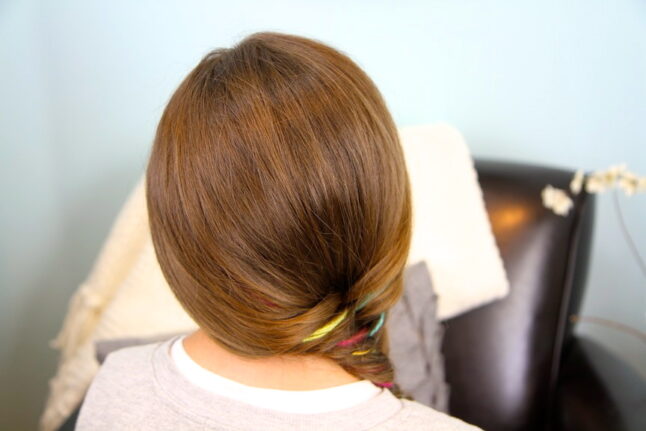
- Once you have placed all your yarn strands {we used about 13 strands}. drop the remaining top hair down over the top to hide the knots…
- Now, sweep all hair over one shoulder, gather it, and separate it into two sections…
- Begin a regular Fishtail Braid by taking one outside tiny piece of hair, cross it over and into the other section of hair. Be sure to include a yarn strand in each section…
- Now repeat on the other side.
- Repeat Steps #6 and #7 all the way down {remember, try to get a strand or two of yarn in each piece you cross over}…
- Once you have completed your fishtail braid, secure it with a hair elastic. You can also take some of the extra length of the yarn and wrap it around the elastic to hide it. We show you how to do this in the video…
- Lastly, go back and tug/pop out any hidden strands of yarn so that you can see them better. You can also pancake the fishtail a little to broaden the braid, soften the look, and help the colors show through.
- Prepare for compliments!
Please feel free to leave a comment below and let us know what you think, and as always… feel free to share!
Happy Hairdoing!
* Note from Mindy: Google Reader will be shutting down on July 1st, so if you want to follow our blog… you can do so at BlogLovin, a new easy-to-use blog reader for women!


Awesome I love it
I love this new style of colouring hair. I’m a big fan of yours. And your twins. I like the new hairdo which one of your twins had on her latest video on scarfs. Can you please do a tutorial on that?
Hi 🙂 I love your videos how do u make/edit them ?? What program do u use.
Thanks
can you do a four strand french braid
Yeah, I saw a pic of a five strand Dutch braid on Pinterest, it would be great to know how to do it!!! And a Katniss bow braid, cause I can’t figure out how to do it! Thanks!
This hair style is beautiful and creative. The yarn is a great way to add color to any braid style. Great work.
amazing love it like all the others
Vry nyc hairdo….best part u can make self . To make it simple v can also tie yarn at the beginning of braid lk a rubber elastic. Well…nyc.
Mindy, you are so creative! I know my sister has been dying to dye her hair (little pun there!), and since my parents won’t let her I’ll let her know about this super easy alternative!
This is so cute! Love it!
im in love with this hairstyle i love all the colours too im the 2nd to comment !
I can’t get the Chalk Highlights link to work…it just keeps bringing me back to this page. Can you send me the link? Thanks!
http://www.cutegirlshairstyles.com/hairstyles/2nd-day-hairstyles/chalk-highlights-fun-hairstyles/
PLEASE do some hairstyles that can be used for dance/gymnastics/cheer/sports! I am out of ideas!
I love this! Does the yarn come out easily?
what other hairstyles can you do with this?
I tried this out on myself yesterday, and the yarn come out sort of easily, but it can get caught in your hair very easily! If you have that problem, I guess you could spritz some water on the strand of hair, and only tie the yarn in one knot, and the water would make them stick together a little bit, but the knot wouldn’t be so tight when you tried to take the yarn out. As for a different hairstyle to use the yarn with,you could try the cage-braid that CGH did a while back with the yarn extensions. Good Luck!
Oh my god! this is sooooo cute luv it
I love the so many colors their are for the hair
This is so cute! It would be a great way to add color to my hair, especially because I’ve always wanted sky blue streaks. They would look odd as a permanent addition to my dreadlocks though.
Will you ever do an hair tutorial on sweet pea?
I agree with Ava sweet pea is so adorable.