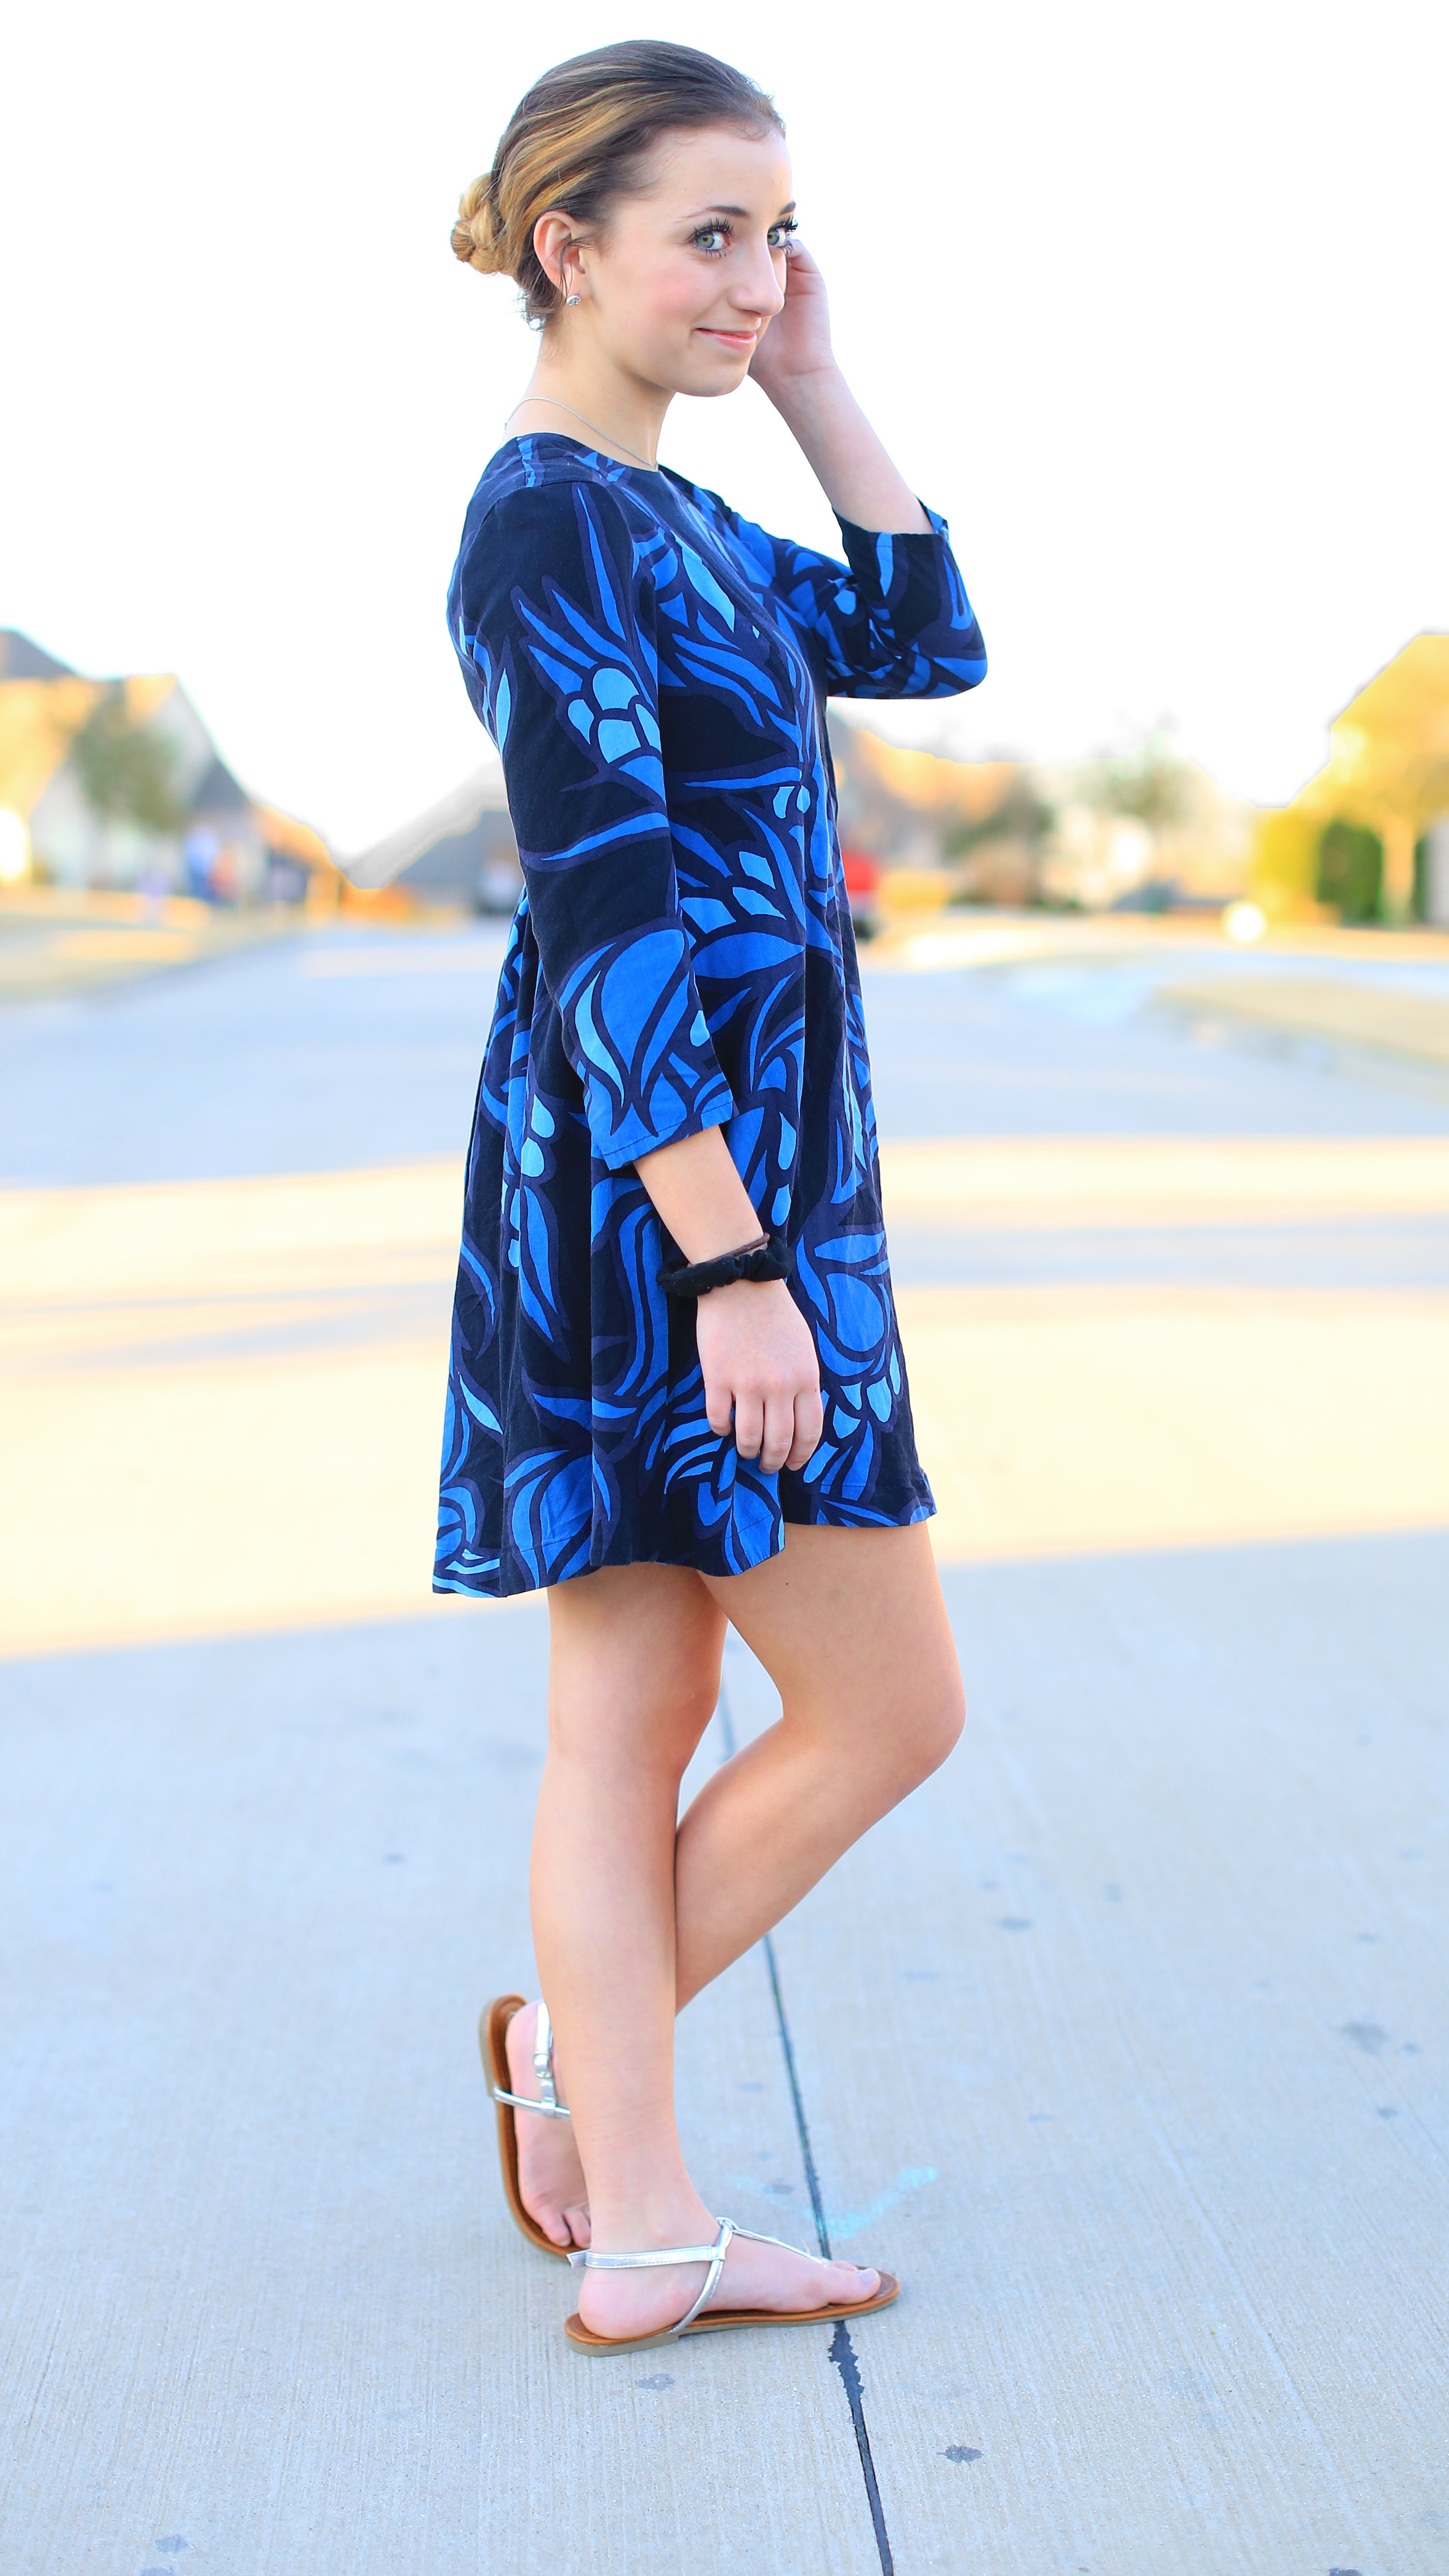
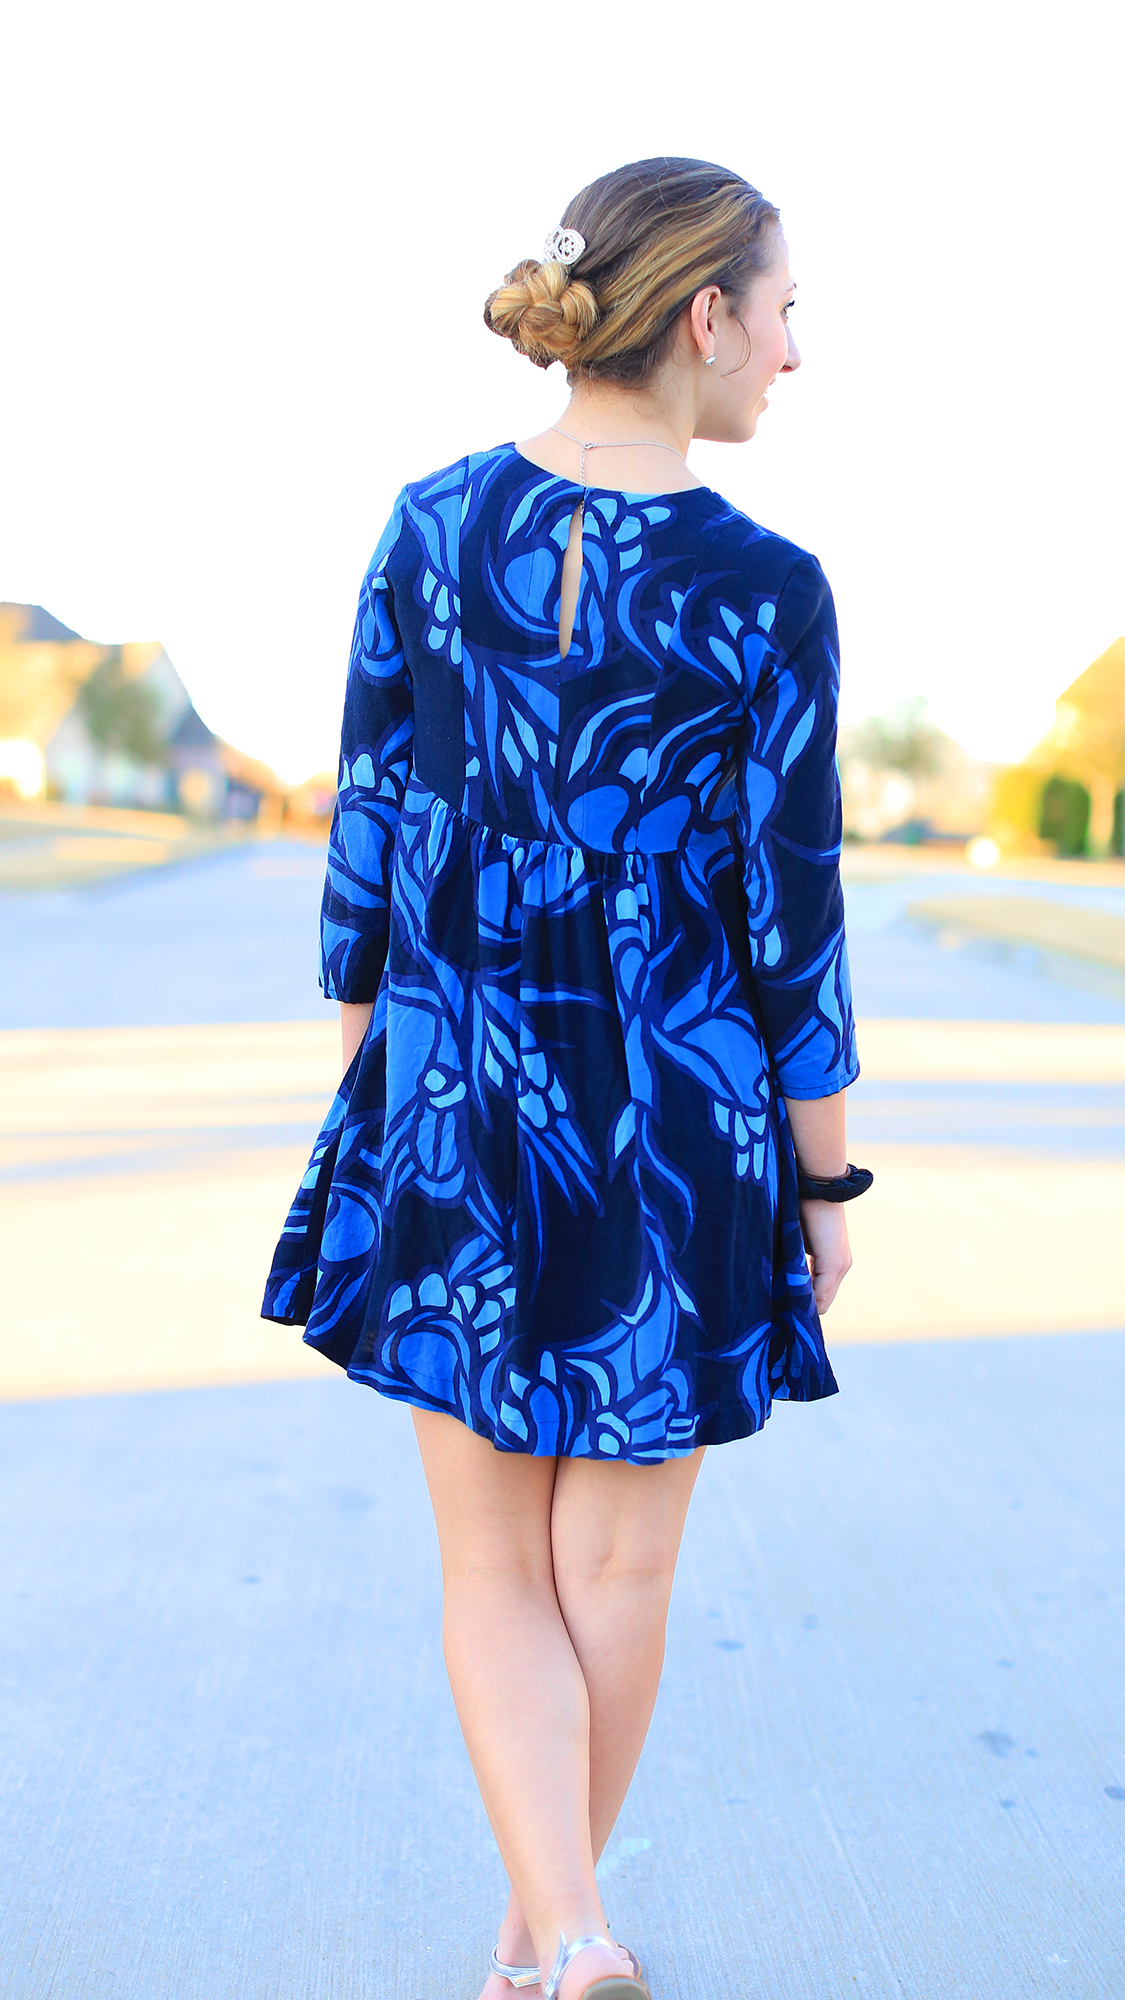
Are you looking for an easy yet beautiful updo for prom or any other formal occasion? Brooklyn and I will show you today how to create this super cute Flipped Braid Updo hairstyle!
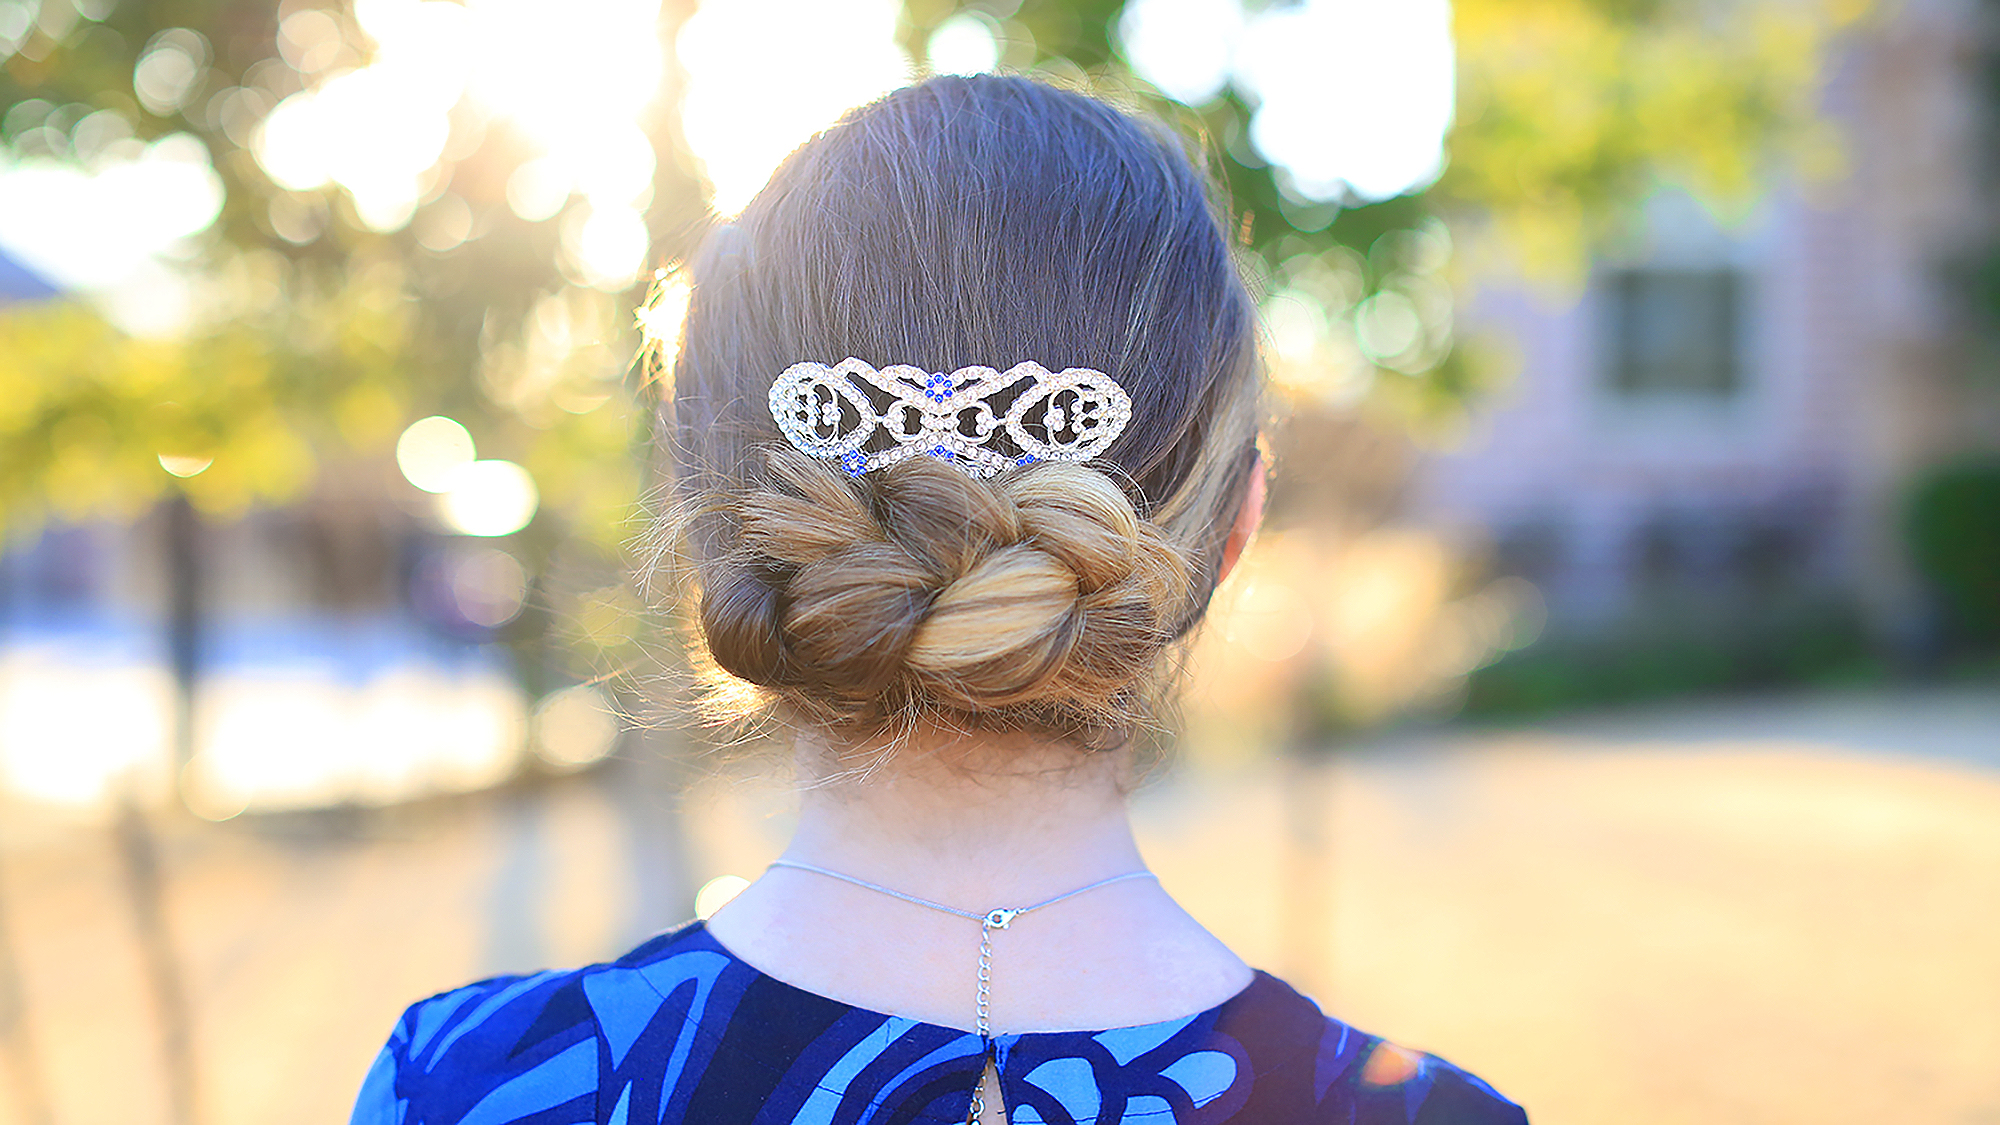 This style seriously has to be one of the easiest updos you could ever create. If you can make a simple 3-strand braid without any problem, then this updo will be a piece of cake! (This tutorial was inspired by a speedtorial I saw from @whatlydialikes on Instagram.)

 To see your own photo recreations of this style featured in our app, feel free to tag your photos on IG with: #CGHFlipBraidUpdo
I highly recommend this updo for graduation, Prom, Homecoming, ballet, or any other formal occasion. Also, feel free to dress it down a little with a cute shirt and jeans! It can be adapted to your lifestyle and fashion in any way you like!
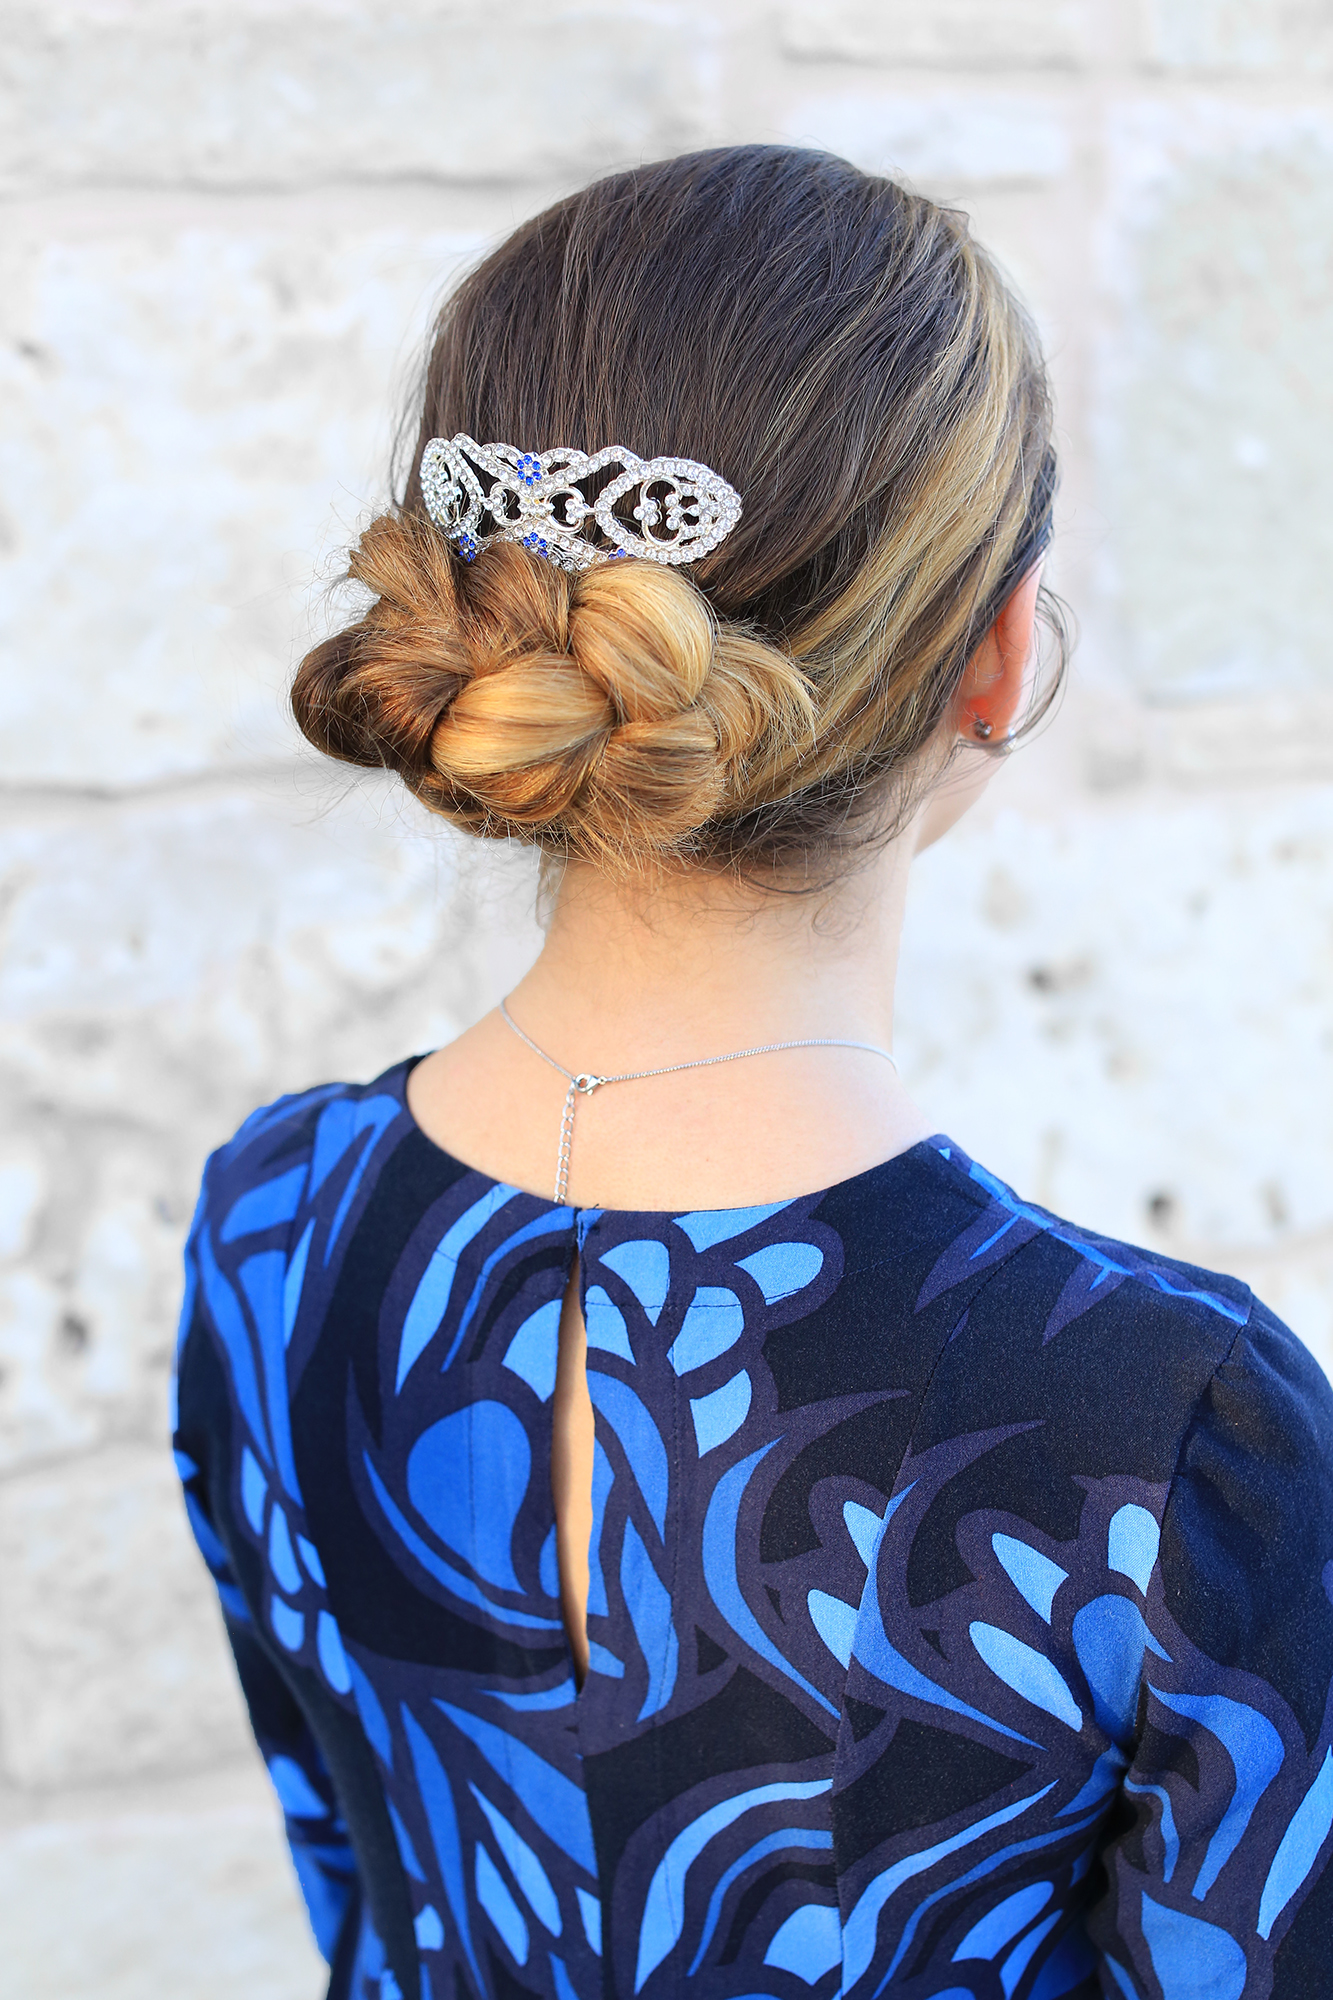
 Items Needed: Brush, rat-tail comb, spray bottle, 2 small hair elastics, 3-4 small bobby pins, hairspray {if desired}.
Time Requirement: 2-3 minutes
Skill Level: Easy
Video Tutorial:
Step-by-Step Instructions:
- Begin by teasing the top of the hair near the crown {for a more mature look, make sure to curl the hair beforehand}…
- Pull the hair back into a ponytail near the nape of the neck, and secure with a hair elastic…
- Now divide the hair into three strands and create a regular 3-strand braid, and secure it with another elastic…
- Then, create a hole off to the left of the top elastic and take the braid up and through that hole, thus creating a reverse hair flip…
- Make sure to pull the braid up all the way through the hole until the elastic flips up and under the hair at the nape of the neck…
- Create another hole on the right side and feed the braid end down through it {essentially taking the braid up through one hole on the left, and down through another hole on the right}…
- Tuck the braid ends up and under the hair at the nape of the neck, and secure with bobby pins…
- Go back and tug on the hair at the crown area to again add volume to desired fullness…
- Add access0ry and hairspray {if desired}.
If you loved this Flipped Braid Updo tutorial, please be sure to leave a comment below to let us know!
Happy Hairstyling!
This week, my twins BrooklynAndBailey shared with us a few of their tips for online privacy and safety. I thought they did a great job, and literally laughed when they showed me how they were going to present them! Click below, watch the video, and let me know what you thought!


Brooklyn’s hair is so pretty!
THE HAIROPEDIA has got huge variety of hairstyles that will not only make you satisfy within the first time but would also want to visit it again and again every time you have an hairstyle emergency like going for a prom but have an no hairstyle for prom. Then you know where to go
click here for more —> http://www.thehairopedia.com
I love your family, All the girls and Dax is so cute. The hairstyles that you do are my favorite.
I love this! I love that it is super quick and easy’ easy DIY!
Thanks for sharing!
I also love Brooklyns Dress ???? It’s so pretty
Love ittt
Thank you!
cute
Love it!
Brooklyn is so gorgeous with that hairstyle ????????
I love this! It would be cue for a formal dance or nice date function!
Love this one!!
This style is so creative , and pretty , the clip/pin thing is pretty adds a nice touch
That hairpin is so cute! Where can we find them? Amazon? E-bay?
I love this hair style, I love the extra accessories you added
This is amazing!!
My favourite bun style yet.
Great idea for everyday or running late!
I cant wait to try this for dance
This is such a cute hairstyle for prom!
it looks like a princess hairstyle… ill definitely try this
This is my favorite hairstyle ever!!
beautiful
I love scrolling through Cute Girls Hairstyles posts before events coming up and choosing out a new style every time. I can’t wait to use this style in a weeks time, for when I go to see Mama Mia live 😀