Hi everybody! This is Aylin from Posh Nail Art. I’m super excited to be on the Cute Girls Hairstyle Lifestyle team. It is so much fun working together eventhough we are oceans apart. ????
Speaking of oceans, I don’t know about you but we are having a warm-ish winter here in Istanbul, thanks to global warming. We had a few rainy days, some cold, but not super-freezing type of cold, and of course no snow. Is it just me or is everybody dreaming of snow when you speak of winter, especially in mid-January? I love it when it starts snowing just in time for Christmas in the movies, but it never happens in real life. 🙁
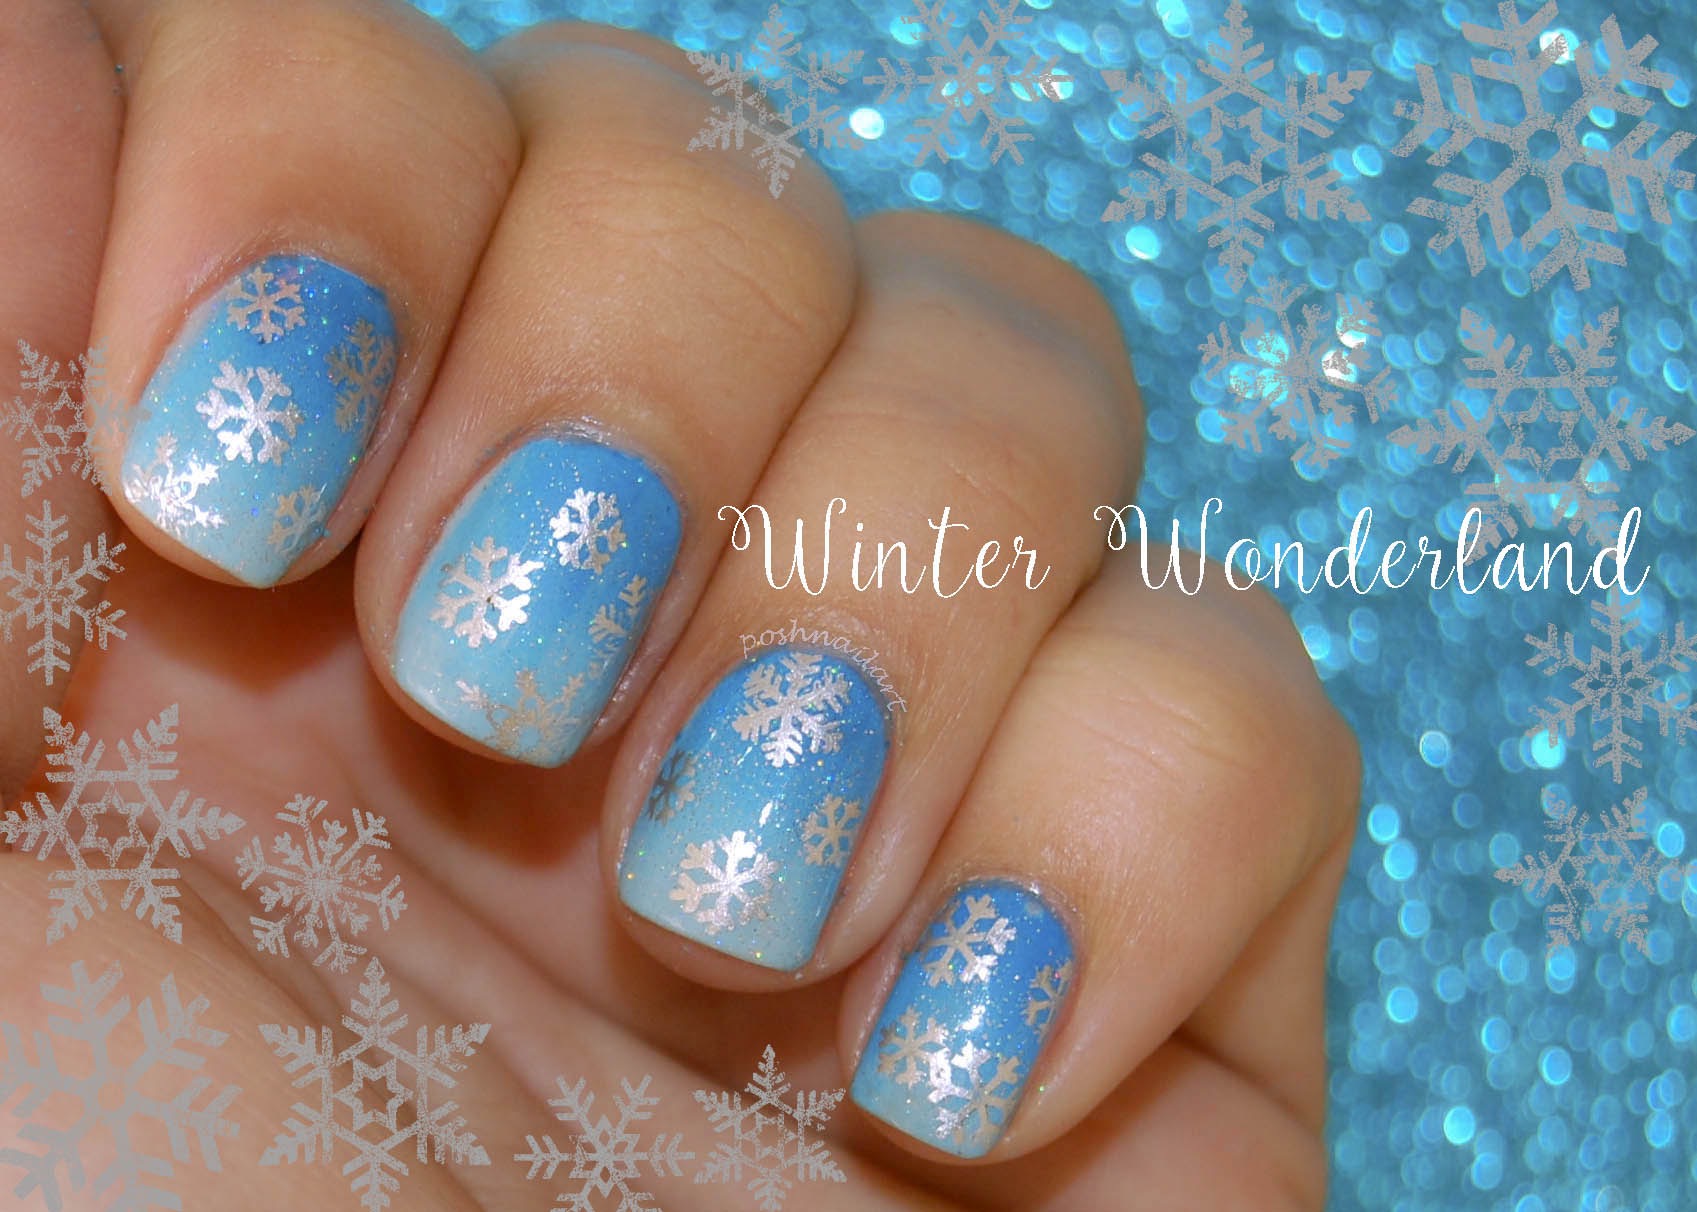
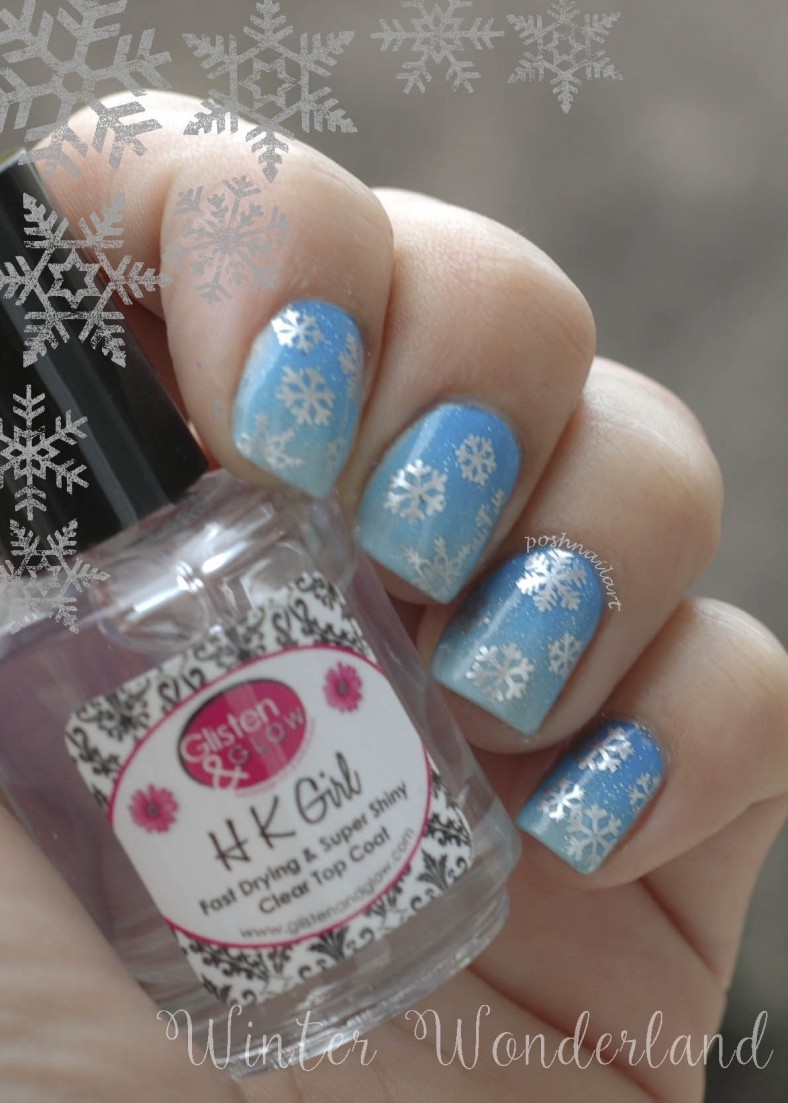
Anyway, let’s get to the point. This month I’ll be sharing a Winter Wonderland mani with you, for those who alrady have snow on the ground and for those who wish for snow. I hope you like it. Here’s how I did it….
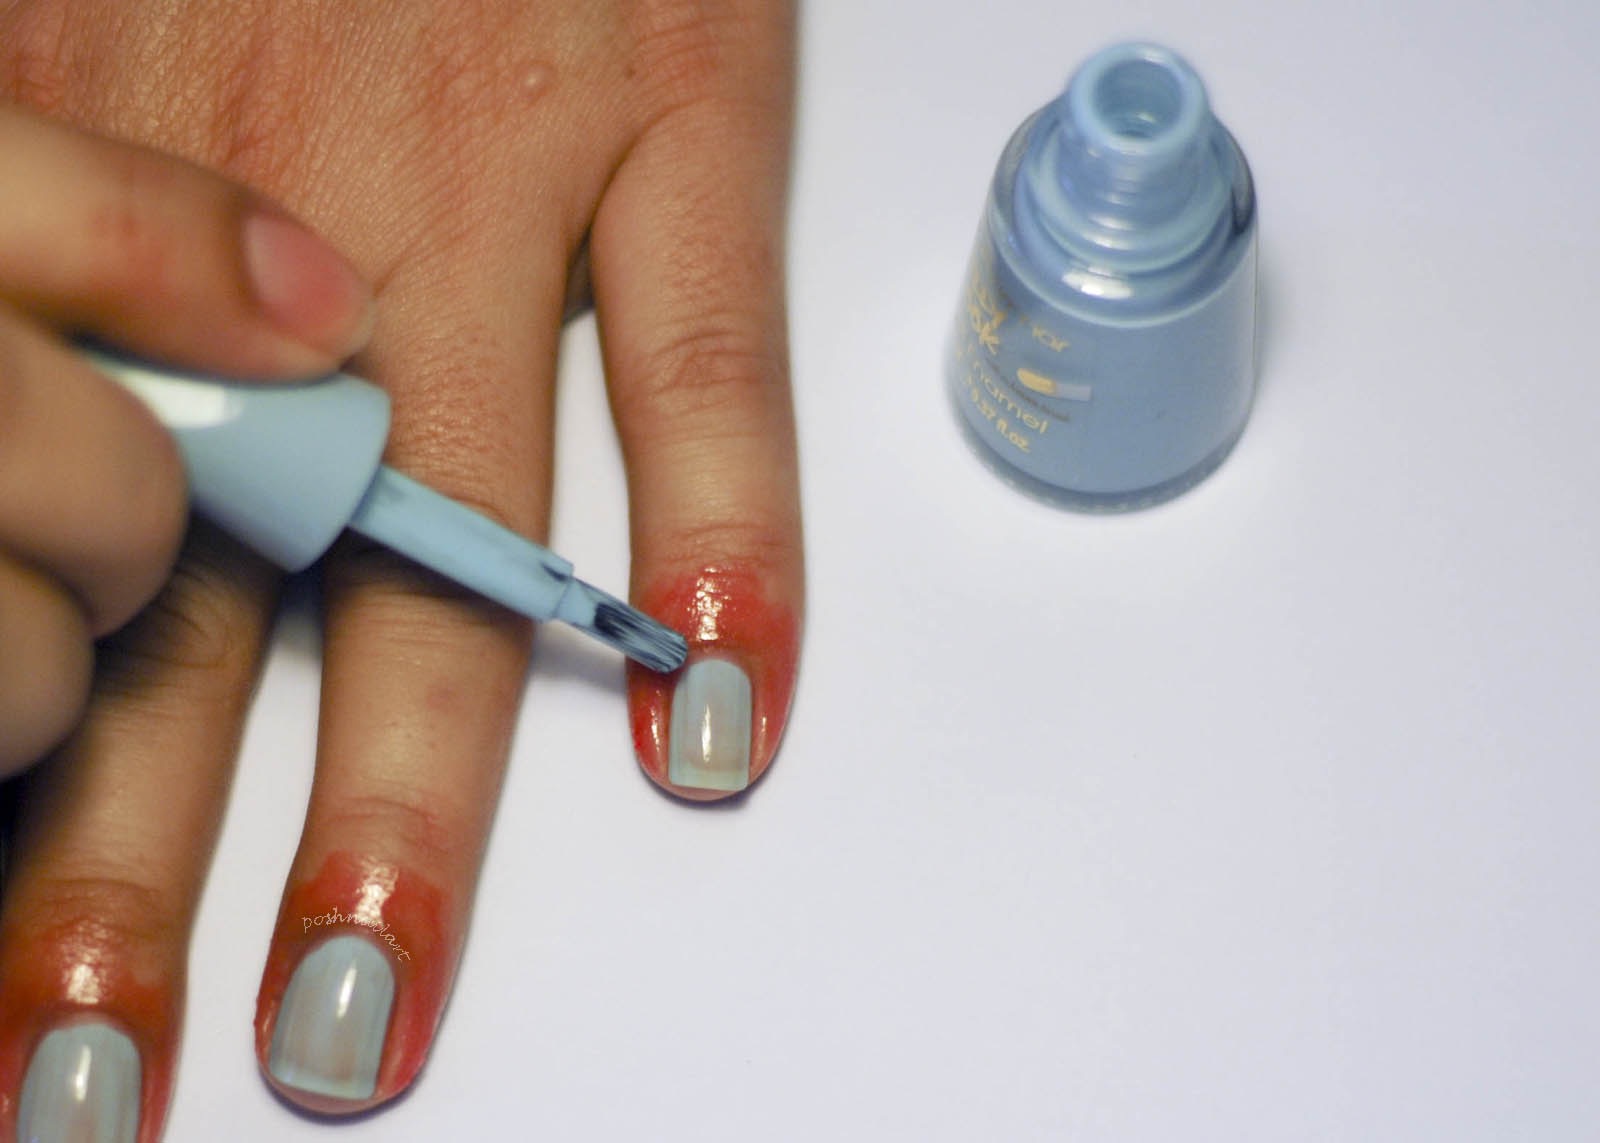
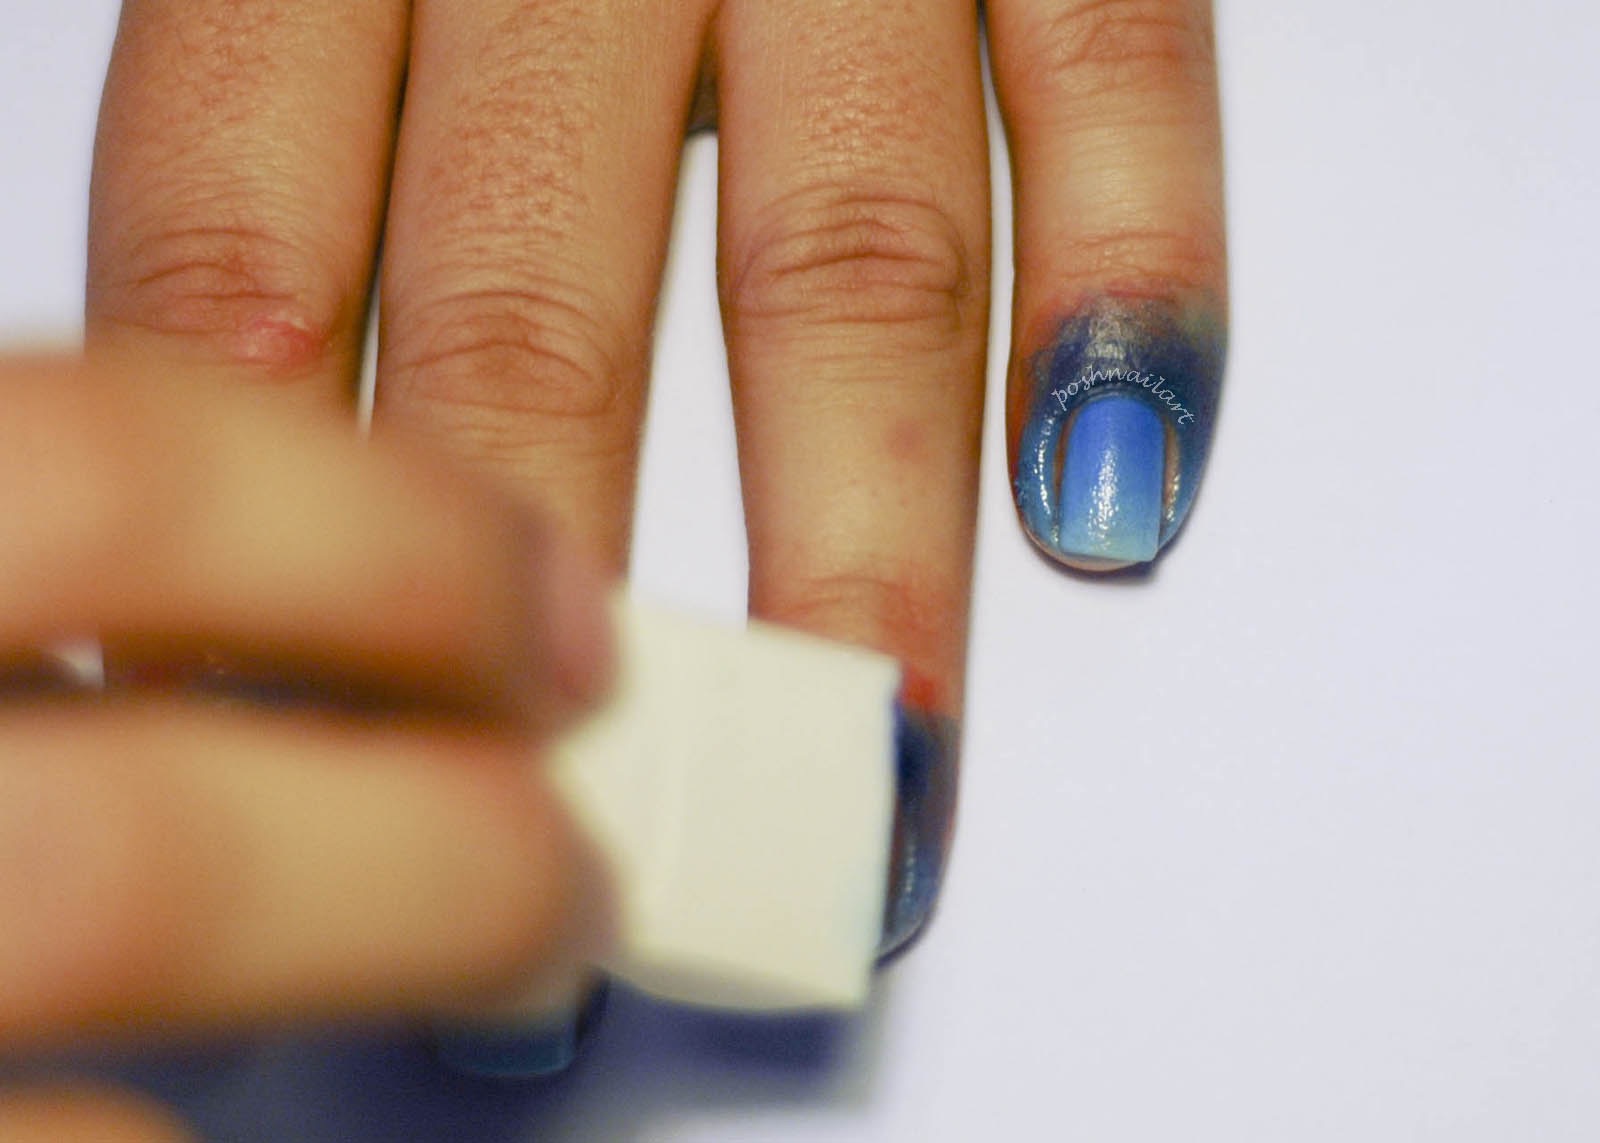
First I started painting with a light shade of blue. I went with one coat because I was going to apply a gradient over it, but you can make 2 coats. By the way, the redness you see around my fingers is a local brand of liquid palisade. It applies like glue around your nails for easy clean up. Great for messy manicures if you ask me.
After my base was dry, I took 3 shades of blue and painted them on a piece of paper as shown in the picture. Then I took a make up sponge and dabbed it on the paper.
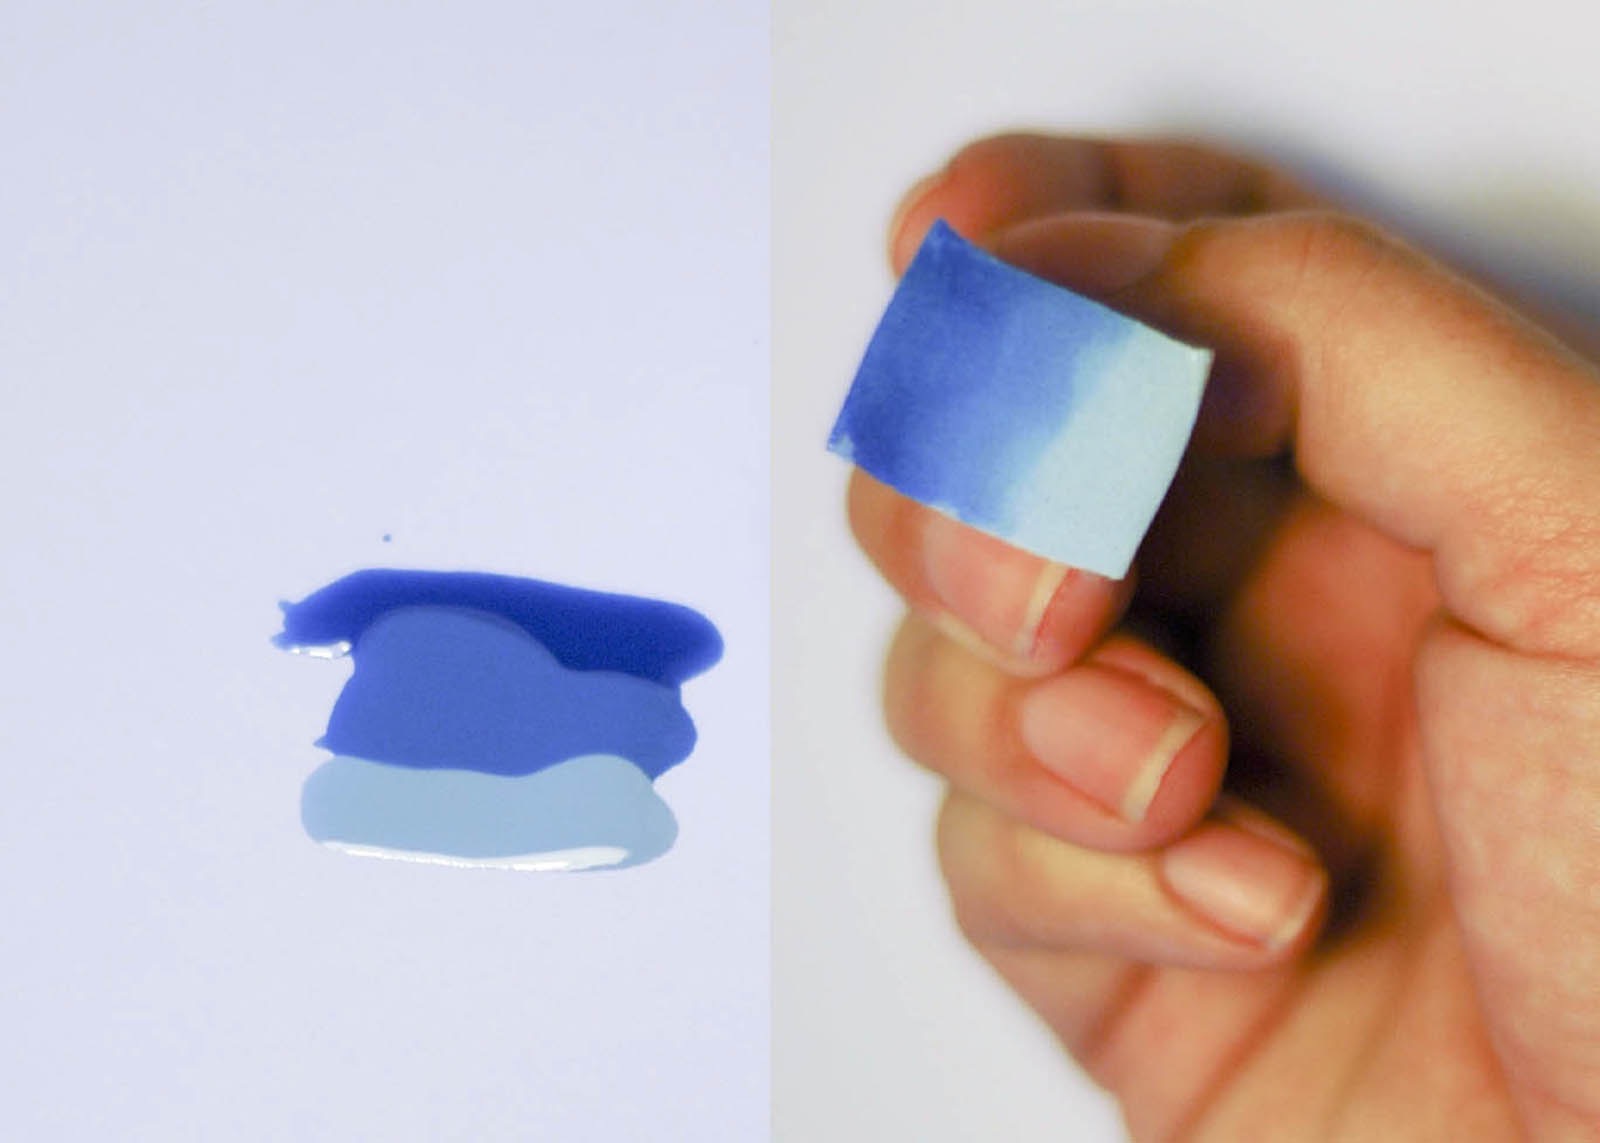
Slowly and gently, I pressed the wet sponge onto my nails to create a gradient effect. You may repeat the process untill you are satisfied with the result. But be careful not to ruin the base coat.
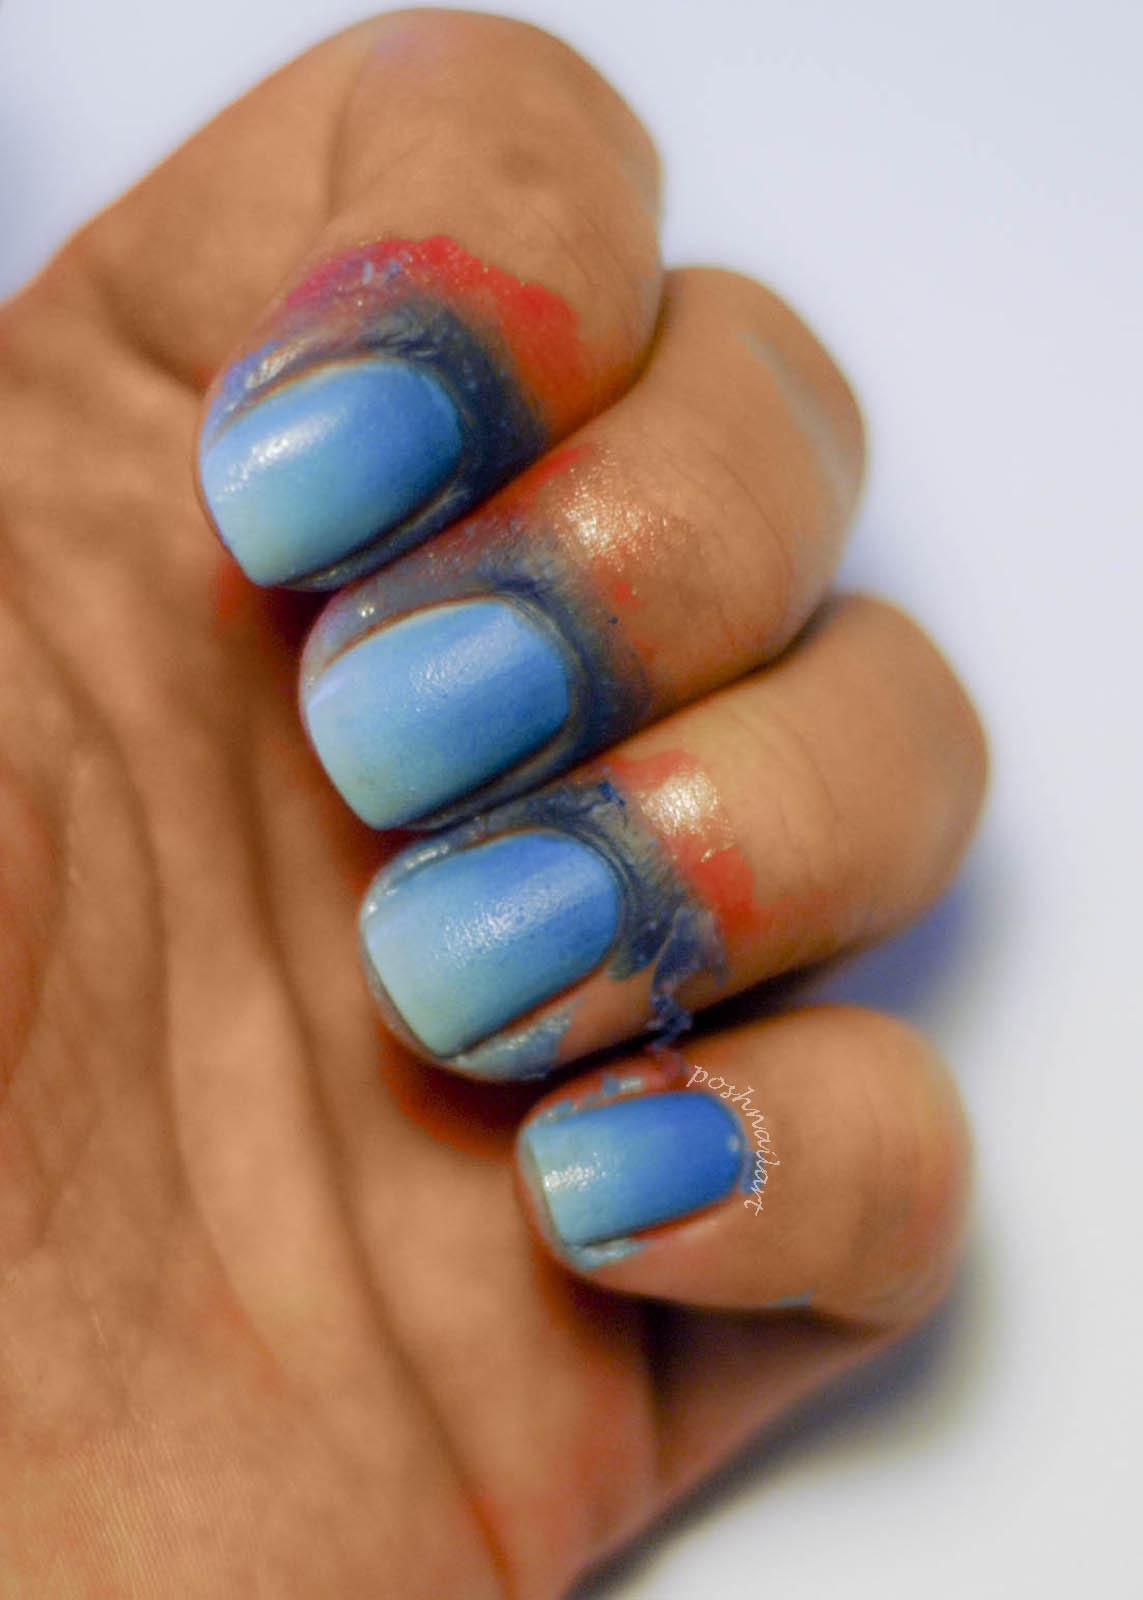
See, this was what I meant about easy clean up. You just peel the liquid palisade around your nails and save yourself some time. Anyway, the finished gradient should look something like this.
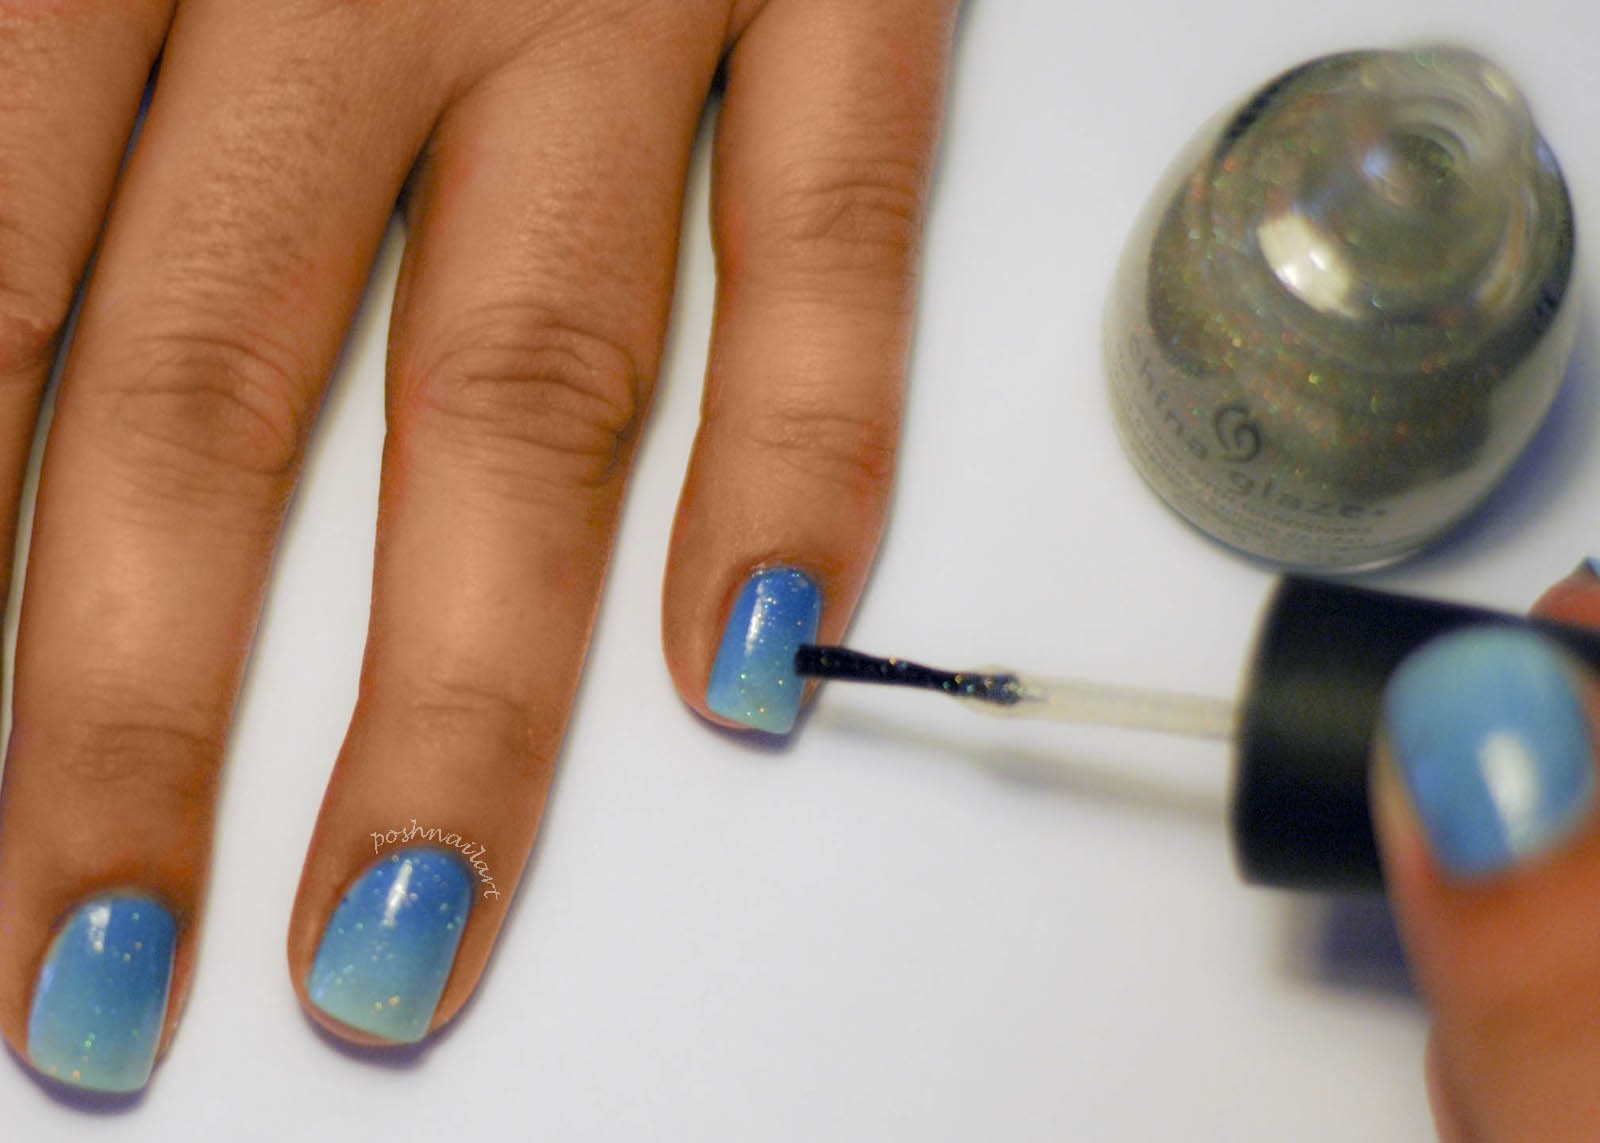
Next I added some fine glitter on my nails, because who doesn’t like glitter, huh?
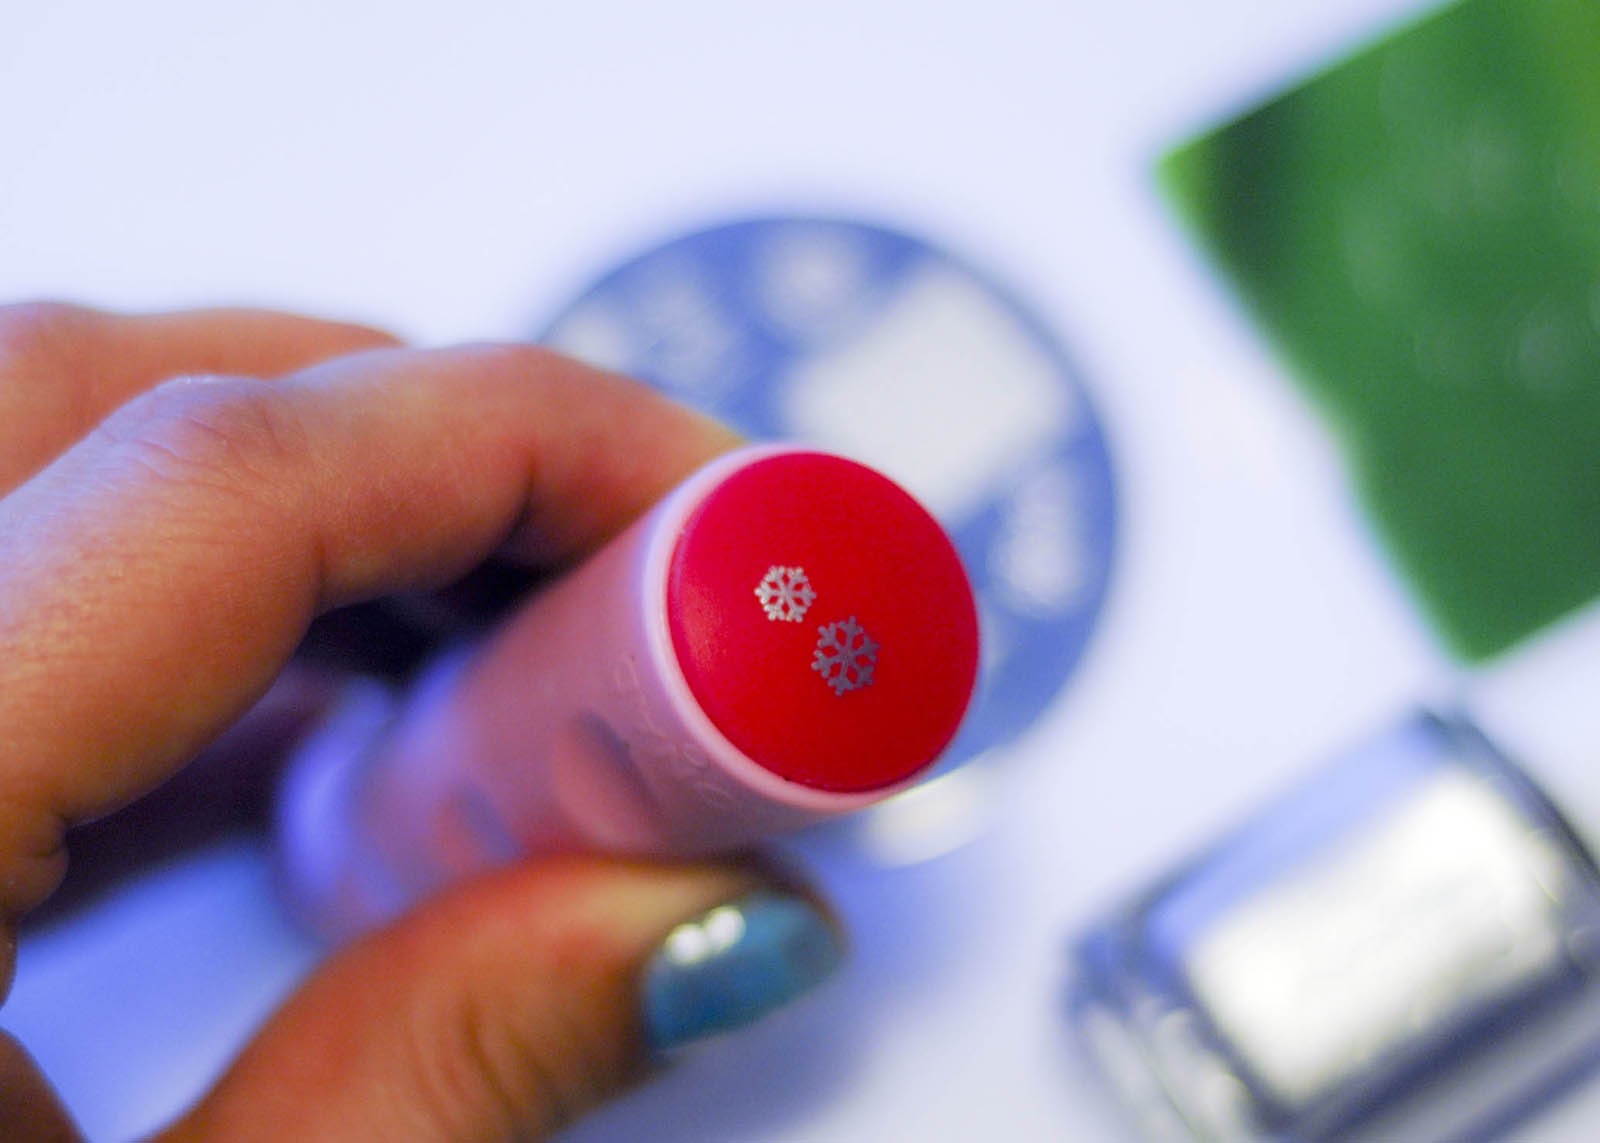
Here comes the best part, stamping. I used various snowflake images from the stamping plates I own. I preferred silver stamping polish for the snowflakes because I think blue and silver look really nice together.
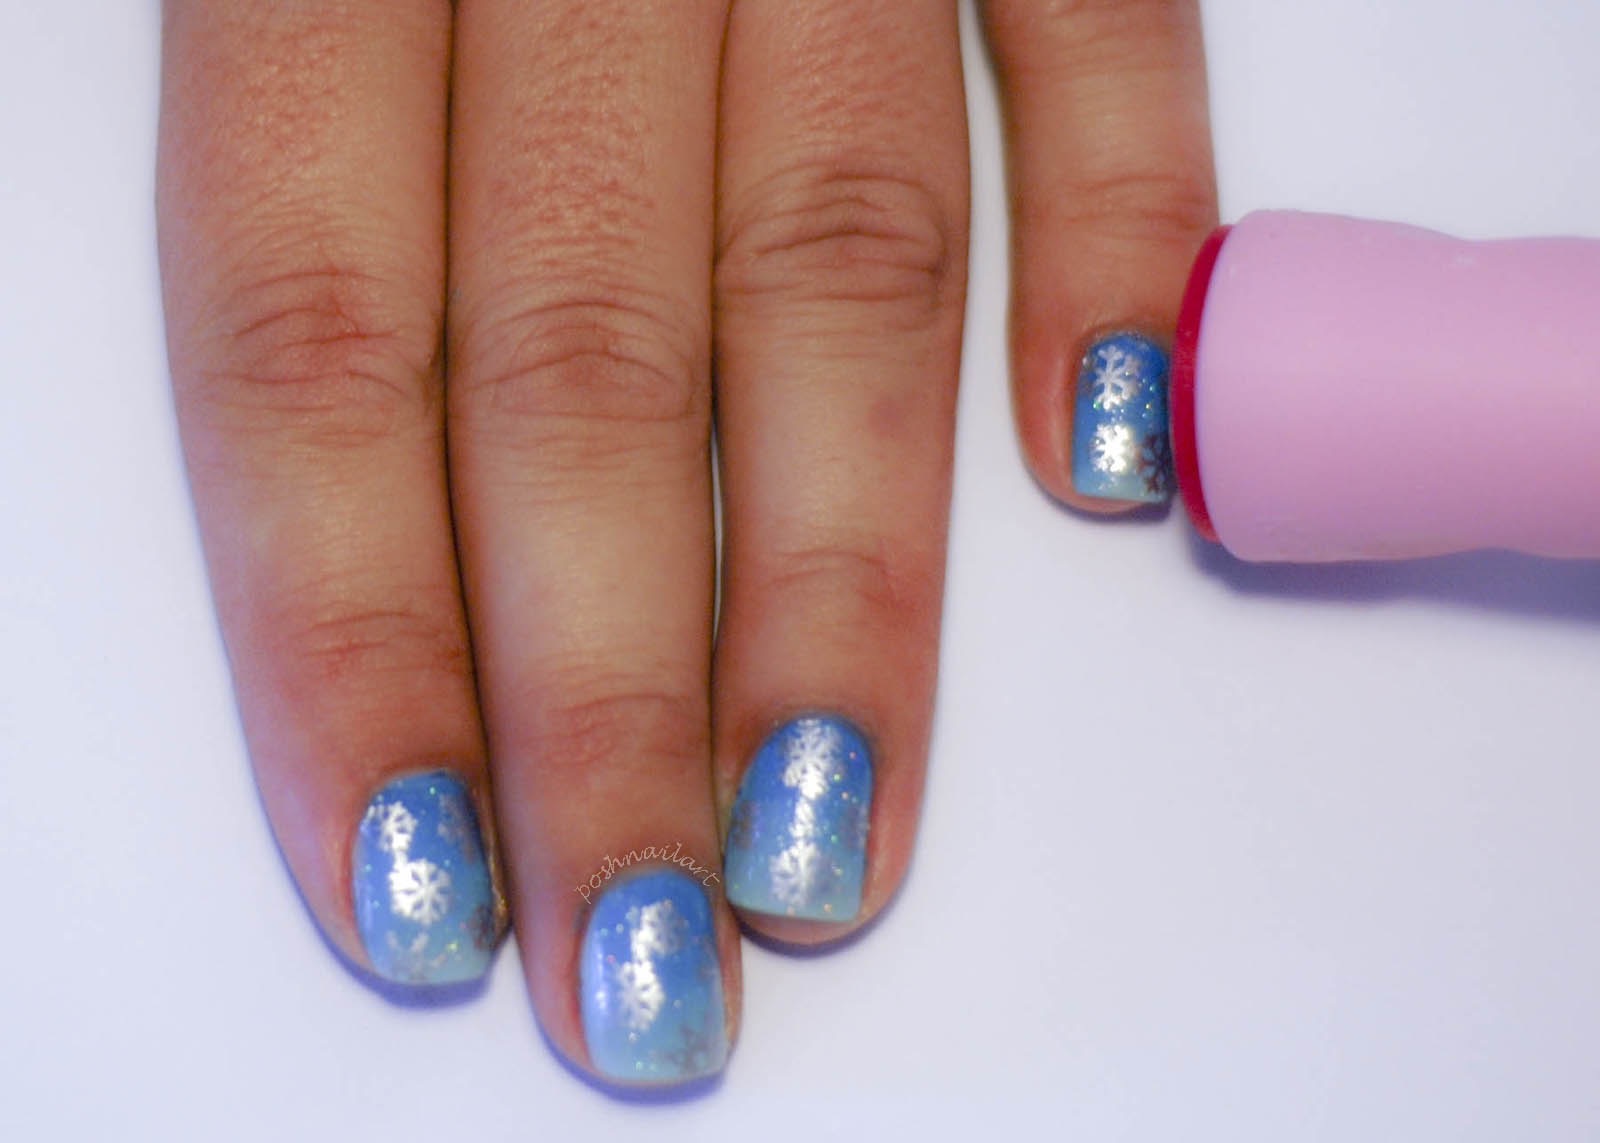
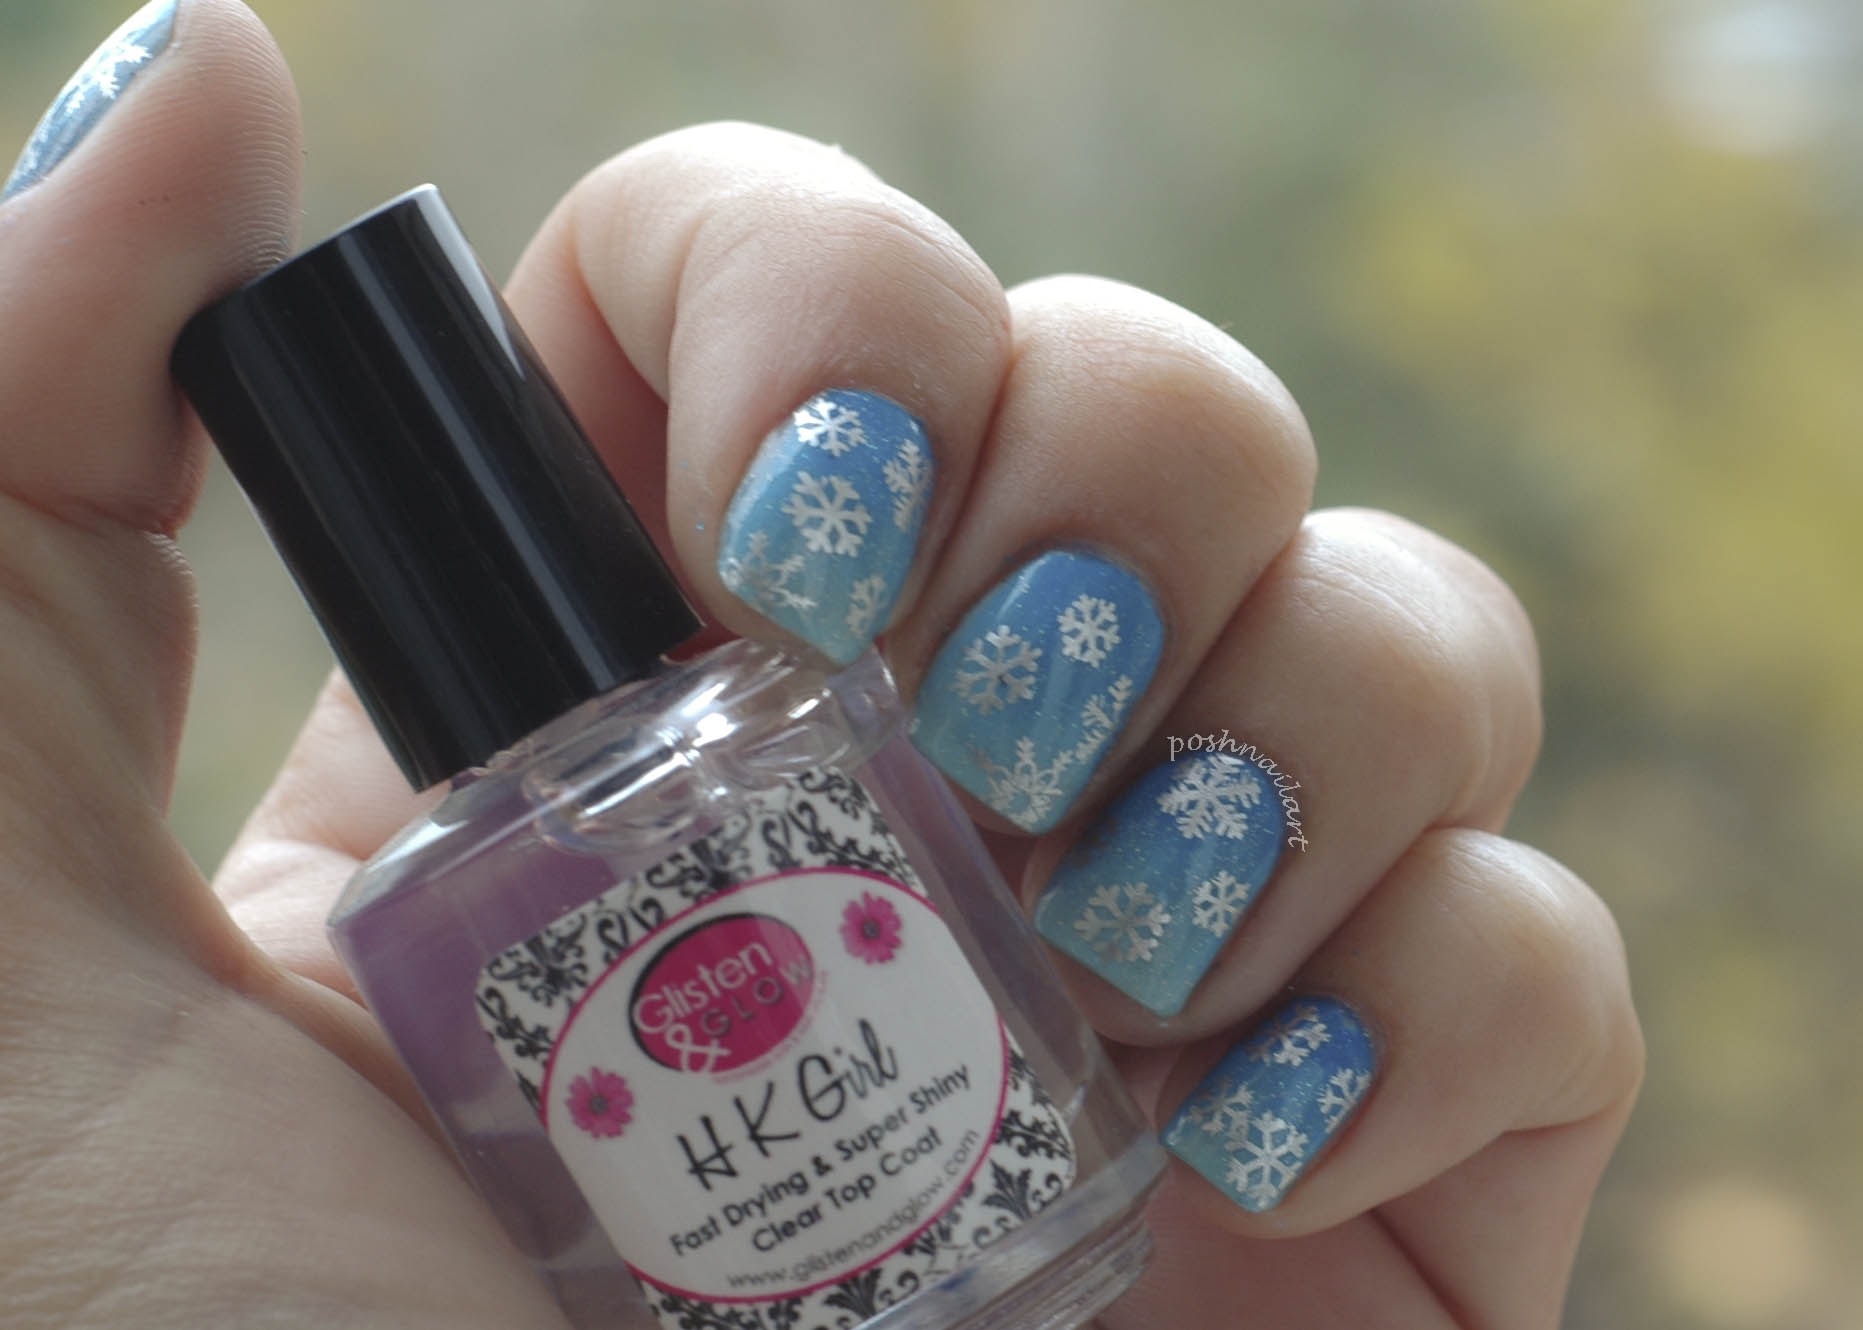
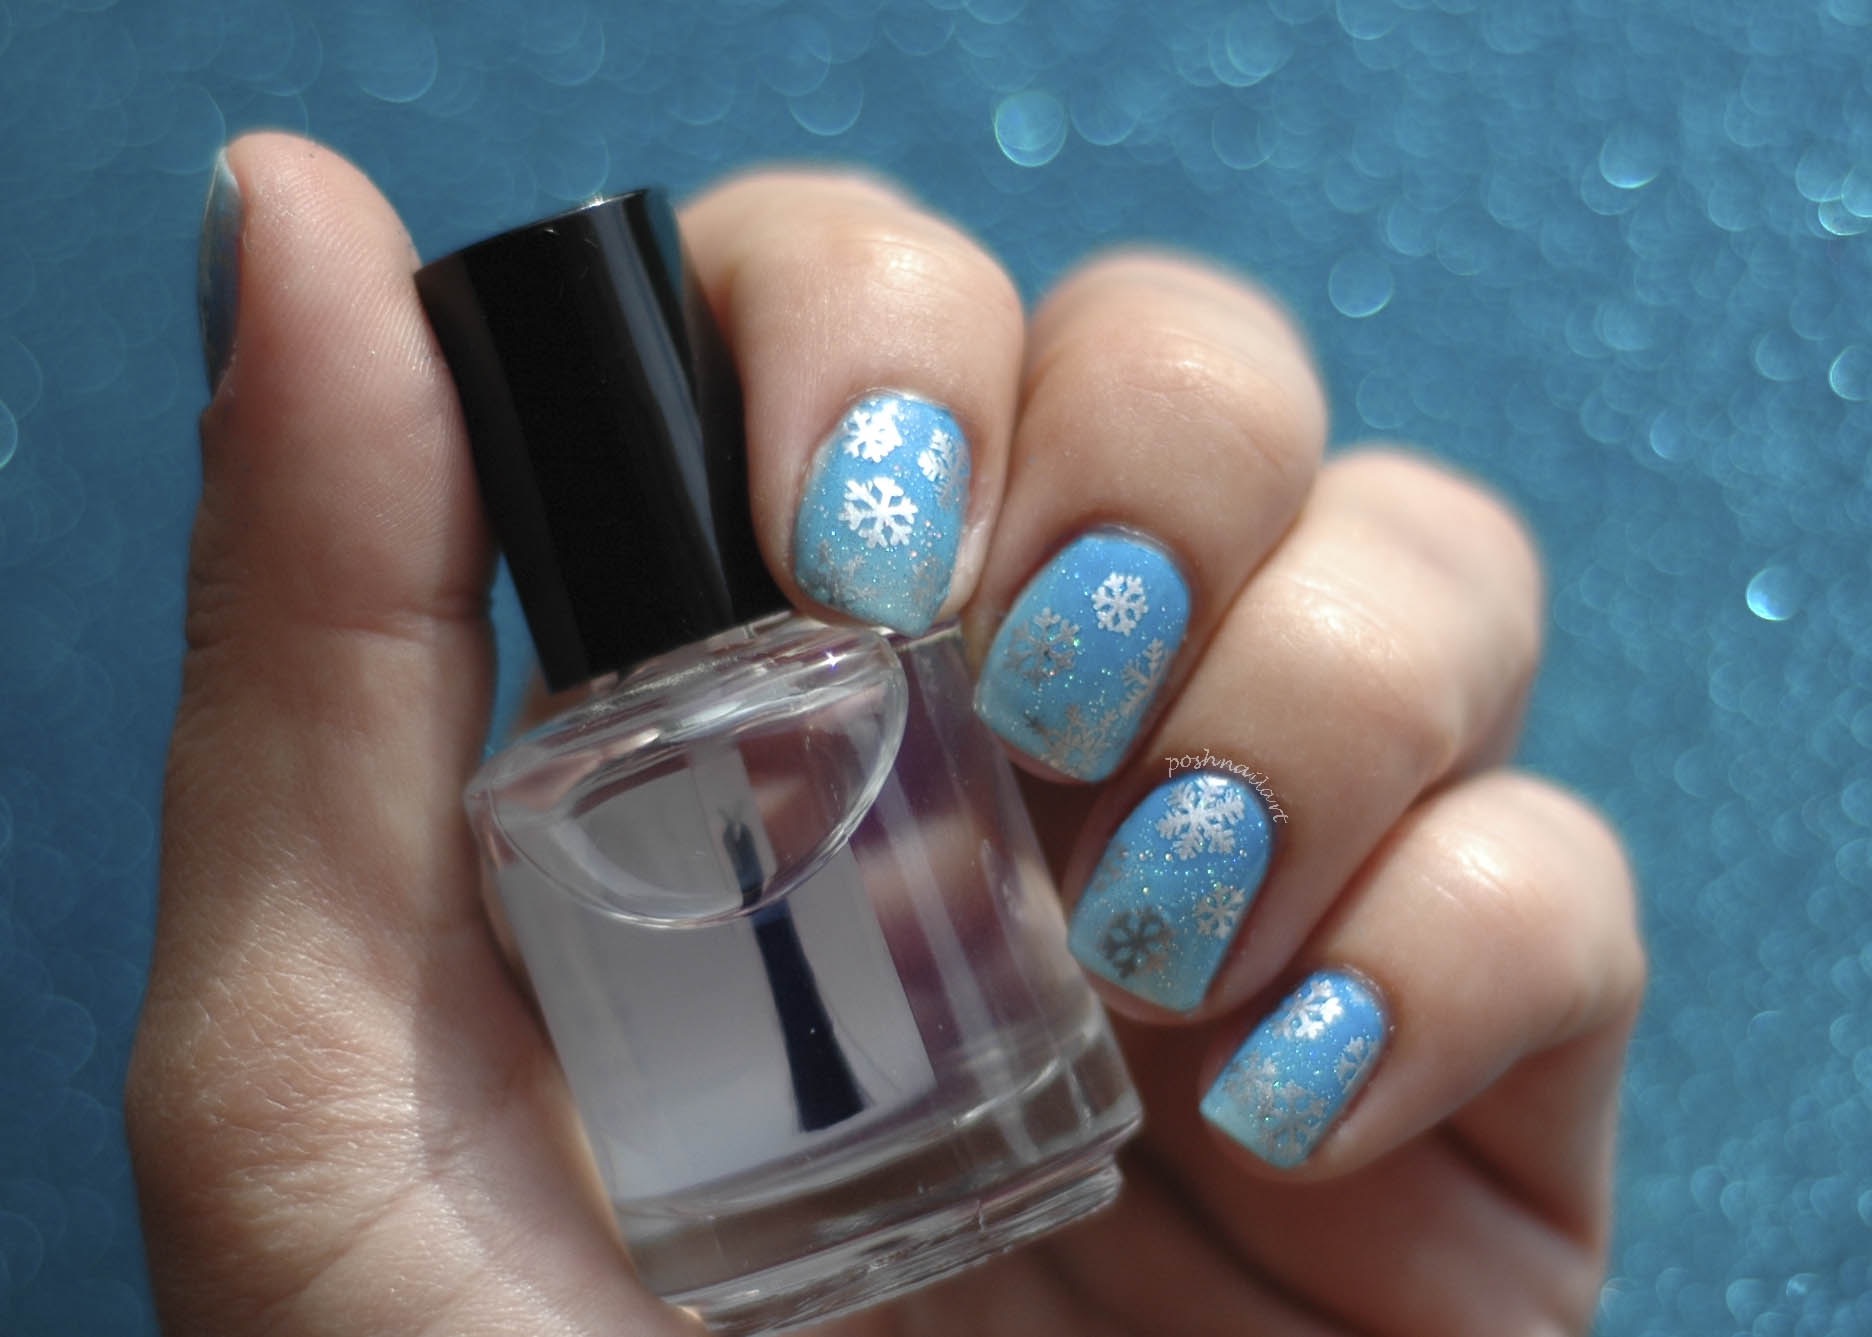
After I was satisfied with the placement of my snowflakes, it was time to seal it with a topcoat. I usually prefer fast drying top coats, because I’m always in a hurry and I don’t want to risk ruining my precious art work. ???? And believe me, it happens a lot. It is like Murphy’s Law. Whenever my polish is wet, I have to go to the toilet!!! So these fast drying top coats are lifesavers.
Once your topcoat is dry, it is time to enjoy your Winter Wonderland mani.
That’s it for this month. I hope you enjoyed this mani. Have a wonderful month and see you in February…
For more great nail art designs check out Posh Nail Art!
I need to get my hands on one of those stamps. So many design possibilities and easy to do. Thx for the idea.
Love this so much. Pretty sure I can’t do it. Hahahah! I suck at nail polish
this is so cute and it’s very Elsa-esque ♥