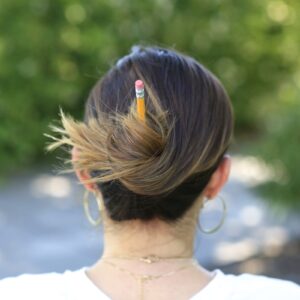
3 Easy Pencil Bun Ideas | Back-to-School Hairstyles
It is Back-to-School season, and on some days you will wear your hair down in the most perfect, gorgeous curls.…
3 Easy Pencil Bun Ideas | Back-to-School Hairstyles
It is Back-to-School season, and on some days you will wear your hair down in the most perfect, gorgeous curls.…
How to Create “No-Heat” Paper Towel Curls
You all know that we love posting no-heat curls tutorials from time to time! This one is inspired by a…
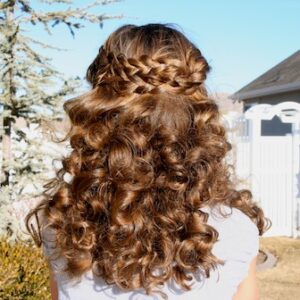
Rope-Braided Heart | Valentine’s Day Hairstyles
We are gaining quite the extensive list of Valentine’s Day Hairstyles, with some from as far back as 2009. Feel free…
Bandana Curls | No-Heat Curl Hairstyles
Our No-Heat Curl tutorial series has been very popular, because a lot of teens and moms are trying to avoid…
How to Get the Perfect Ponytail | Hairstyle Tips
We receive so many requests on how to create a perfect ponytail, and there are some tricks that will certainly…
Six DIY 1-Minute Bandana Hairstyles
We want to see your recreations of this hairstyles… simply tag #CGHBandanaStyles and @CuteGirlsHairstyles in your photos on Instagram! {We…
Get Merida’s Fiery and Curly Red Hair | Disney Princess Hairstyles
Since we have been creating content for Disney Style during the past 18 months now, I am often asked which…
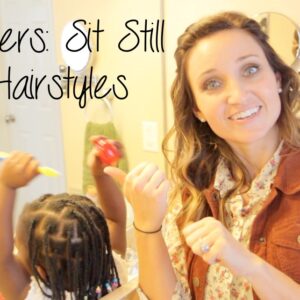
Top-10 Tips for Toddlers Sitting Still During Hairstyles
Many of you often ask how it is that my girls seem be so good when we do their hair.…
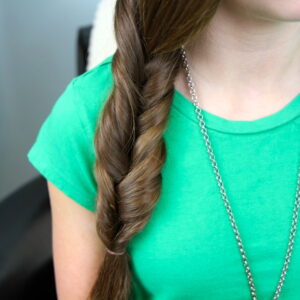
Faux Fishtail Braid | Easy Braid Hairstyles
Today’s video features CGH#1 filming her very first tutorial! If you are like me and my girls, you love fishtail…
CuteGirlsHairstyles on Disney Junior
Several months ago we were contacted by a producer from Disney Online who asked if we would be interested in…
Our Hair Care Routine | Cute Girls Hairstyles
I have been blogging here since 2008, and the single-most request I receive from fans {after hairstyles} is regarding what…
Sock Curls | No-Heat Curls Hairstyles
By popular request, and because no-heat hairstyle ideas are very popular right now… we decided to share one of the…