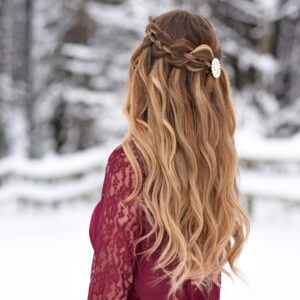
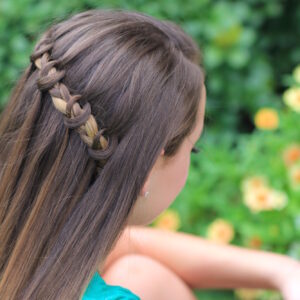
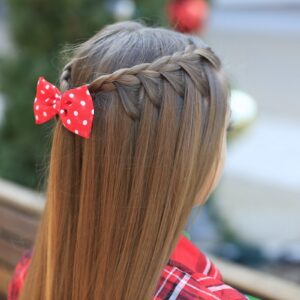
Today we want to share a very pretty and elegant hairstyle. This is a 4 strand waterfall that will impress…
Waterfall Braids

Aren’t we always on the search for a new sports or athletic hairstyle? If you have athletic children or just…
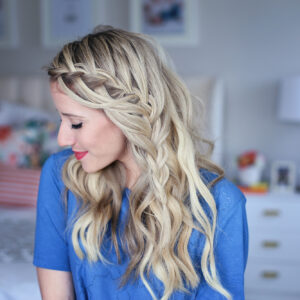
3-in-1 Cascading Waterfall | Build-able Hairstyle
Today we have not 1 but 3 great hairstyles to show using a Waterfall Braid. Abby loves this option for…
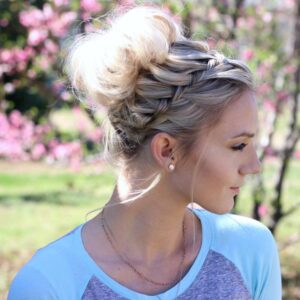
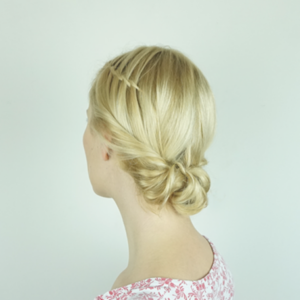
Everyone loves the Waterfall Braid! And a great bun is in the love column as well. Put them together and you…
One of the best things about braiding hair, is that once you understand the basics, you can create all kinds…
Easy DIY Hairstyles for Spring
Hi Lovelies! Ania from Hairs Affairs here again and I’m happy to be back! Spring is officially here! I love this…
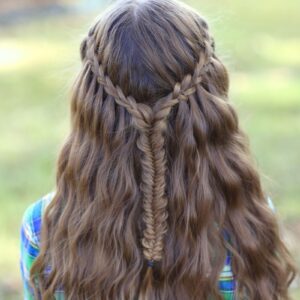
Today we are going to teach you the Knotted Waterfall, a faux waterfall braid that has a very cute and…
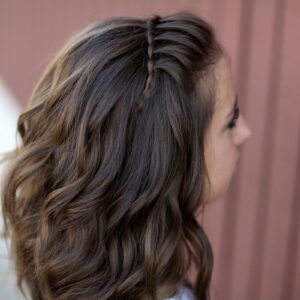
Since Bailey has cheer in the mornings, and early-morning seminary before that, she has to get up at 4:45 am…
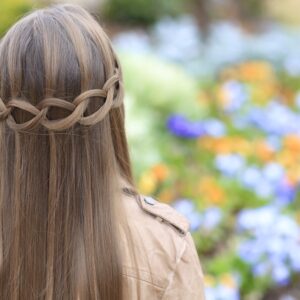
How to Create a Loop Waterfall Braid
Do you love the Waterfall Braid? Today we are going to teach you how to create this beautiful Loop Waterfall Braid that…
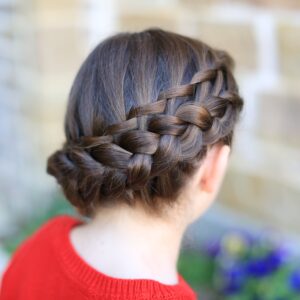
Upward Lace Braid and #ShareTheGift Nativity Feature
This week’s tutorial uses a Lace Braid, only instead of adding hair only into the top, as we’ve shown you…
Scissor Waterfall Combo | Latest Hairstyles
I’ve noticed this cool new Scissor Waterfall Braid technique several weeks ago, and now a few YouTubers and Instagrammers have shown how…

Waterfall Twist Rope Braid | Summer Hairstyles
Summer is here! My girls and I are always looking for hairstyles that take the hair out of our faces…