As Spring is fully upon us, with lots of Proms and formal school dances going on, Kamri and I wanted to teach you a variation of a hairstyle we showed you all last year.
This particular variation we call a 3D Flower Bun. Feel free to click here to see our original 3D Round Braid.
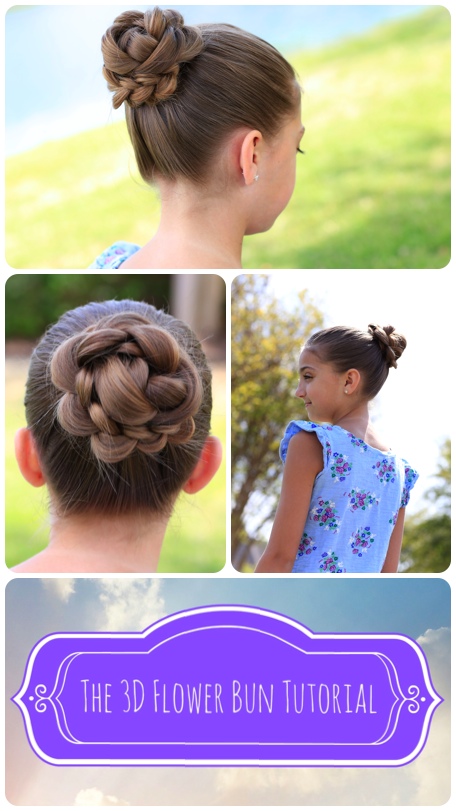 We used that exact 3D Round Braid as the base for this hairstyle, however my good friend Abby Smith suggested that we pancake the edge of the braid to give the petals a more profound look. We LOVED it!
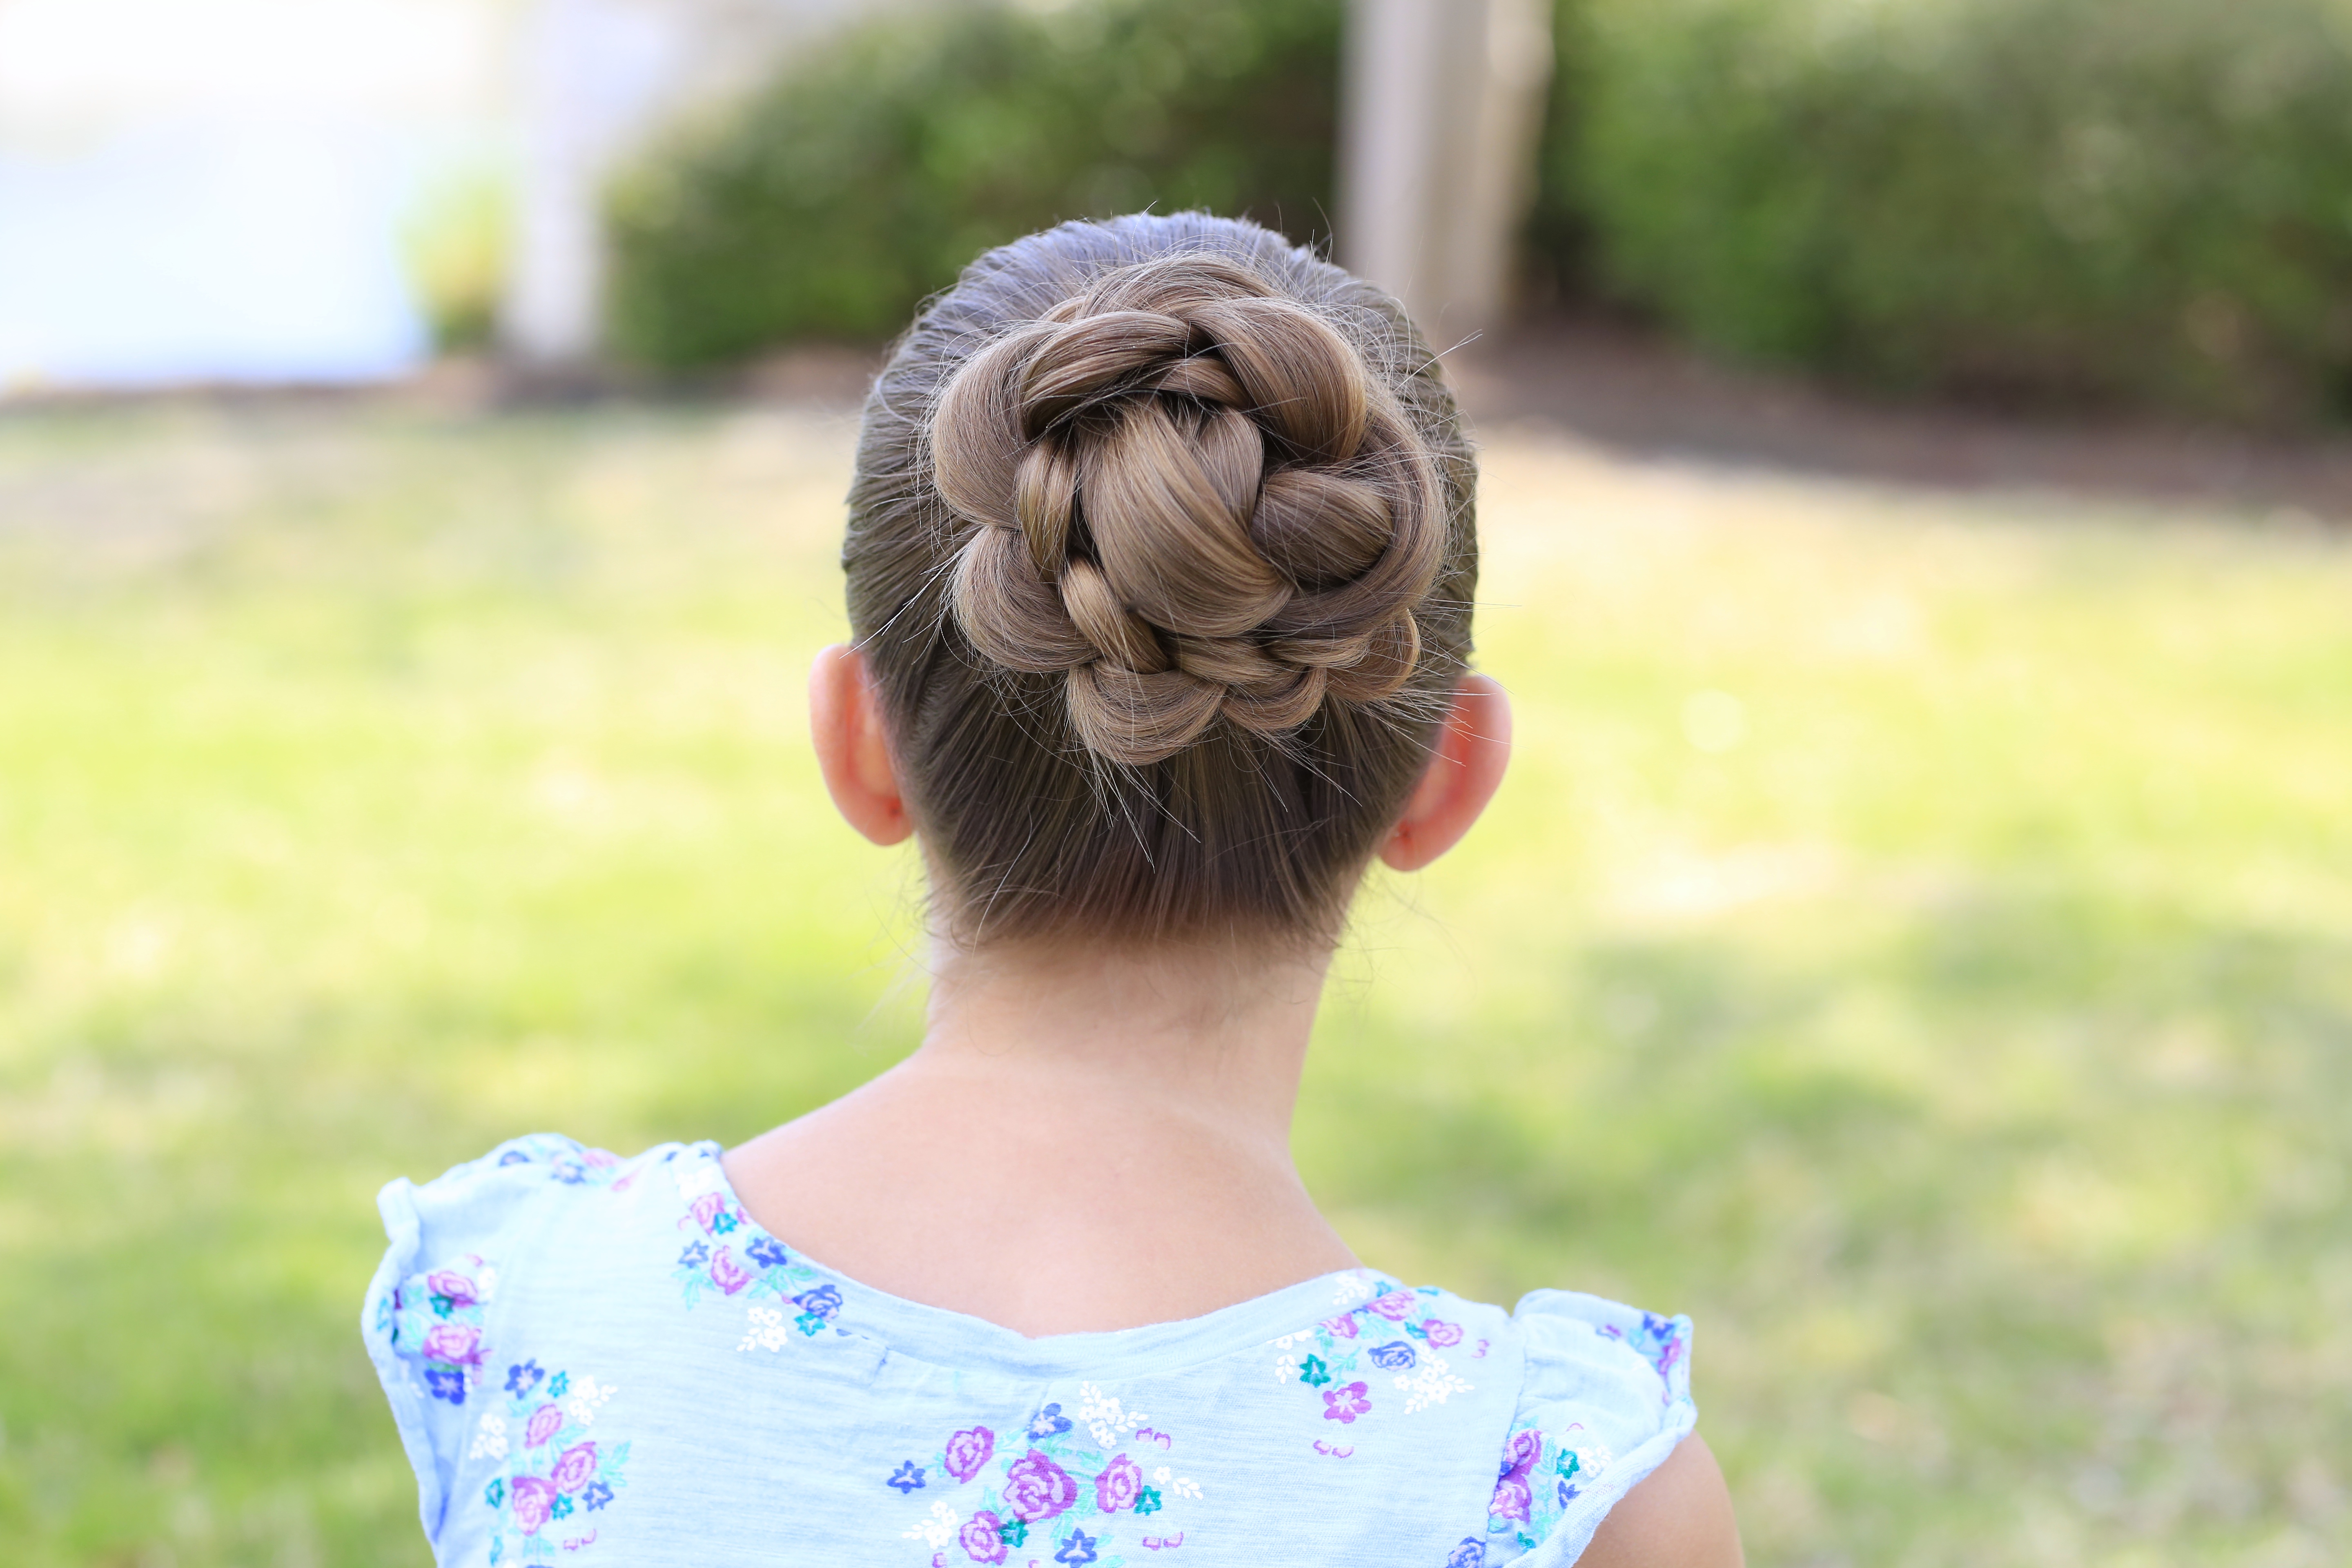
 Feel free to tag your own photos of this hairstyle with: #CGH3DFlowerBun
This updo hairstyle holds up very well, and is perfect for those formal dances, weddings, flower girl styles, gymnastics, ballet, or just a day out!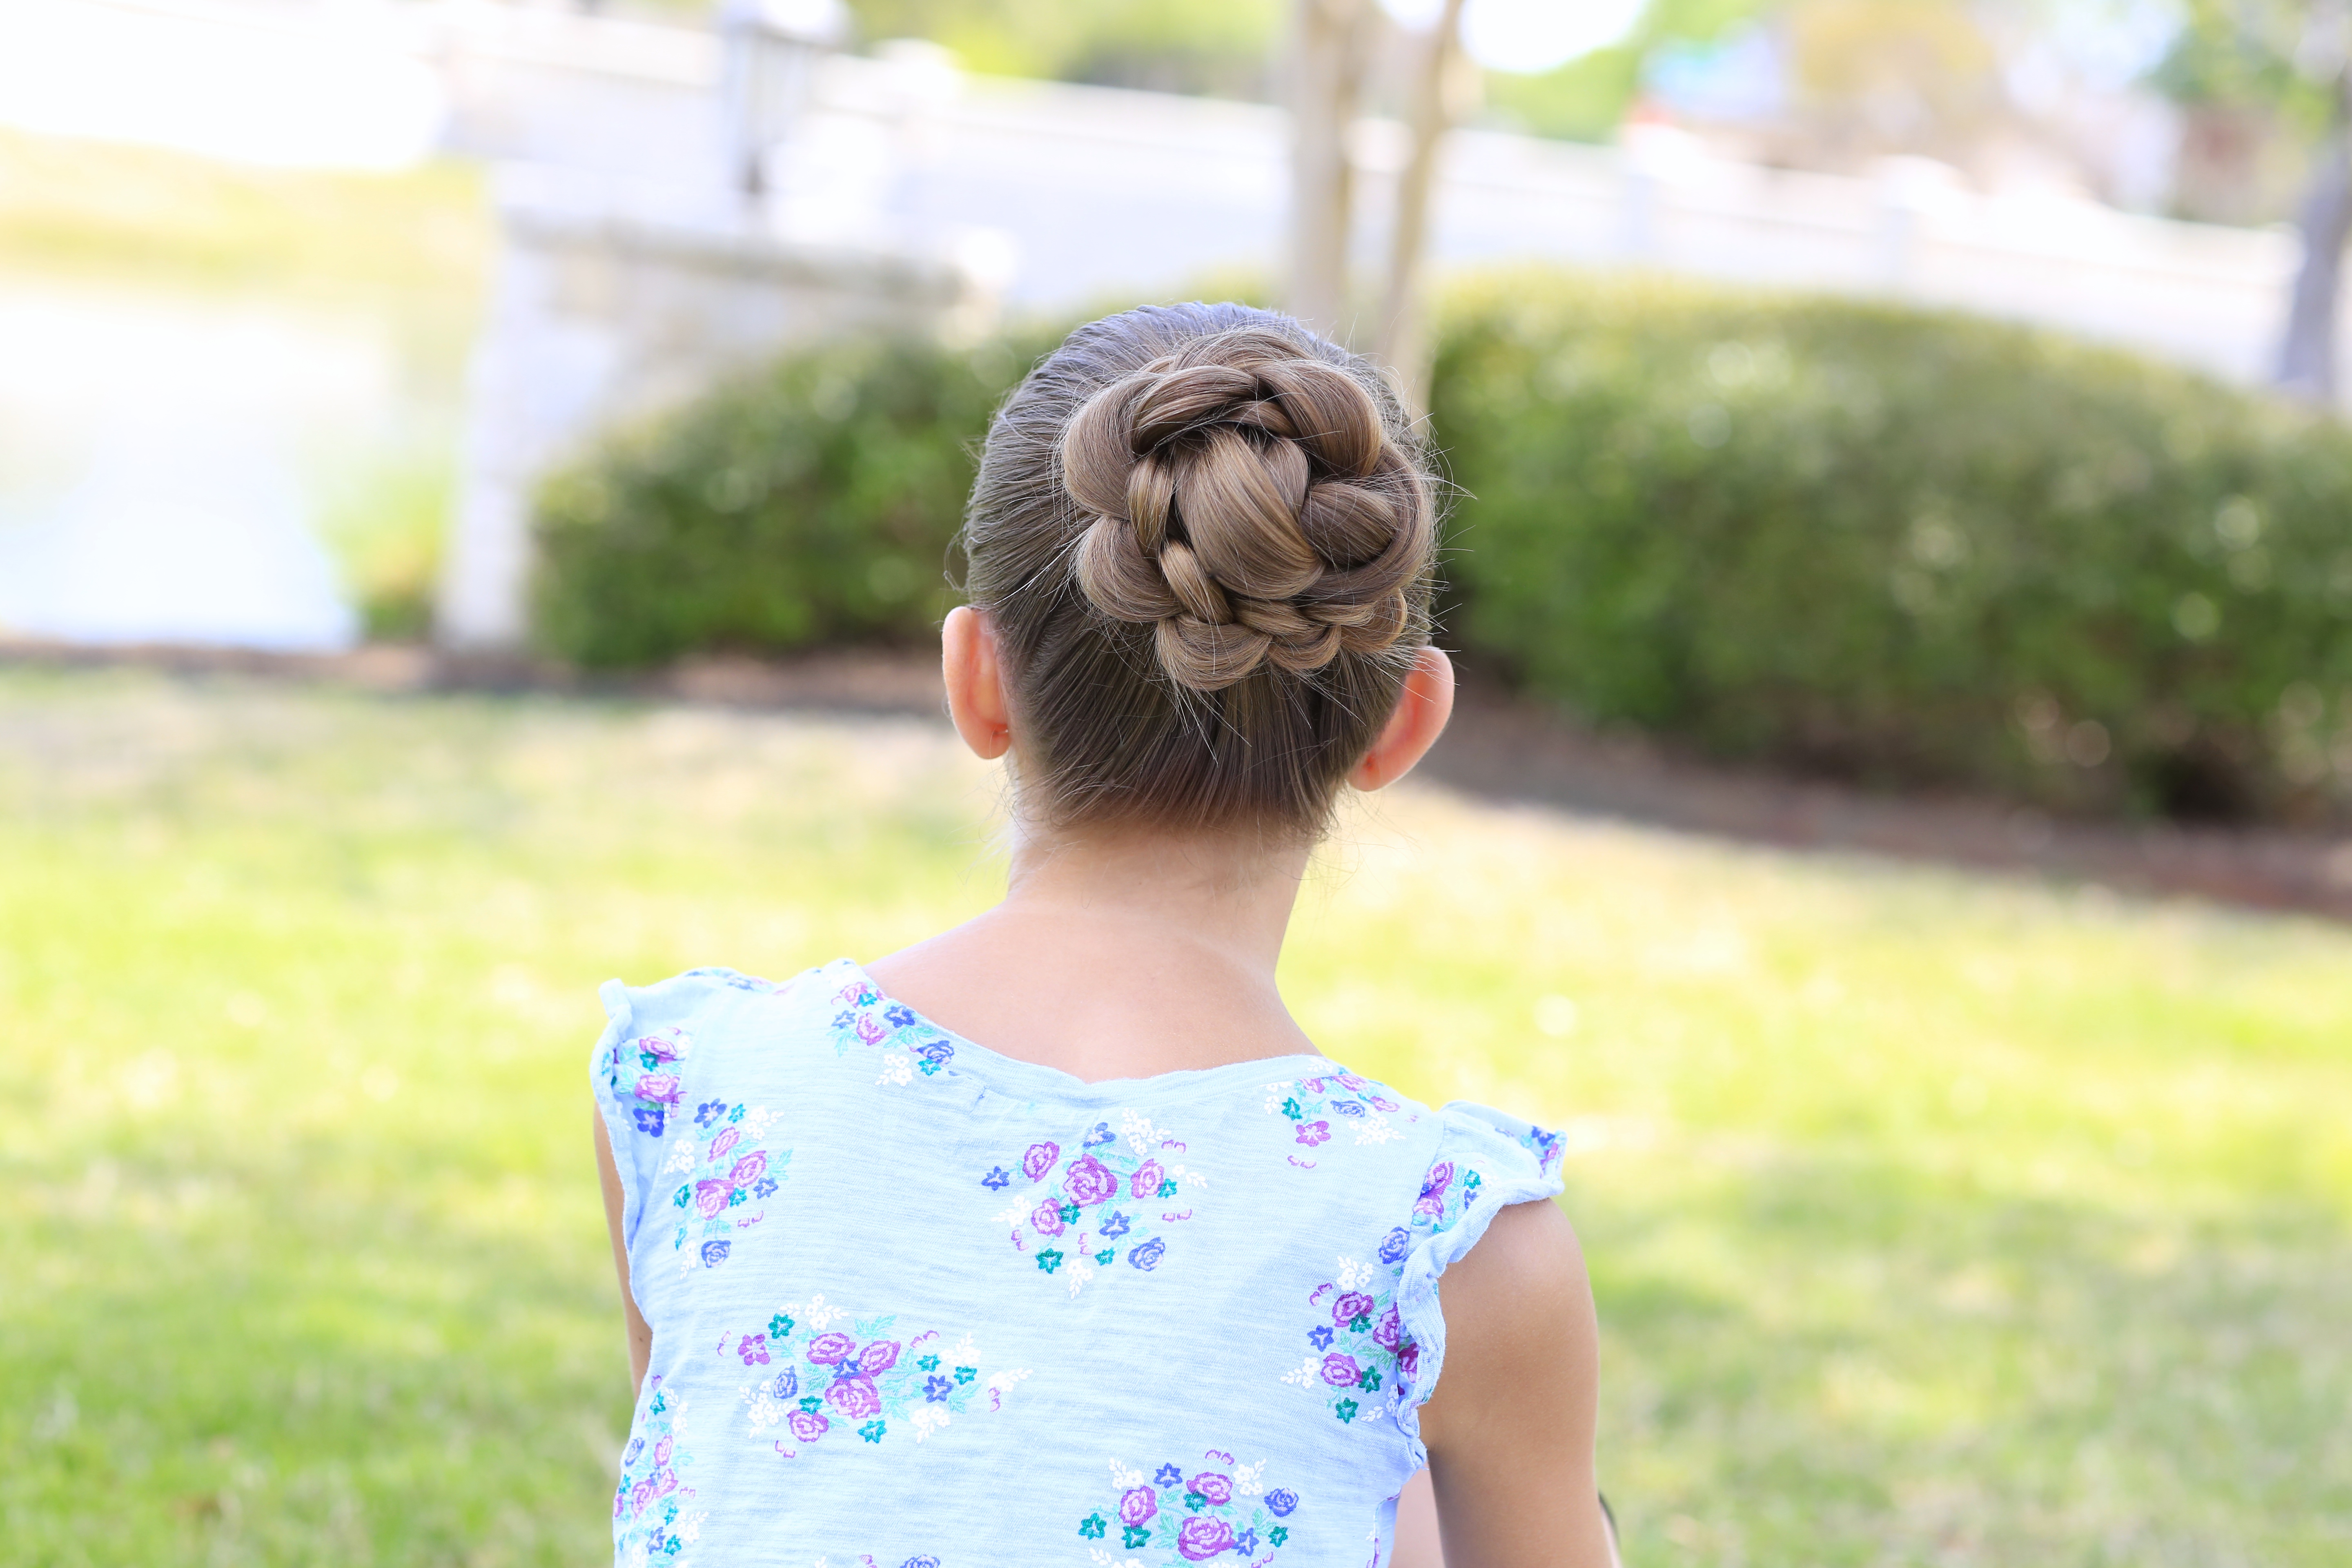
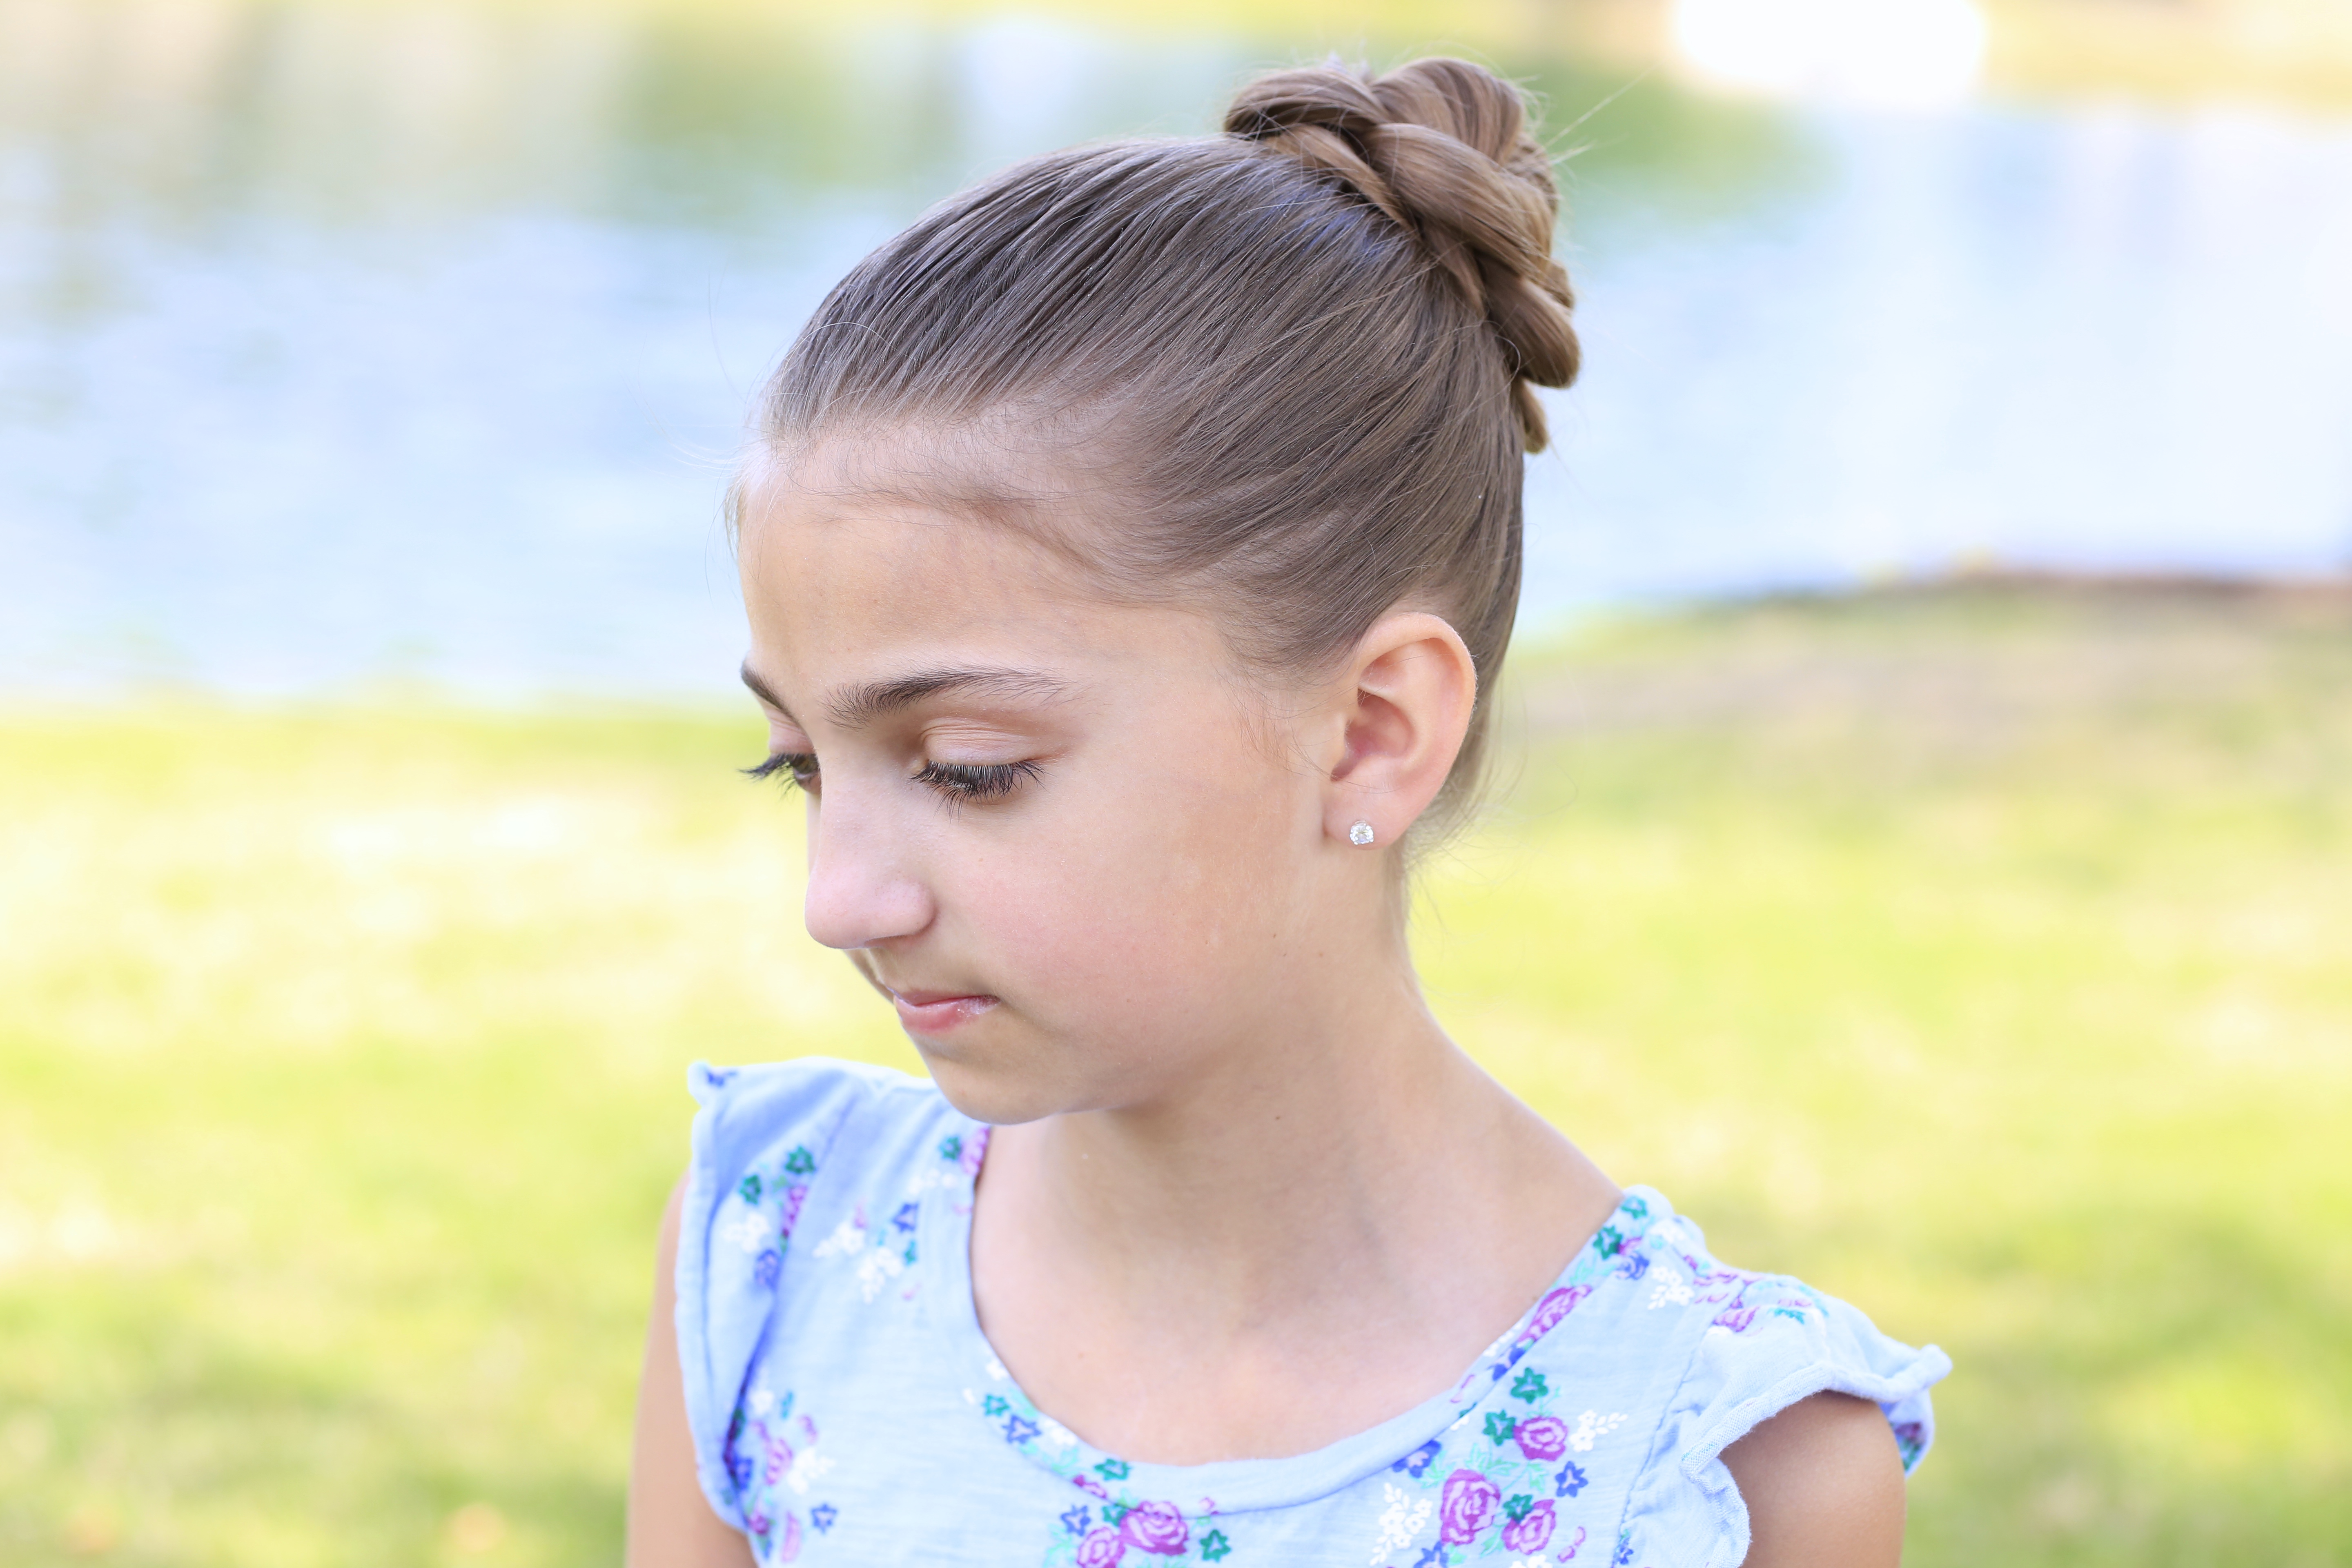
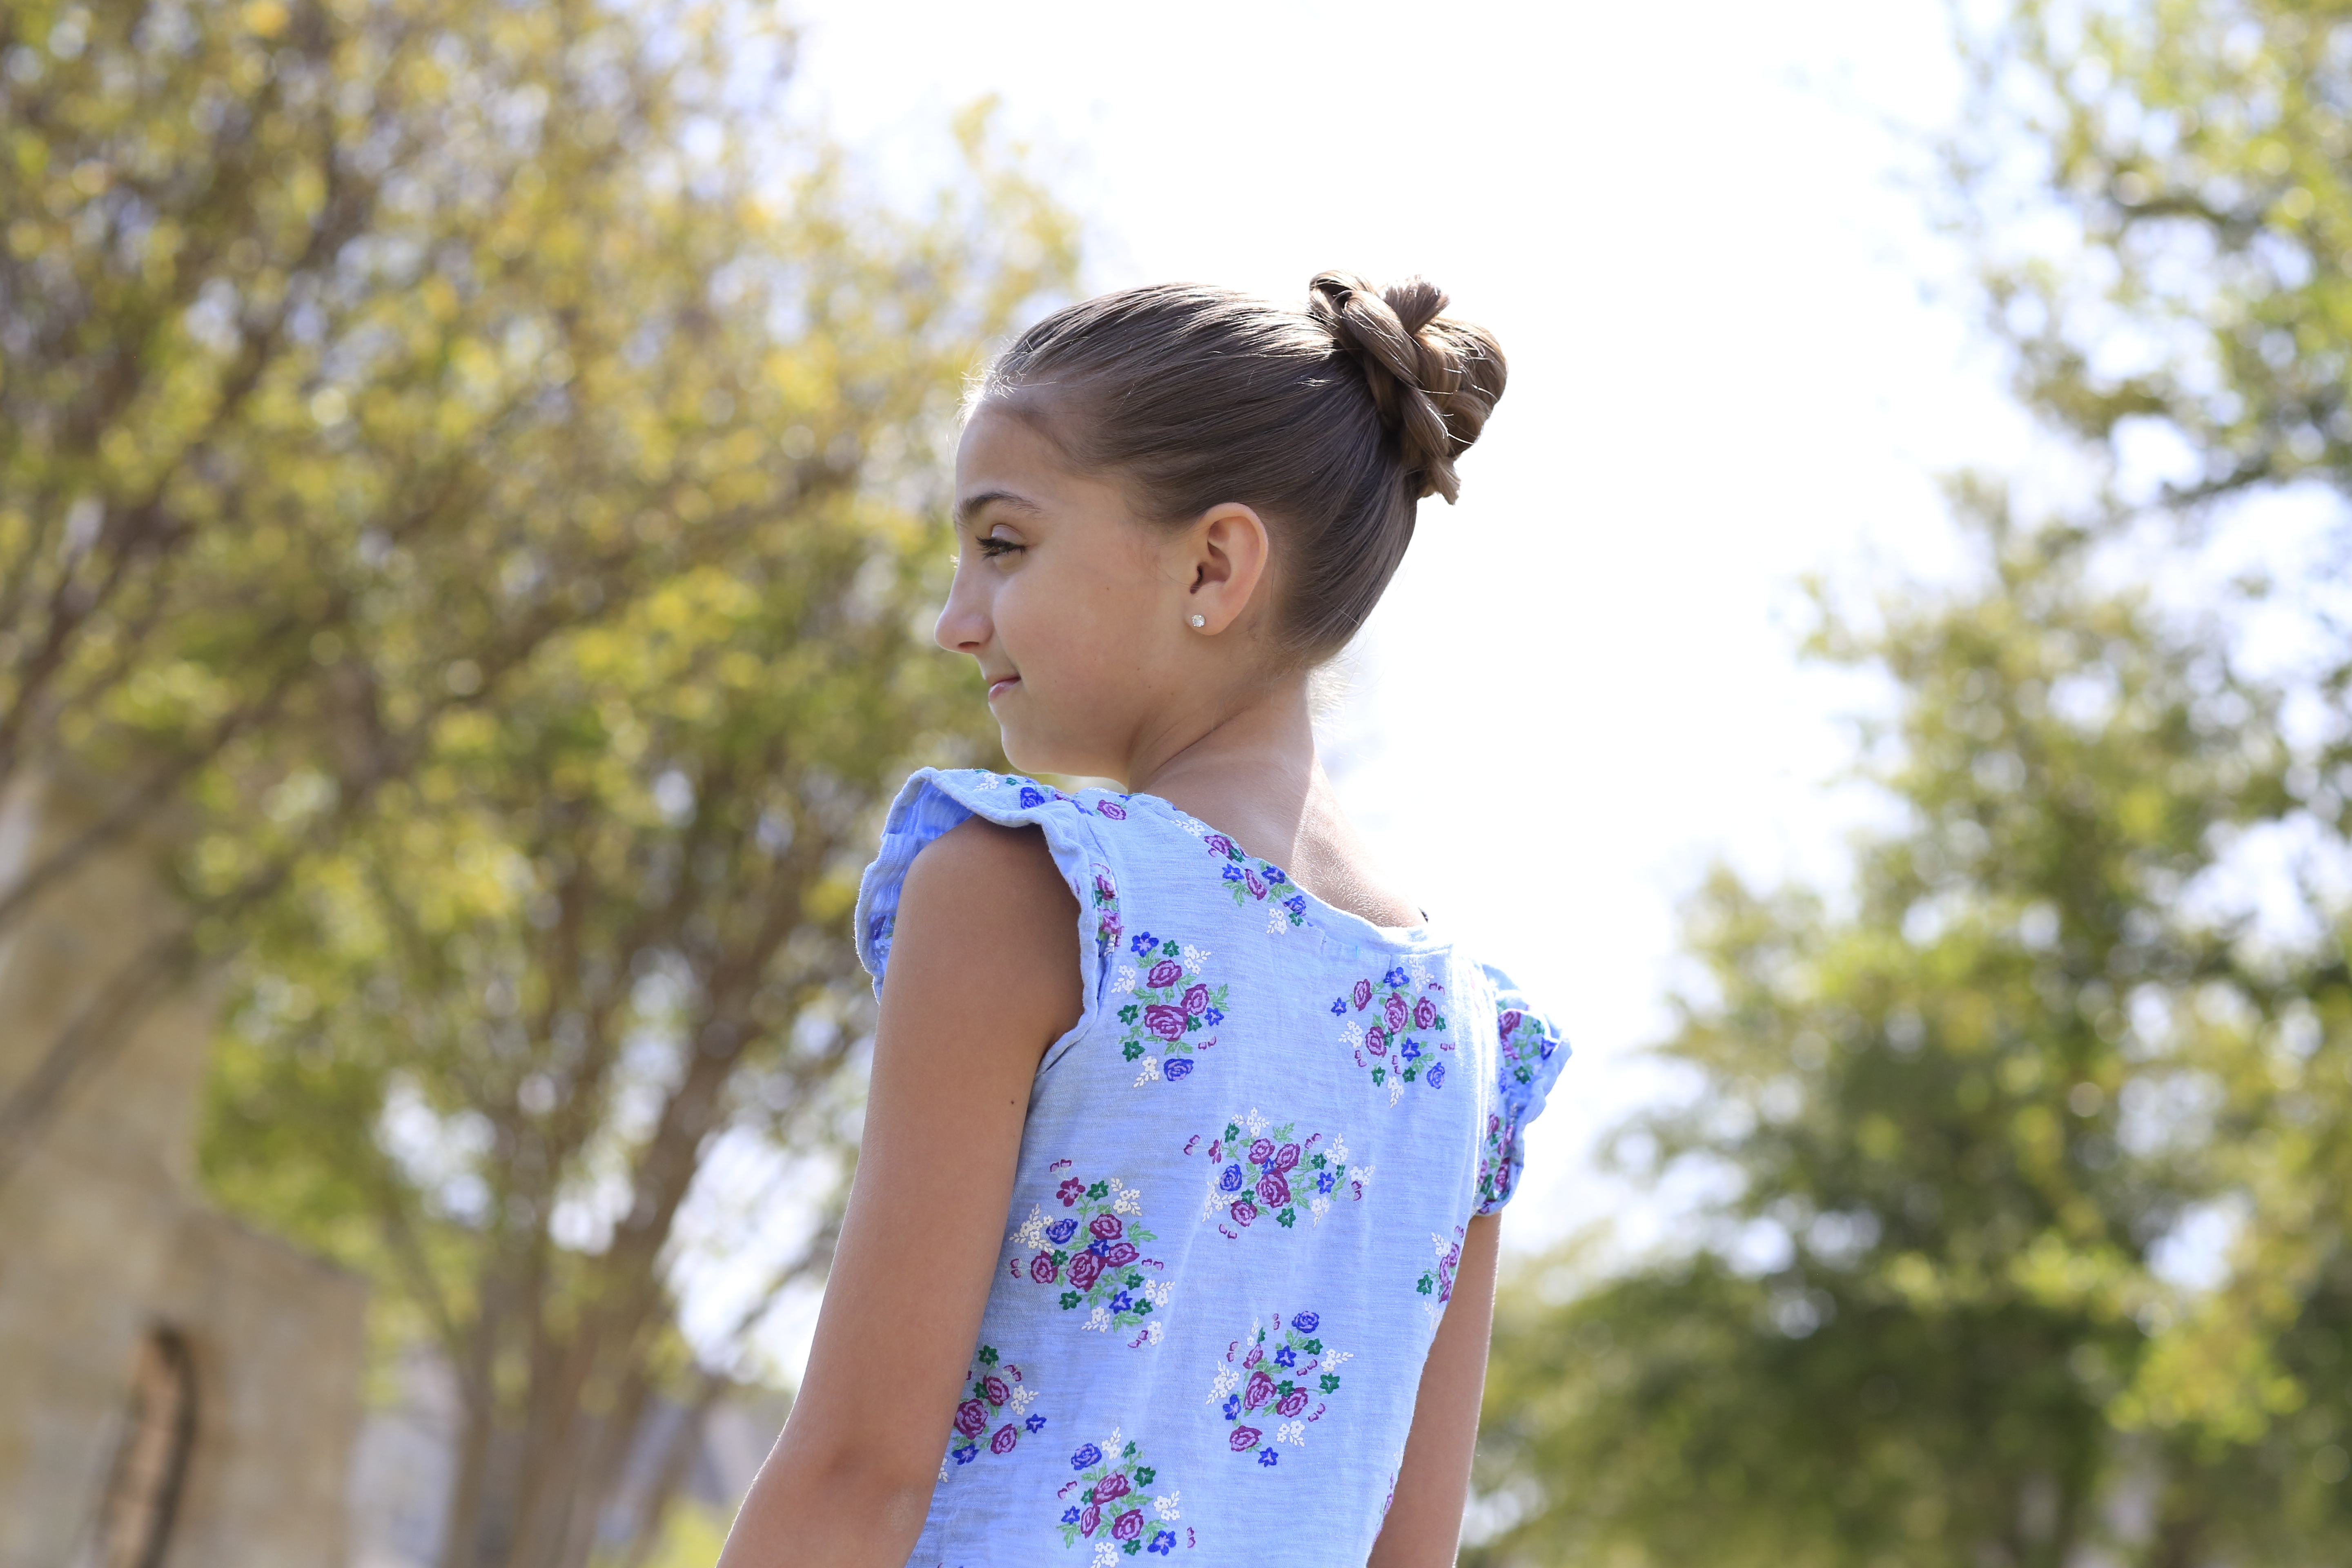 Yes, you will get lots of compliments on this one… GUARANTEED! Special thanks to Kamri for volunteering to be our model today!
Enjoy!
Items Needed: Brush, rat-tail comb, spray bottle, 1 ponytail holder, 1 small hair elastic, 4-6 bobby pins, pomade or hairspray {if desired}.
Time Requirement: 5 minutes
Skill Level: Medium
Step-by-Step Instructions:
- Begin creating a 3d round braid by pulling the hair into a high ponytail, and secure it with a hair band…
- Now divide hair into 4 equal sections, laying each section between one of your fingers on your right hand….
- The hair should lay like this: Strand #1 {outside pinky finger}, Strand #2 {between pinky and ring finger}, Strand #3 {between ring finger and middle finger}, strand #4 {between middle and index finger}…
- Now, take the index finger on your left hand and use it to hook Strand #3. It should now lay between your pointer finger and your middle finger.
- Take your middle finger and hook Strand #1. This will now lay between your middle and ring finger…
- Take the last two pieces and twist them once {so they cross over each other} and place them so Strand #4 lays between your ring finger and pinky and Strand #2 lays outside your pinky…
- All strands should now be sitting in your left hand and will be numbered 1-4 from left to right…
- Take your right index finger and hook Strand #2. This will now lay between your index and middle finger…
- Next, take your middle finger and hook Strand #4. This will now lay between your middle and ring finger…
- With the last two remaining strands, do a half twist so they cross, and then place them so Strand #1 now lays between your rink finger and pinky, with Strand #3 laying outside your pinky…
- Repeat Steps #4-10 until you run out of hair, and secure with an elastic…
- Now go back and pancake the braid {all four sides] by tugging on the elbows of the braid, without pulling the hair out of the braid…
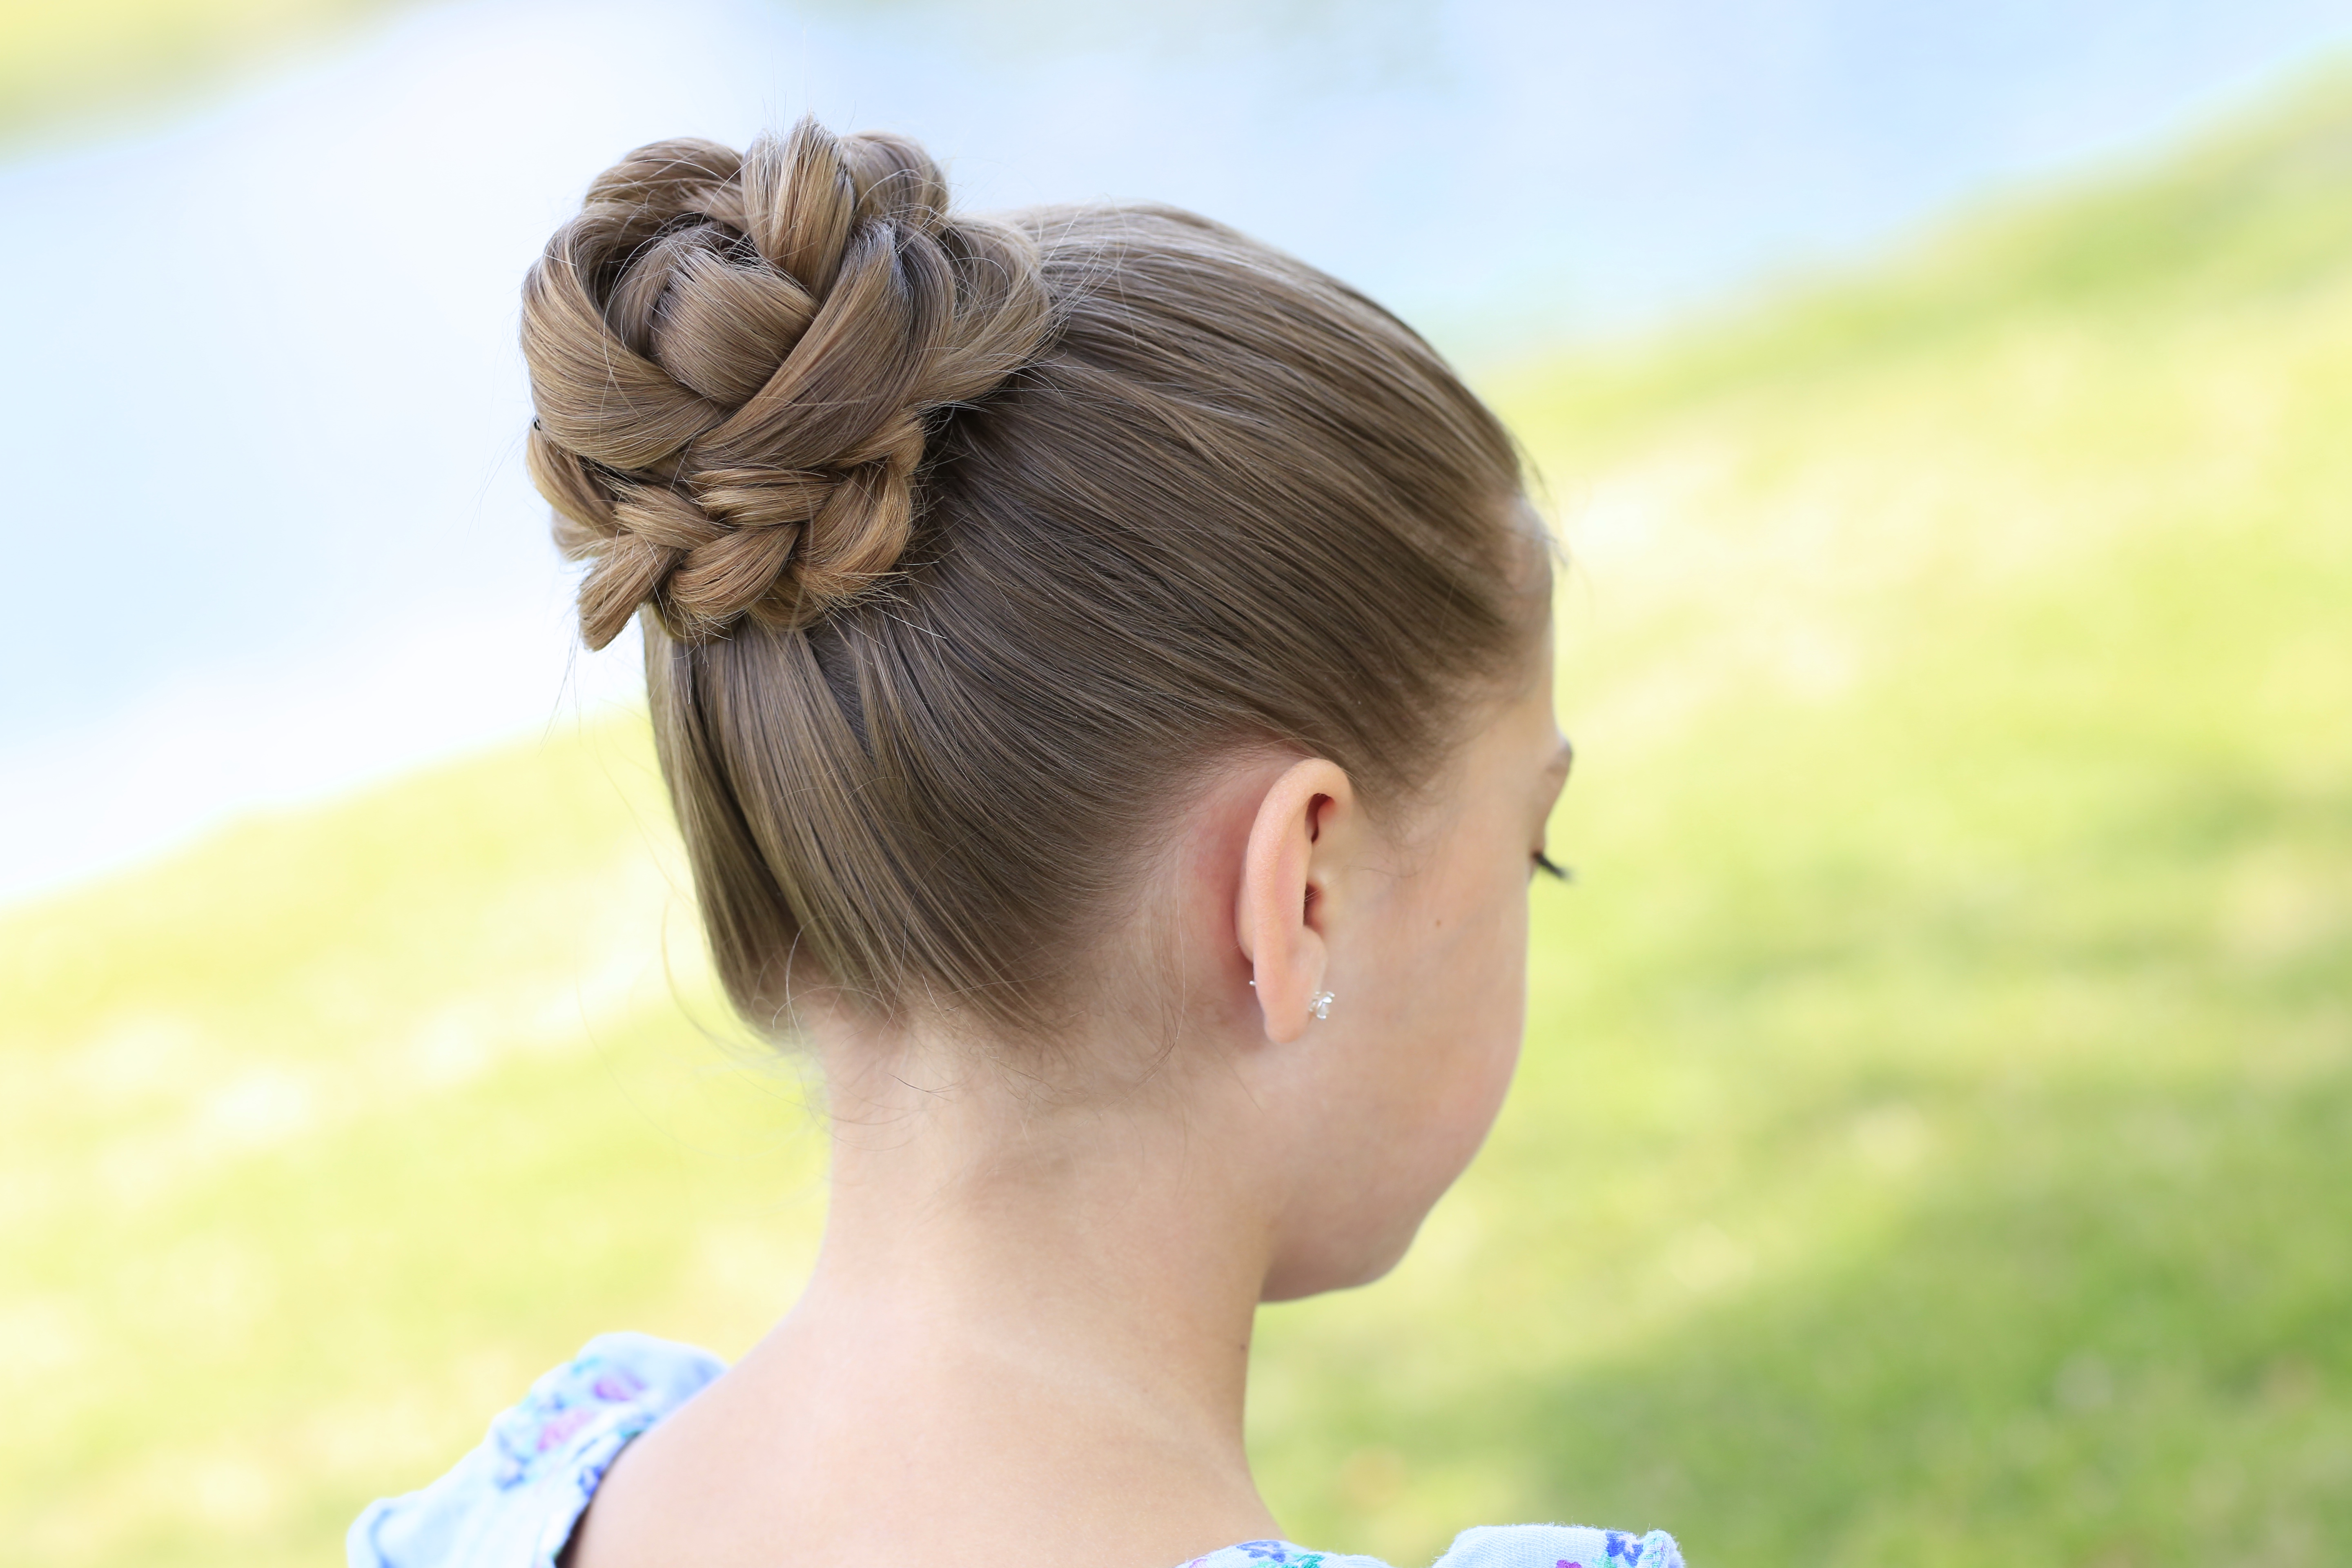
- When finished pancaking the braid, begin to twist the braid up around itself into a bun {you will want to bobby pin the bun as you go}.
- Continue wrapping the braid around, and tuck the ends under the bun, securely pinning them out of sight, and securing the rest of the bun with pins…
- Then, tug the edges of the bun again to create the defined petals of the beautiful flower bun.
- Add hairspray {as desired}.
Hope you enjoy the app, and more importantly, continue to enjoy our family!
Happy Hairstyling!

Looking for some cute and affordable fashion ideas to go with this updo? Below, my twins, BrooklynAndBailey, give you a few adorable ones! Simply click to view…


This is so pretty!!!
Love it. I just got glasses today so can u do some with glasses. I’m 11 how old as Kamri
Hi,just want to add my 2 cents worth-We are roman catholic and finially baptized our 14 year old daughter last easter at easter vigil.All of the girls up to around 17 or 18 wear the traditional white,poofy,top of the knees,baptism dress with a bonnet,lace anklets or tights and white mary janes.Some of the girls had their hair in a bun under their bonnets,others just had their hair hanging out.my daughter has shoulder length hair and a few days before,she got it trimmed.she looked cute with with just a couple inches of her hair sticking out from under her bonnet.
i love this hairstyle but the thing I don’t understand is the braiding but I love all your hairstyles that your doing.
I love this hairstyle (and many others of yours)!!!! How about doing a flower bouquet with loads of flower buns???
I was going to ask you if you could hairstyle from frozen could you do a elsa hairstyle please I would really like that .
I love all of your cute hairstyles! Since it’s already been two weeks and I just downloaded your app, how much is premium now?
Thank You for your tutorials:) I have similar hair to your daughters and I’ll certainly use some of the great ideas presented here even though I’m 23 years old;)Greetings from Poland:*
is there any step by step photos? because some of the videos don’t work for me.
Hi Mindy & the CGH family,
I’ve been following your blog for a while and my fans and I get great inspiration from your styles. It’s nice to see Brooklyn & Bailey following some hints I shared on my blog about hairstyles for photos. It’s written from the point of school photos (as it’s that time of the year here in Australia), but it works equally for proms. If you or you fans would like to read it, it can be found here: http://www.schooledup.com.au/school-photo-hairstyles/
Hi Mindy I’m the same age as kamri and I have watched all your videos .I do them on my little sis and I really like this one and love your ideas thankyou
I am in love with this hairstyle! I did it on myself and i loved it!
I LOVE this style. I’ll probably get my twin brother to help me make a slight variation so I don’t have the same hairstyle as all the other girls at my dance! I hope this doesn’t sound weird, but I agree with Velvet. Kamri is a lovely name. But I now feel compelled to change the name of my character in a story I wrote a while back… her name was Kamri Marie Hemlock.
Kamri! That’s a great name. I’m the same age as your twins and my dance is coming up soon, I think I’m going to use this hairstyle for my dance! Thanks!
This looks great!And I’d also like to ask something.Could you figure out how to do Astrid’s hair from ‘How To Train Your Dragon’Please?
you know i have asked a few times already and i think it would be an awesome!