For those of you who are super fans, you will know that we started this hairblog to document our girls’ hairstyles back in October 2008. Just a few month later, in February 2009, we posted our very first Valentine’s day tutorial on our website, which back then was taught in photos only.
Has it really been that long? That was five years ago! *gasp*
It has been a great journey, for sure, but one of the styles I posted that month was a simple Hanging Heart. Two years later, in Feb 2011, after our transition to using YouTube, I uploaded a video tutorial of that very same hairstyle on YouTube.
 Today’s tutorial is absolutely adorable, and you can share/pin it <——- here!
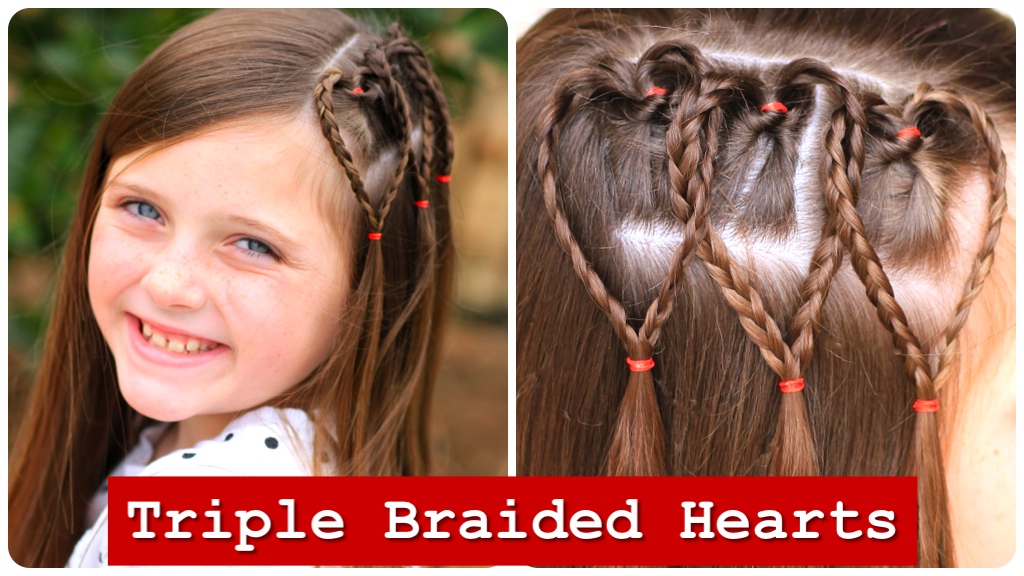
Here in 2014, for today’s tutorial, we wanted to post an updated variation of the hanging heart, using braids to accent the hearts and doing them in triplicate. Princess Hairstyles also has another beautiful variation of a triple hanging heart.
You do not have to do all three braided hearts if you do not want to, perhaps you would only prefer one or two. In any way, the hairstyle will look adorable. {A flip-braided heart can also be perfect in any number of hairstyle combinations.}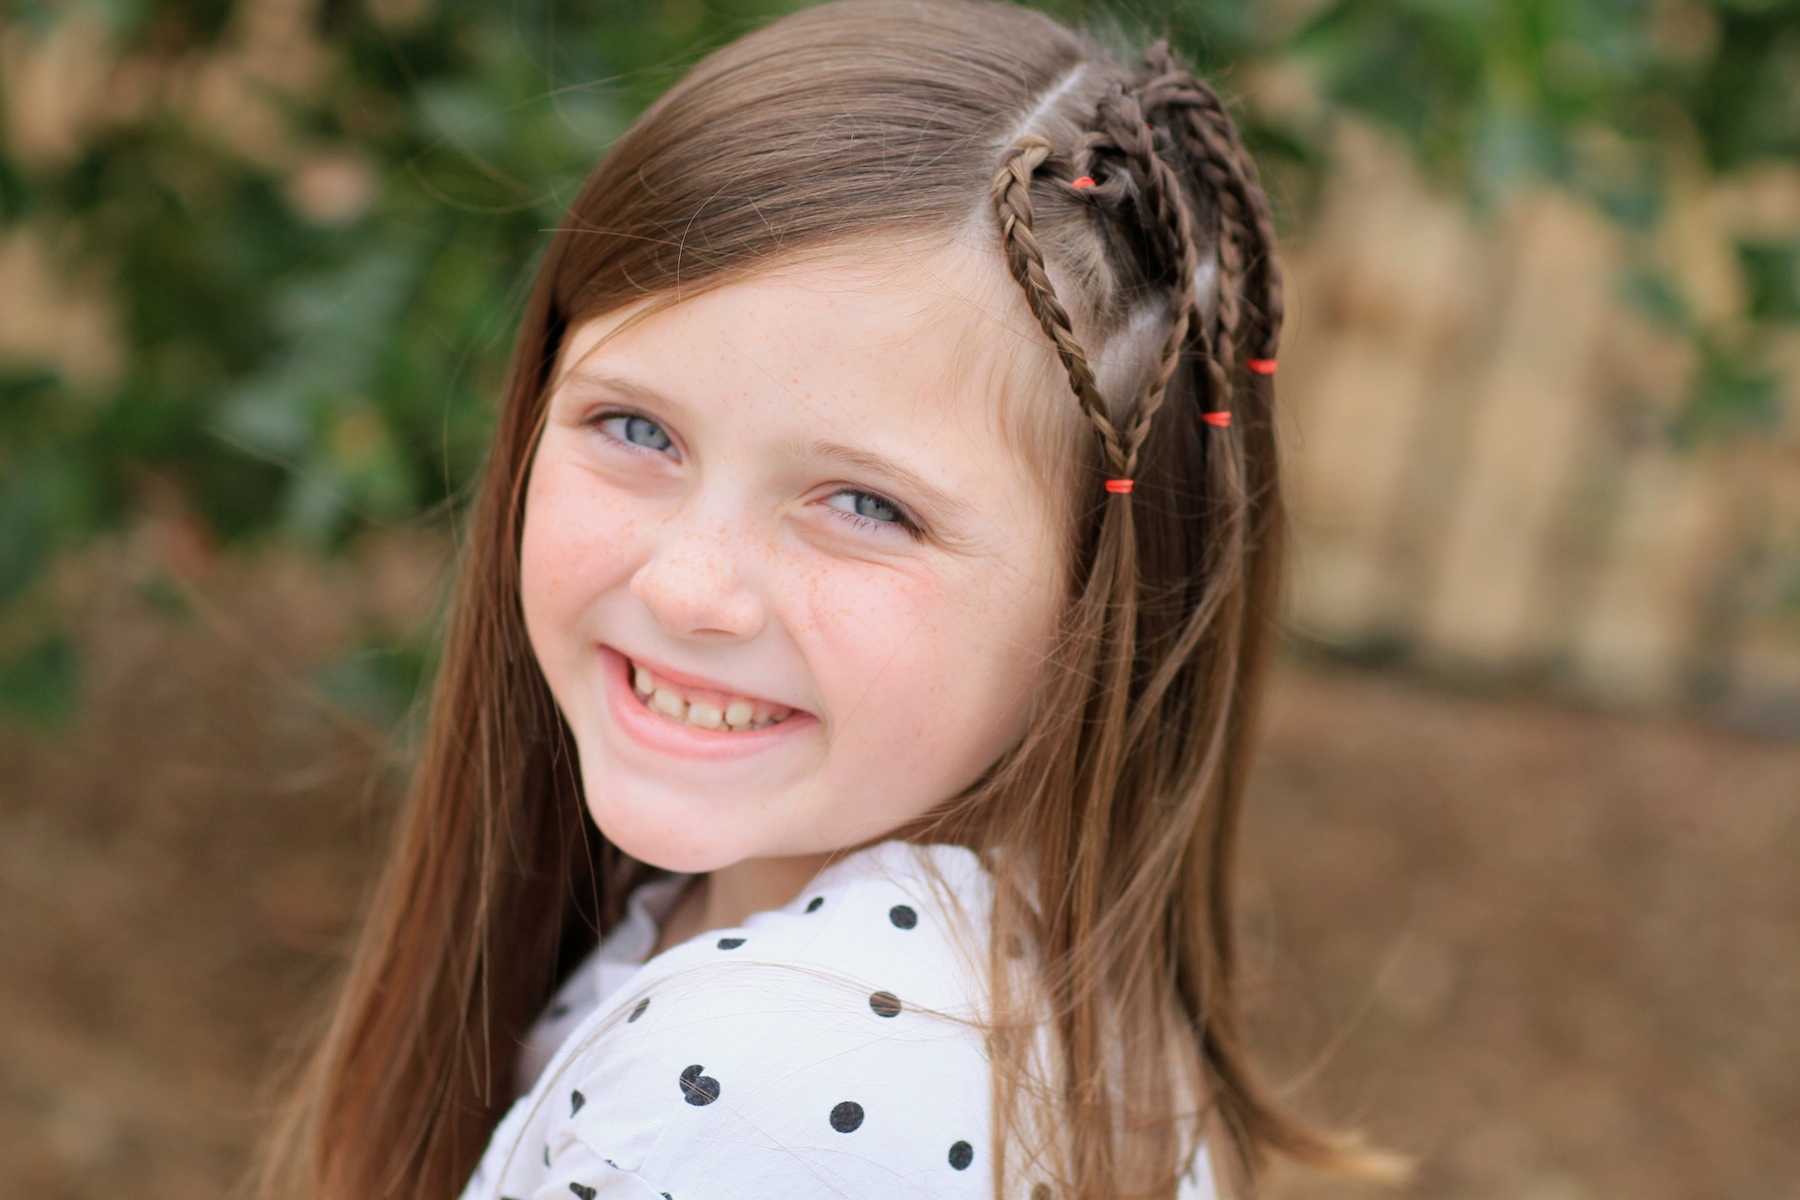
 Be sure to tag your own photos of this hairstyle with: #CGH3BraidHearts
{CGH#4 also wanted to be our model today, because right after filming we are cutting her hair into an A-line Bob. She has been wanting to cut it for months, and I have been the hold up. This week, I relented and we are both very happy with the new cut! We have already posted a photo on our Instagram page…}
Please click here to see a listing of all of our Valentine’s Day Hairstyles!
Enjoy!
Items Needed: Brush, rat-tail comb, spray bottle, small Topsy Tail tool, 6 small red hair elastics, hairspray {if desired}.
Time Requirement: 8-10 minutes
Skill Level: Easy
Step-by-Step Instructions:
- Begin by parting the hair off to one side…
- Now move down towards that same ear another two inches and create a parallel part line to create a rectangular section of hair…
- Secure the rest of the hair over the other shoulder…
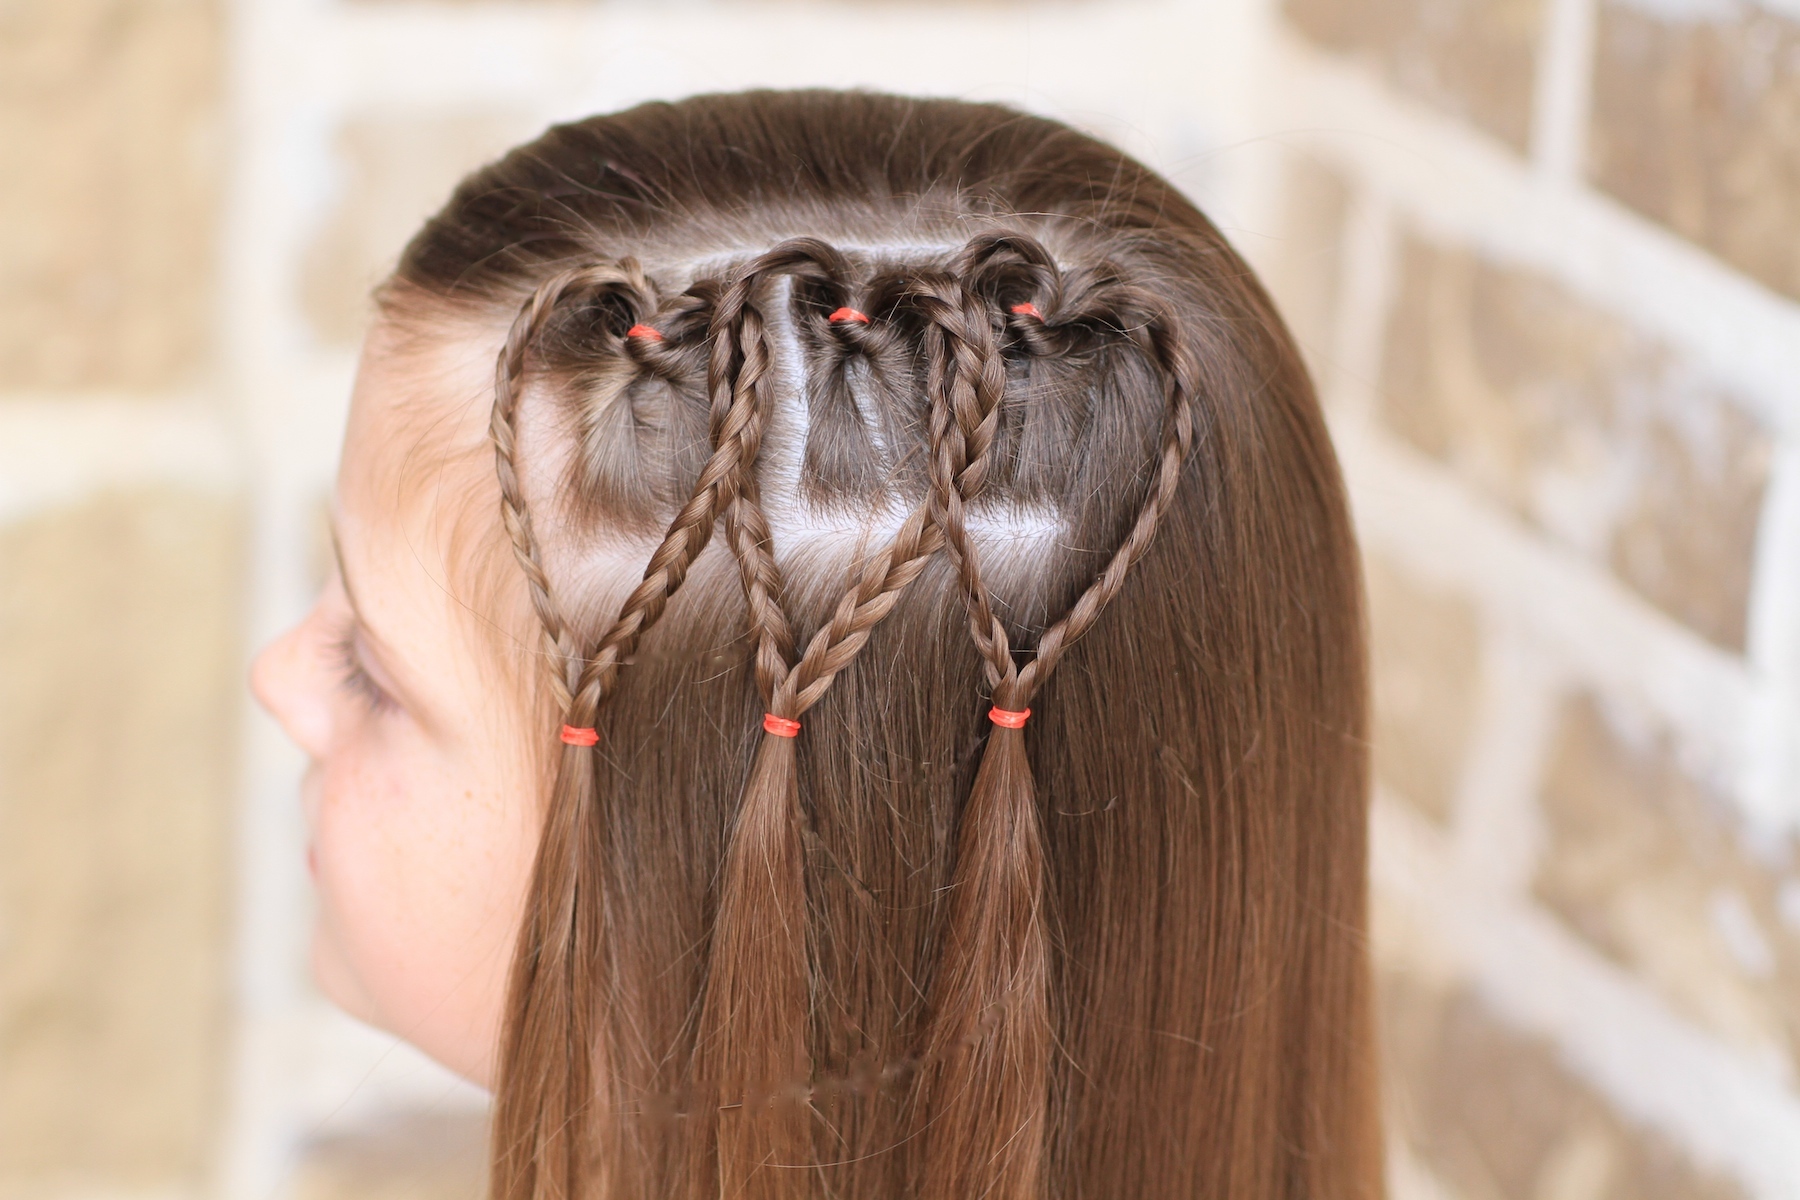
- Next, divide that rectangular parted section into three more sections {you want each section going back a little smaller in size, because of the thicker hair on the back of the head… if you section the hair evenly, then the braid widths will not be even}…
- Secure each section loosly with a red elastic band…
- Now, using a topsy tail flip the hair from bottom to top {this is in the reverse direction of most flips}…
- Divide each flipped ponytail into two equal strands and then simple braid them all {you should have a total of six braided strands}…
- Take the middle two braids, bring the together to form a heart, and secure them with another red elastic to create your first heart…
- Now take one braid from each side, and work it through the middle heart {linking the hearts}, and then form another heart, securing it with another red elastic…
- Adjust the heart sizes as desired, and to make sure they lay properly.
- Add hairspray or accessory {as desired}.
Happy Valentine’s Day!

Last week, my twins posted a Valentine’s Day Fashion Lookbook on their BrooklyAndBailey YouTube channel. You can see the outfits they put together below…


Hey CuteGirlsHairstyles, I really love all your hairstyles! You guys are an inspiration to me and my Family. You guys are the best. Thank you so much. And I really appreciate your Hairstyles. I have been doing it on my little sisters hair. She loves it, i love it and everybody every where loves it. They really stop and ask me ‘How did you do that’ And I say ‘ Mindy’s CutegirlsHairstyles, check them out. Thanks
I love all the hairstyles and allllllllllll the videos yall post.
good one Katelyn sweart that was cute
Wow amazing looks. I love this hairstyle. Great dude.
Thanks!
baily, what did u use to get that curly hair at the end????
Can you please make a Vanessa Hudgens messy bun? Pleasepleasdepleasepleaseplease!!!!!!!!!!!!!!!!!!!!!!!!!!!!
I think i like the first outfit, but all of them are pretty too!
I love baileys and brooklyn’s hair in the second on the second one. How do you do your messy buns.
Thank you for this video but I don’t know how to subscribe and I really want to win one of those curlers and my favorite one was the last one that at the top it was a tighter curl than the bottom and that’s the one I would like to win thank you and please tell me where the subscribe bottom is thanks!!!
I love your outfits and you guys are amazing!