It is Homecoming season for high schools and universities, so we are going to show you a beautiful updo perfect for the dance.
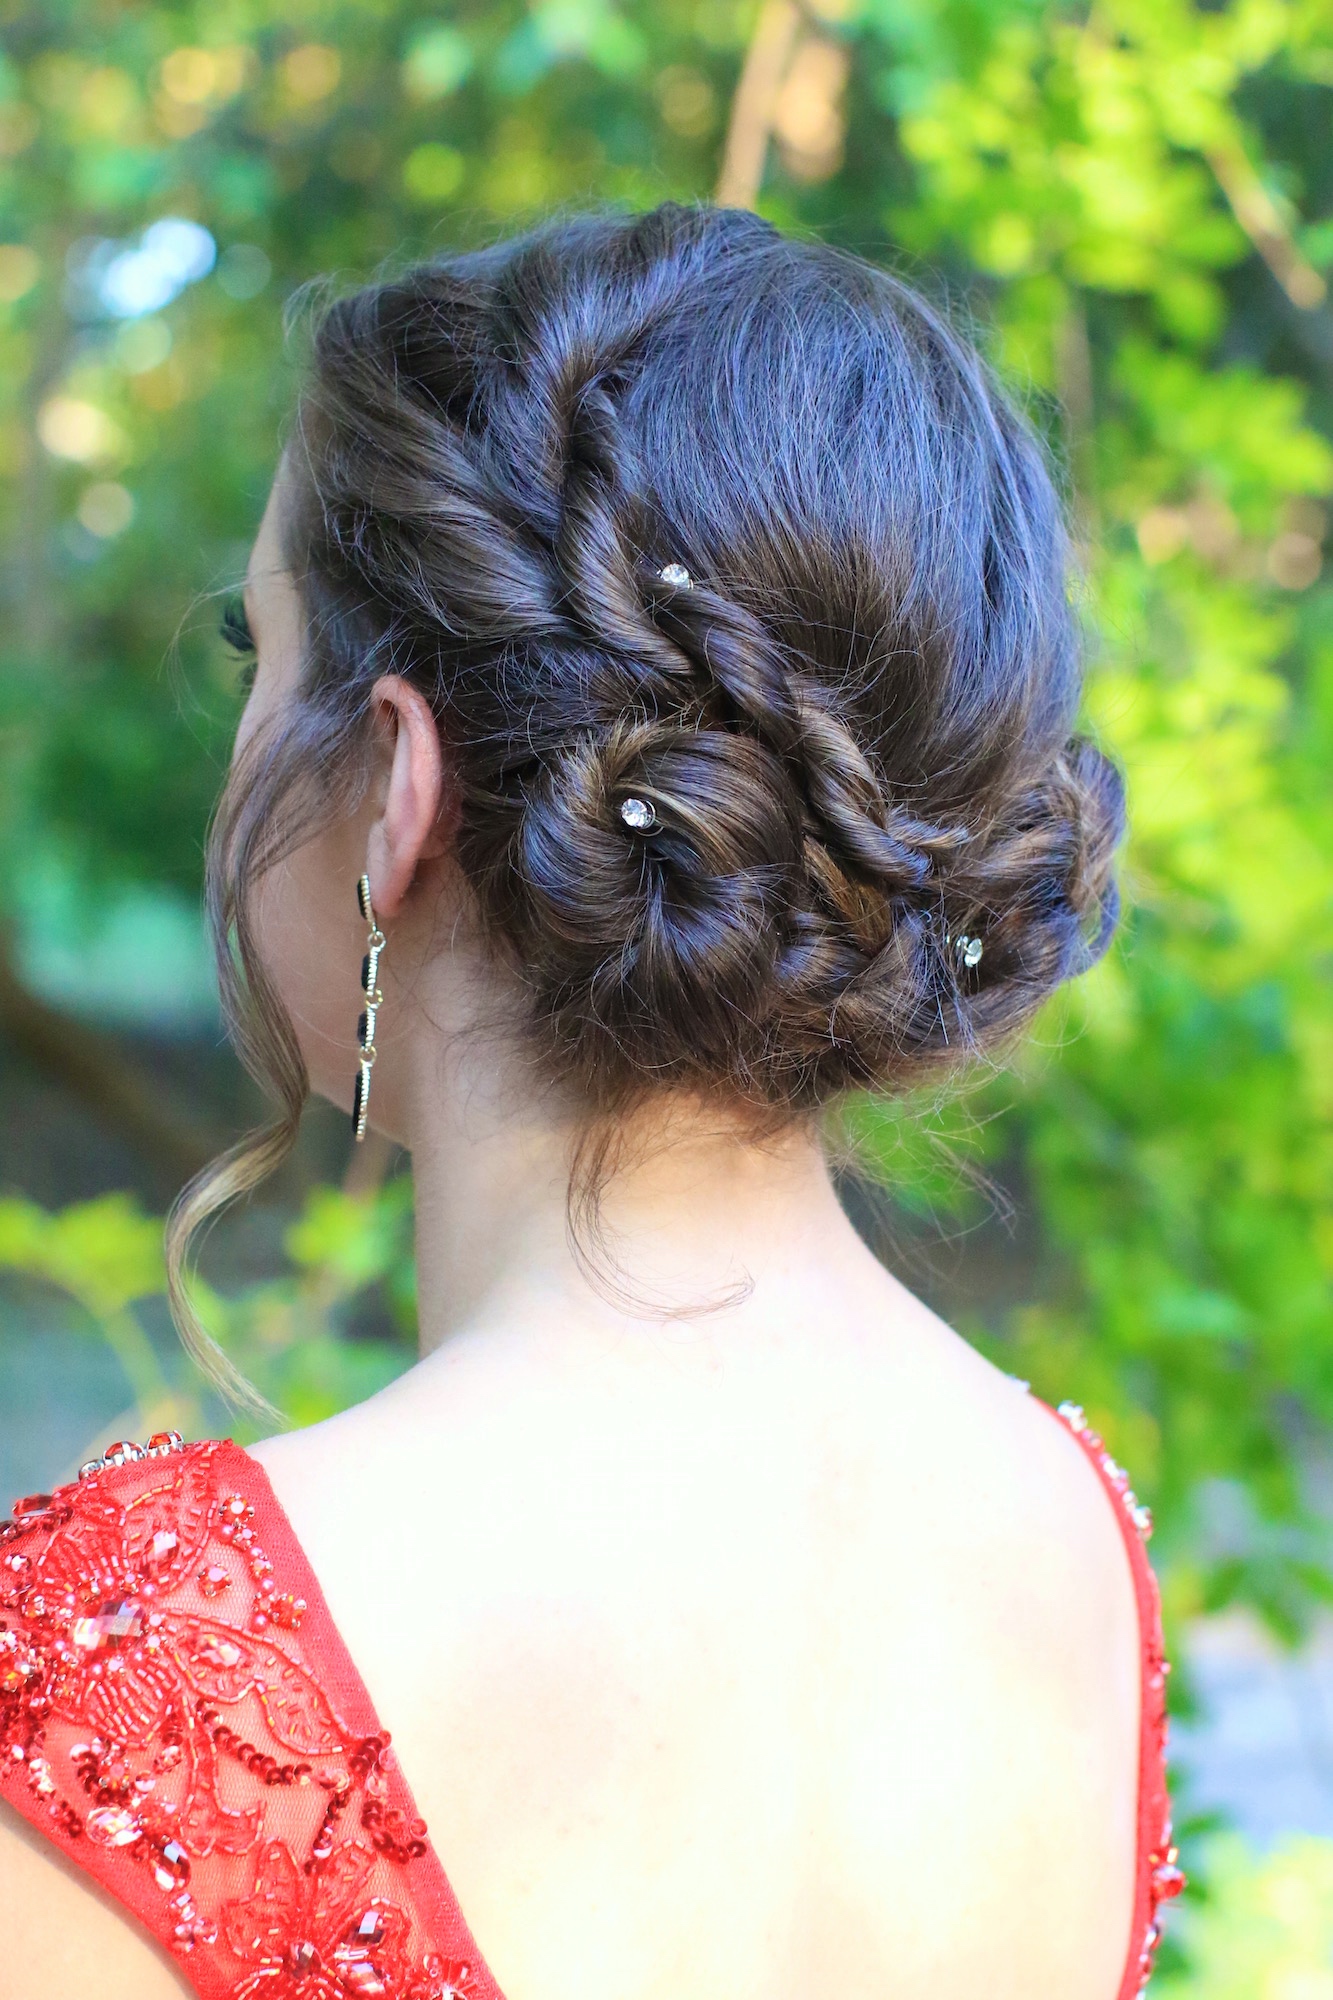
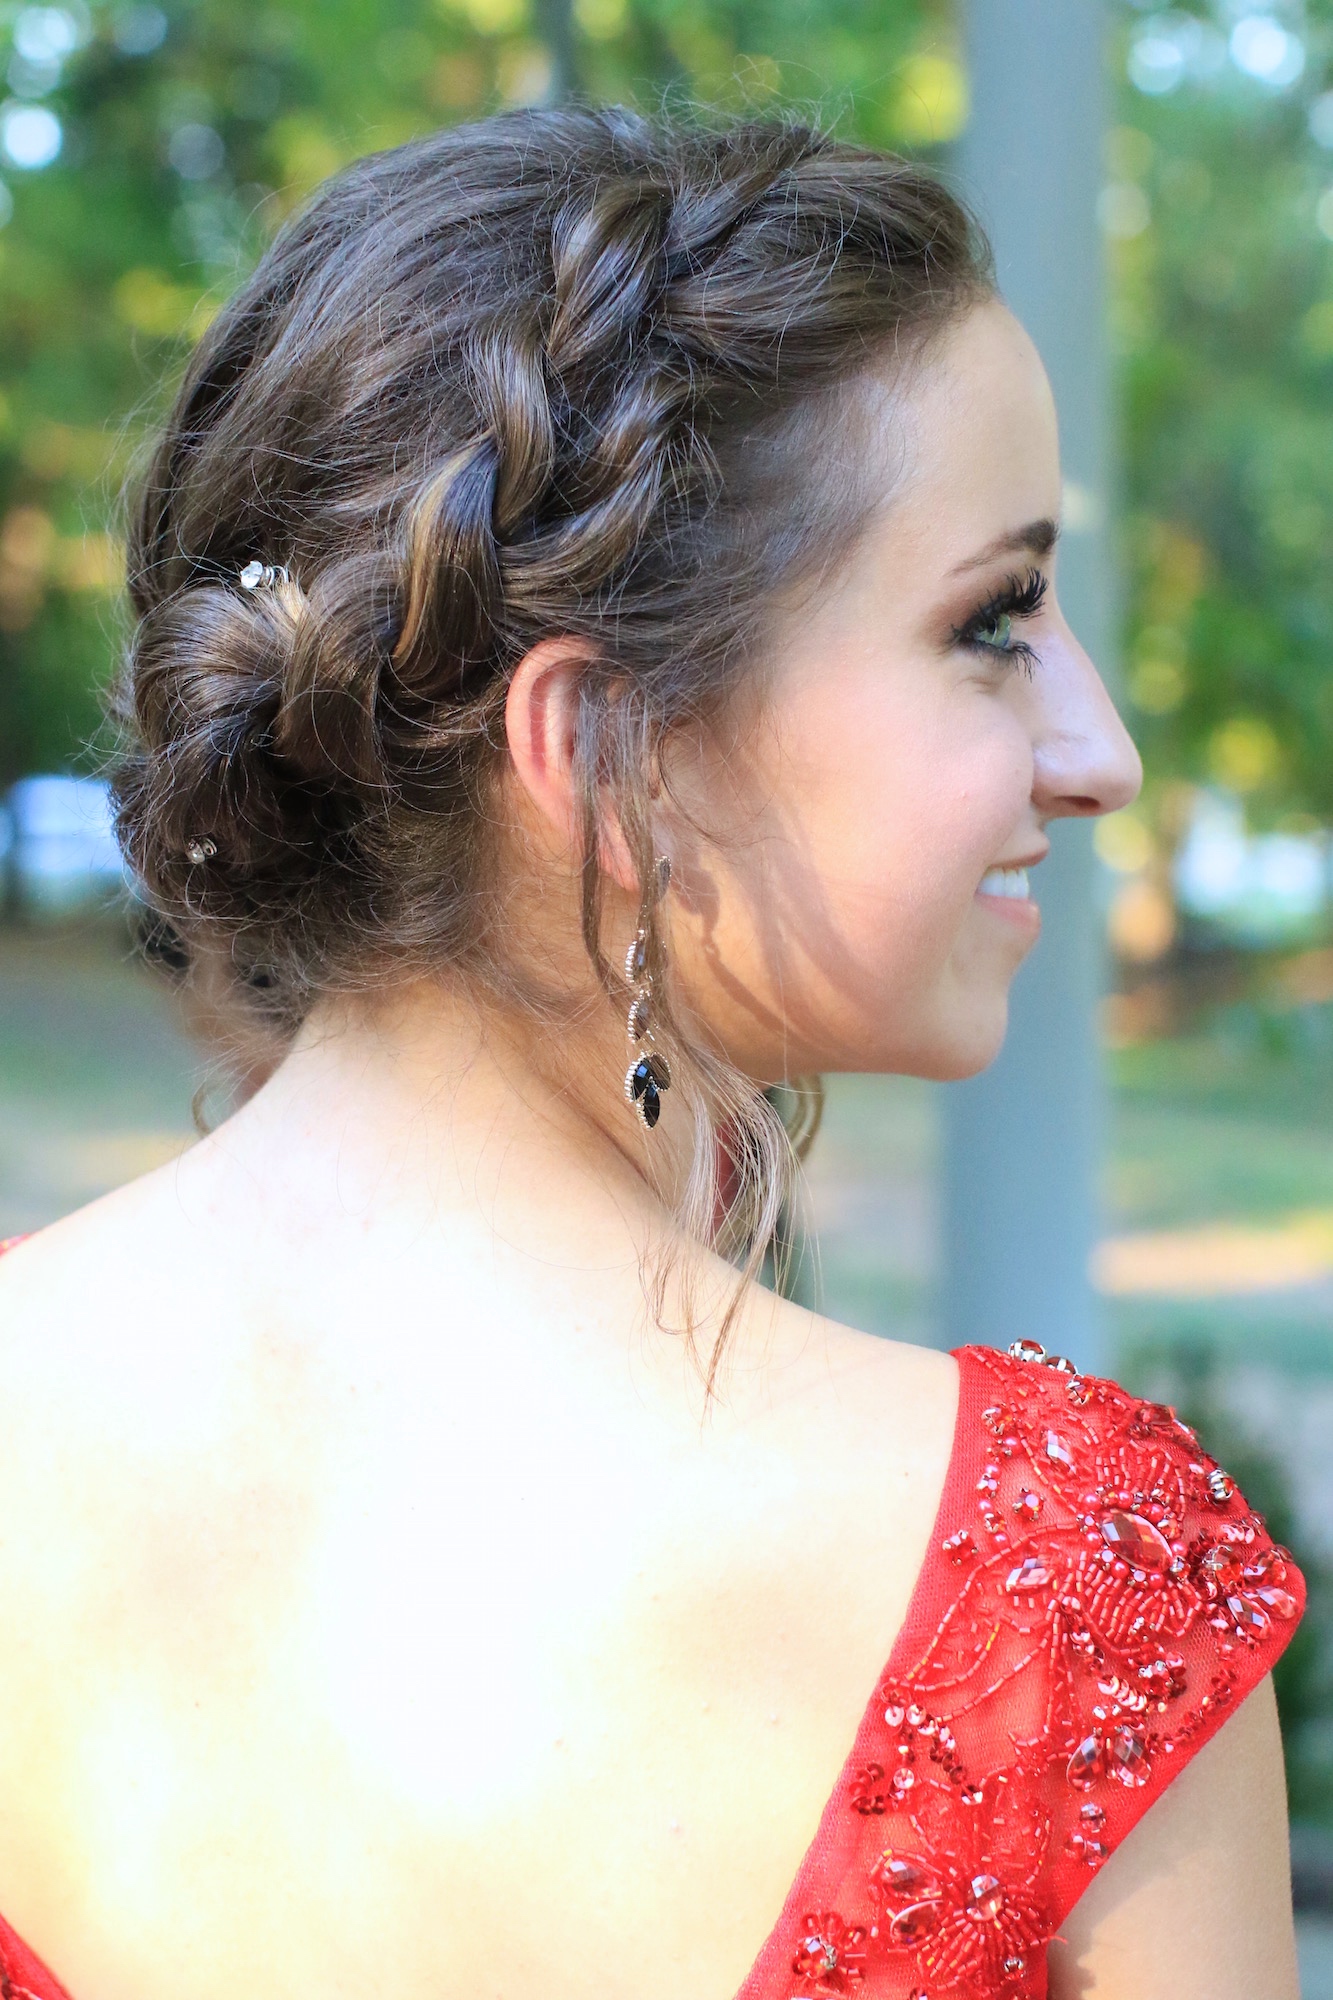
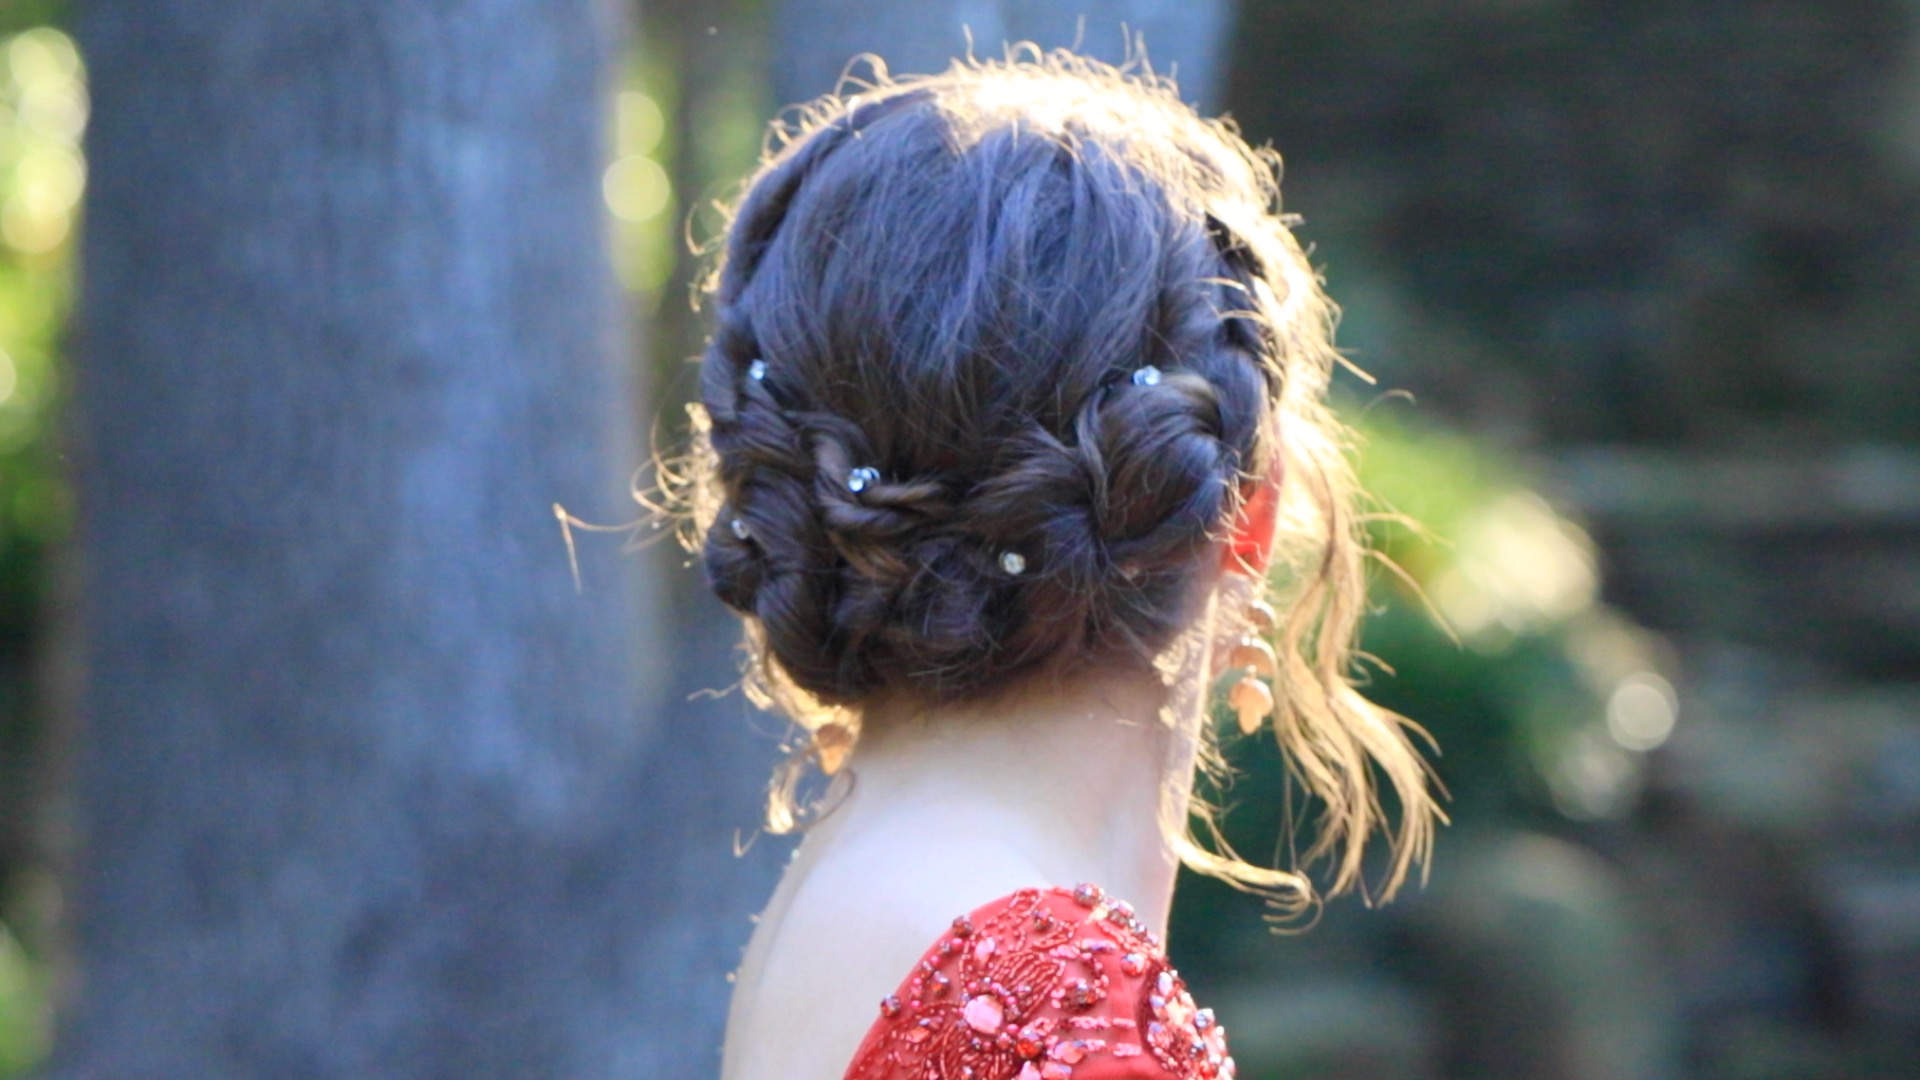
Both my girls were asked to go to Homecoming, so we sat down to plan their hairstyles, dresses, shoes, and accessories. Today’s hairstyle is Bailey’s result of brainstorming, so we will be showing you how to create the Rope Twisted Updo that she wore to last weekend’s Homecoming dance. Bailey told me that she wanted something with twists rather than braids, so the below is what we came up with.
To see your own photo recreations of this style featured in our app, feel free to tag your photos on IG with: #CGHRopeTwistUpdo
We have shown you how to make Rope Twists here before, but this updo uses simple ones and a large lace rope braid, which gave us the ultimate look that would be perfect for a wedding, Homecoming, Prom, or any other formal occasion. You can wear this dressed down for work, or by simply adding accessories… this hairstyle can go from from simply beautiful to exquisite!
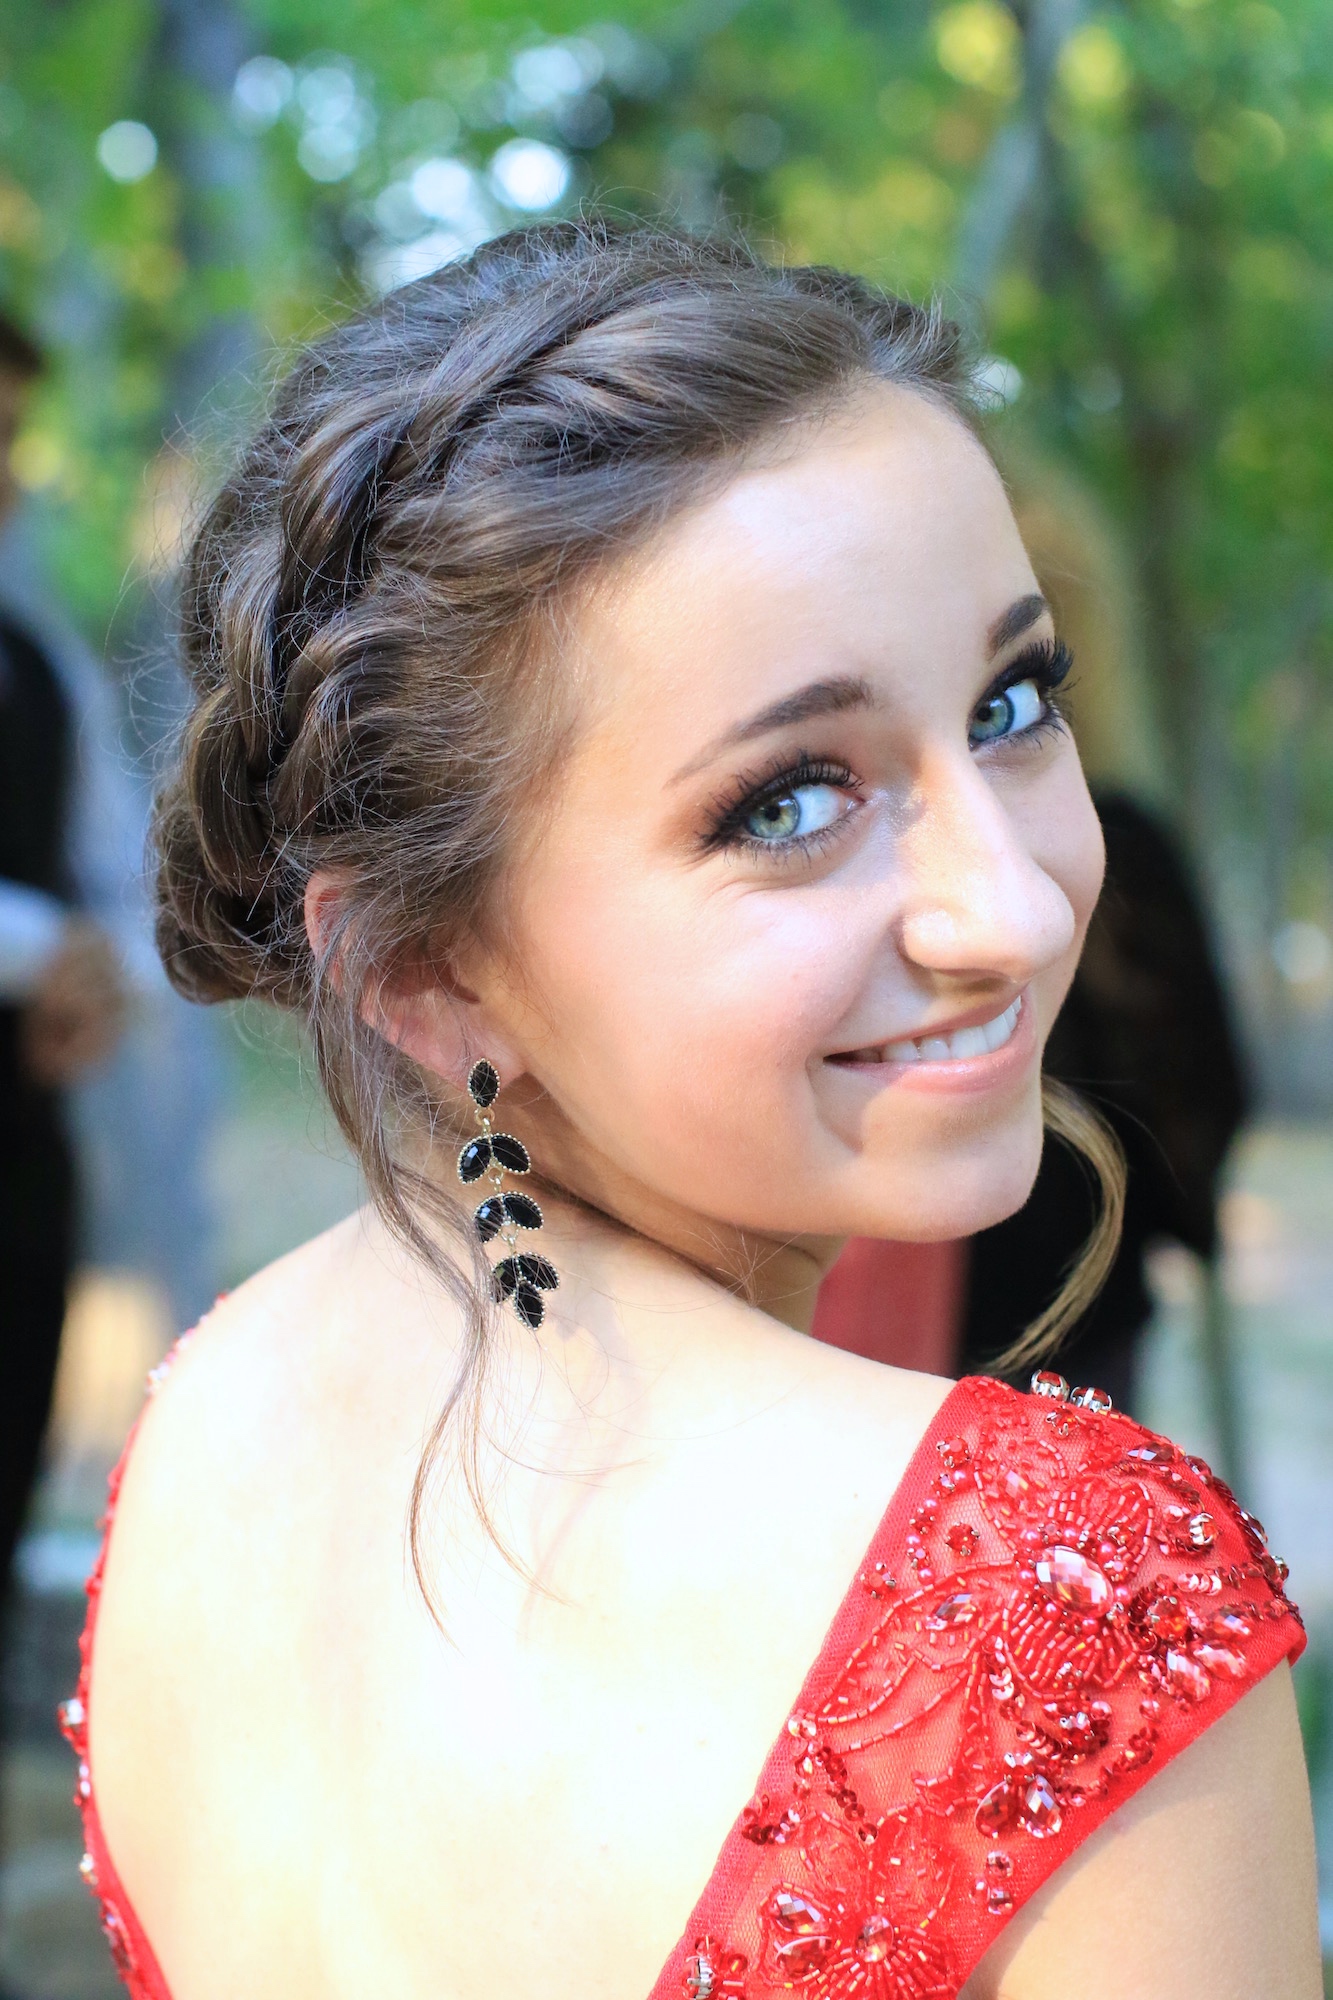
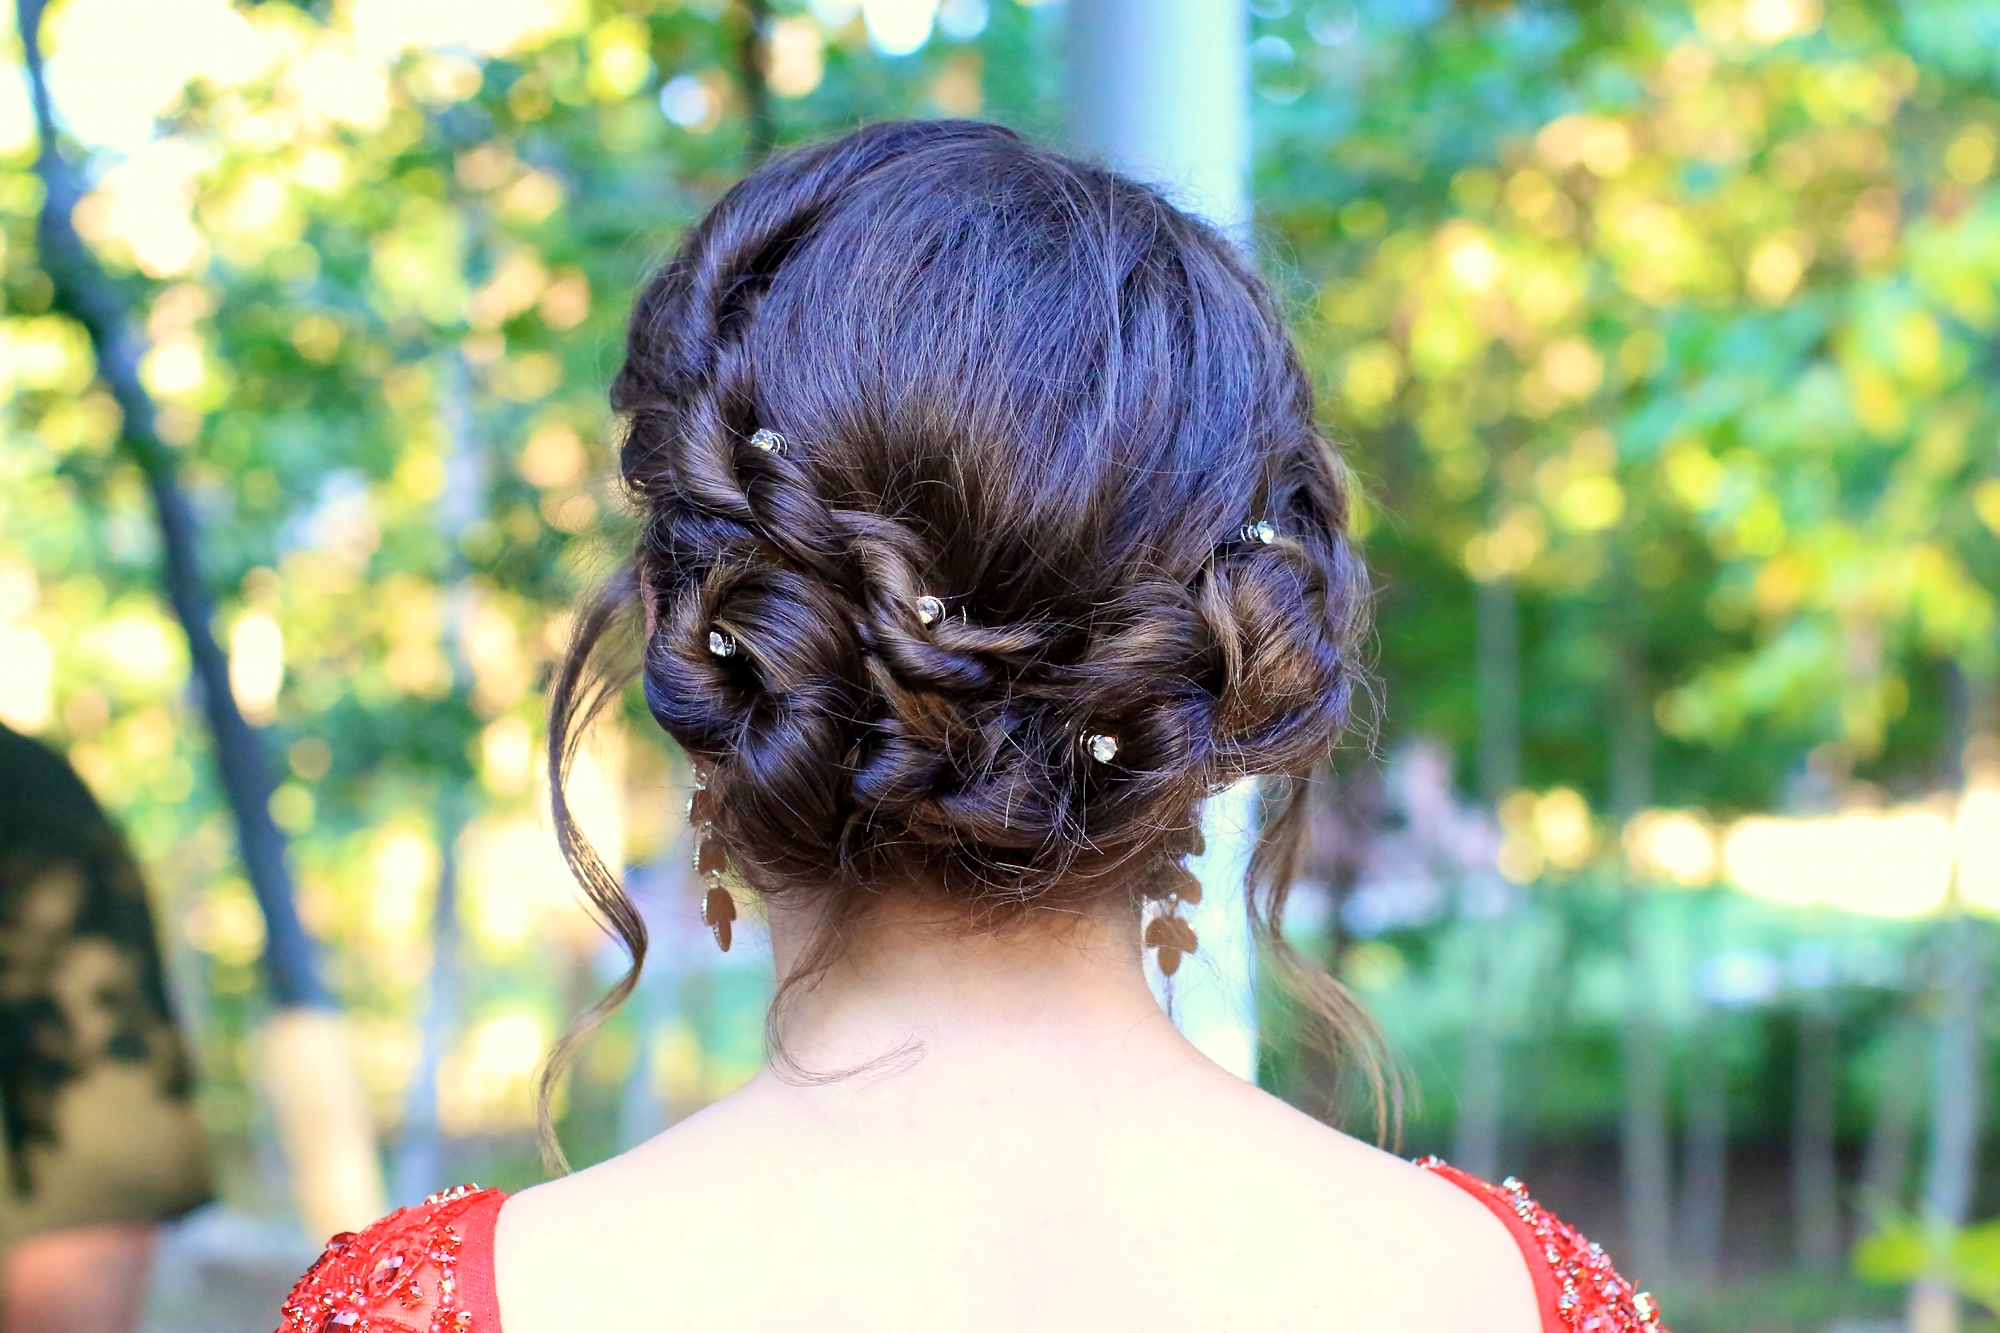 Bailey received several compliments all day, and especially as she and her group of friends and dates went to dinner and then the dance.
Items Needed: Undo prep, brush, rat-tail comb, spray bottle, 3 small hair elastics, 10-12 bobby pins, accessories and hairspray {if desired}.
Time Requirement: 10-12 minutes {not including prep}
Skill Level: Hard
Video Tutorial:
Step-by-Step Instructions:
- Begin by prepping hair for an updo, by adding texture with curls…
- Now part the hair slightly off to one side {please do not make it a deep part, you still want most of the hair to fall towards the back of the head}…
- Pick up a section in the front near the right of the part line, and divide it into two sections…
- Begin a lace rope twist {by twisting both strands toward the back of the head, and then wrap them around each other towards the front of the head}…
- Continue to add in hair on the bottom as you create the lace rope twist, going back every few stitches to puff out the elbows of the rope braid {follow the hair line down behind the ear and then around the back of the head, and feel free to bobby pin along the way}…
- When you get to about the mid point on the head, stop adding in hair and finish the hair with a simple rope twist and secure with an elastic…
- On the opposite side of the head, pick up a small section near the part line and divide it section into two strands and rope twist these together {do not add in hair} and secure with an elastic…
- Repeat Step #7 for another rope twist just below the one you just completed…
- Now, gently twist these two twists on this side together {you may need to pin along the way, adjusting your twists to your your preference}…
- You should now have one section of hair left that is mostly the ends of all the twists.
- Gather these ends together and divide into two strands, and then twist these sections together and wrap it all up into a bun shape, securing into place with bobby pins {adjust to your preference by loosening or adding bobby pins as needed}…
- Add accessories or hairspray {as desired}.
Please leave a comment below telling us if you would like to see a tutorial on how to prep hair for an elegant updo!
Happy Hairstyling!
If you would like to see BrooklynAndBailey’s Fall Fashion Lookbook, using a little old, new, and borrowing from my closet, be sure to click below!


Gonna wear that tomorrow:)
I love this hairstyle !
This is beautiful! I’m thinking of doing thing for my prom in a couple of weeks!
This is so beautiful! It looks so elegant and yet it does not look overdone! Perfect combo 🙂
So easy and yet it looks so gorgeous. Will wear that for an upcoming wedding
I’d REALLY love a video showing how to prep for this kind of hairstyle!
I love this updo!!!! It’s so AMAZING!!!!!
Such an amazing and elegant look, but i still haven´t managed to do it myself yet!
So soft looking ❤️
this is such a cute hairstyle! i love it so much that i wore it to my school dance a couple of weeks ago. i got lots of compliments on it 🙂
this is one of my favorite hairstyles
This is my favorite, but I can never manage it myself!