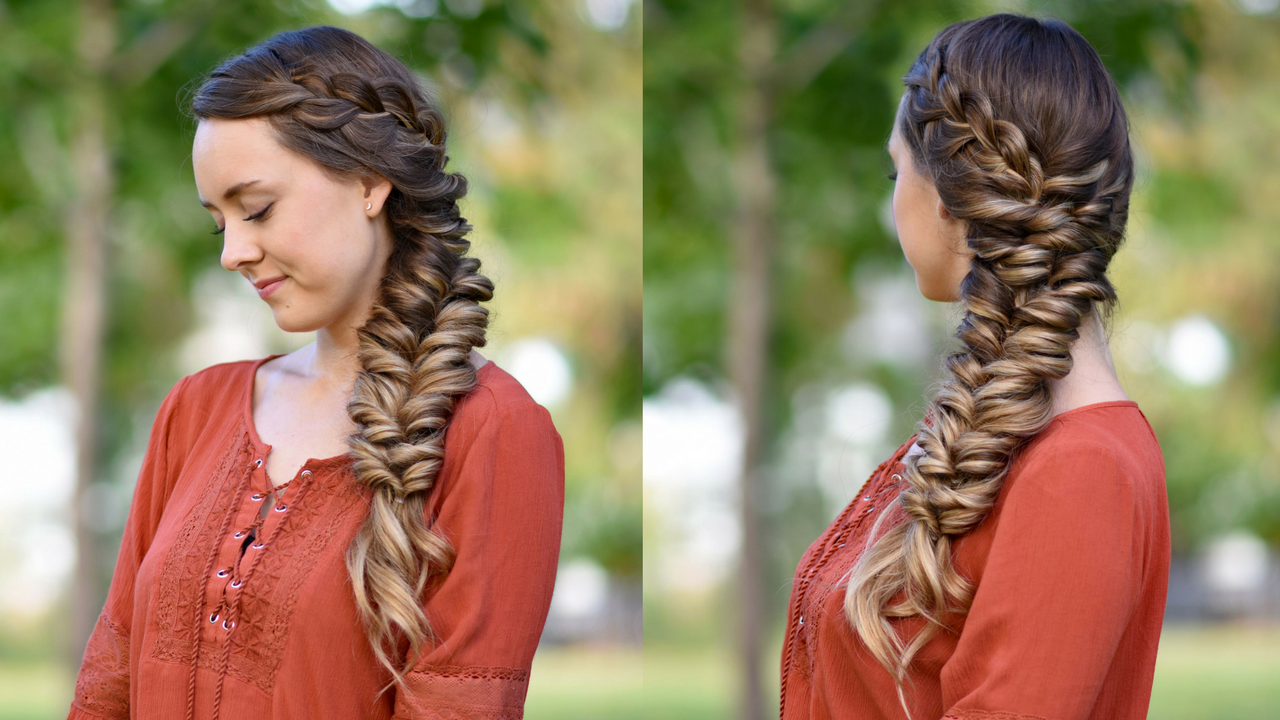
This hairstyle is one of my very favorites! It is easy enough to be an everyday look but fancy enough to use for a romantic date or a holiday party!
It looks complicated but is super simple! I know you will love it as much as I do! All you need are a few elastics to create this beautiful Side Elastic Braid!
 To see your own photo recreations of this style featured in our app, feel free to tag your photos on IG with: #CGHElasticBraid
Items Needed: Brush, rat-tail comb, small hair elastics, hairspray {if desired}.
Time Requirement: 5-10 minutes
Skill Level: Medium
Step-By-Step Instructions:
- Part your hair on the side. On the heavy side, pick up a section of hair and divide into three sections. Create a regular 3-strand braid.
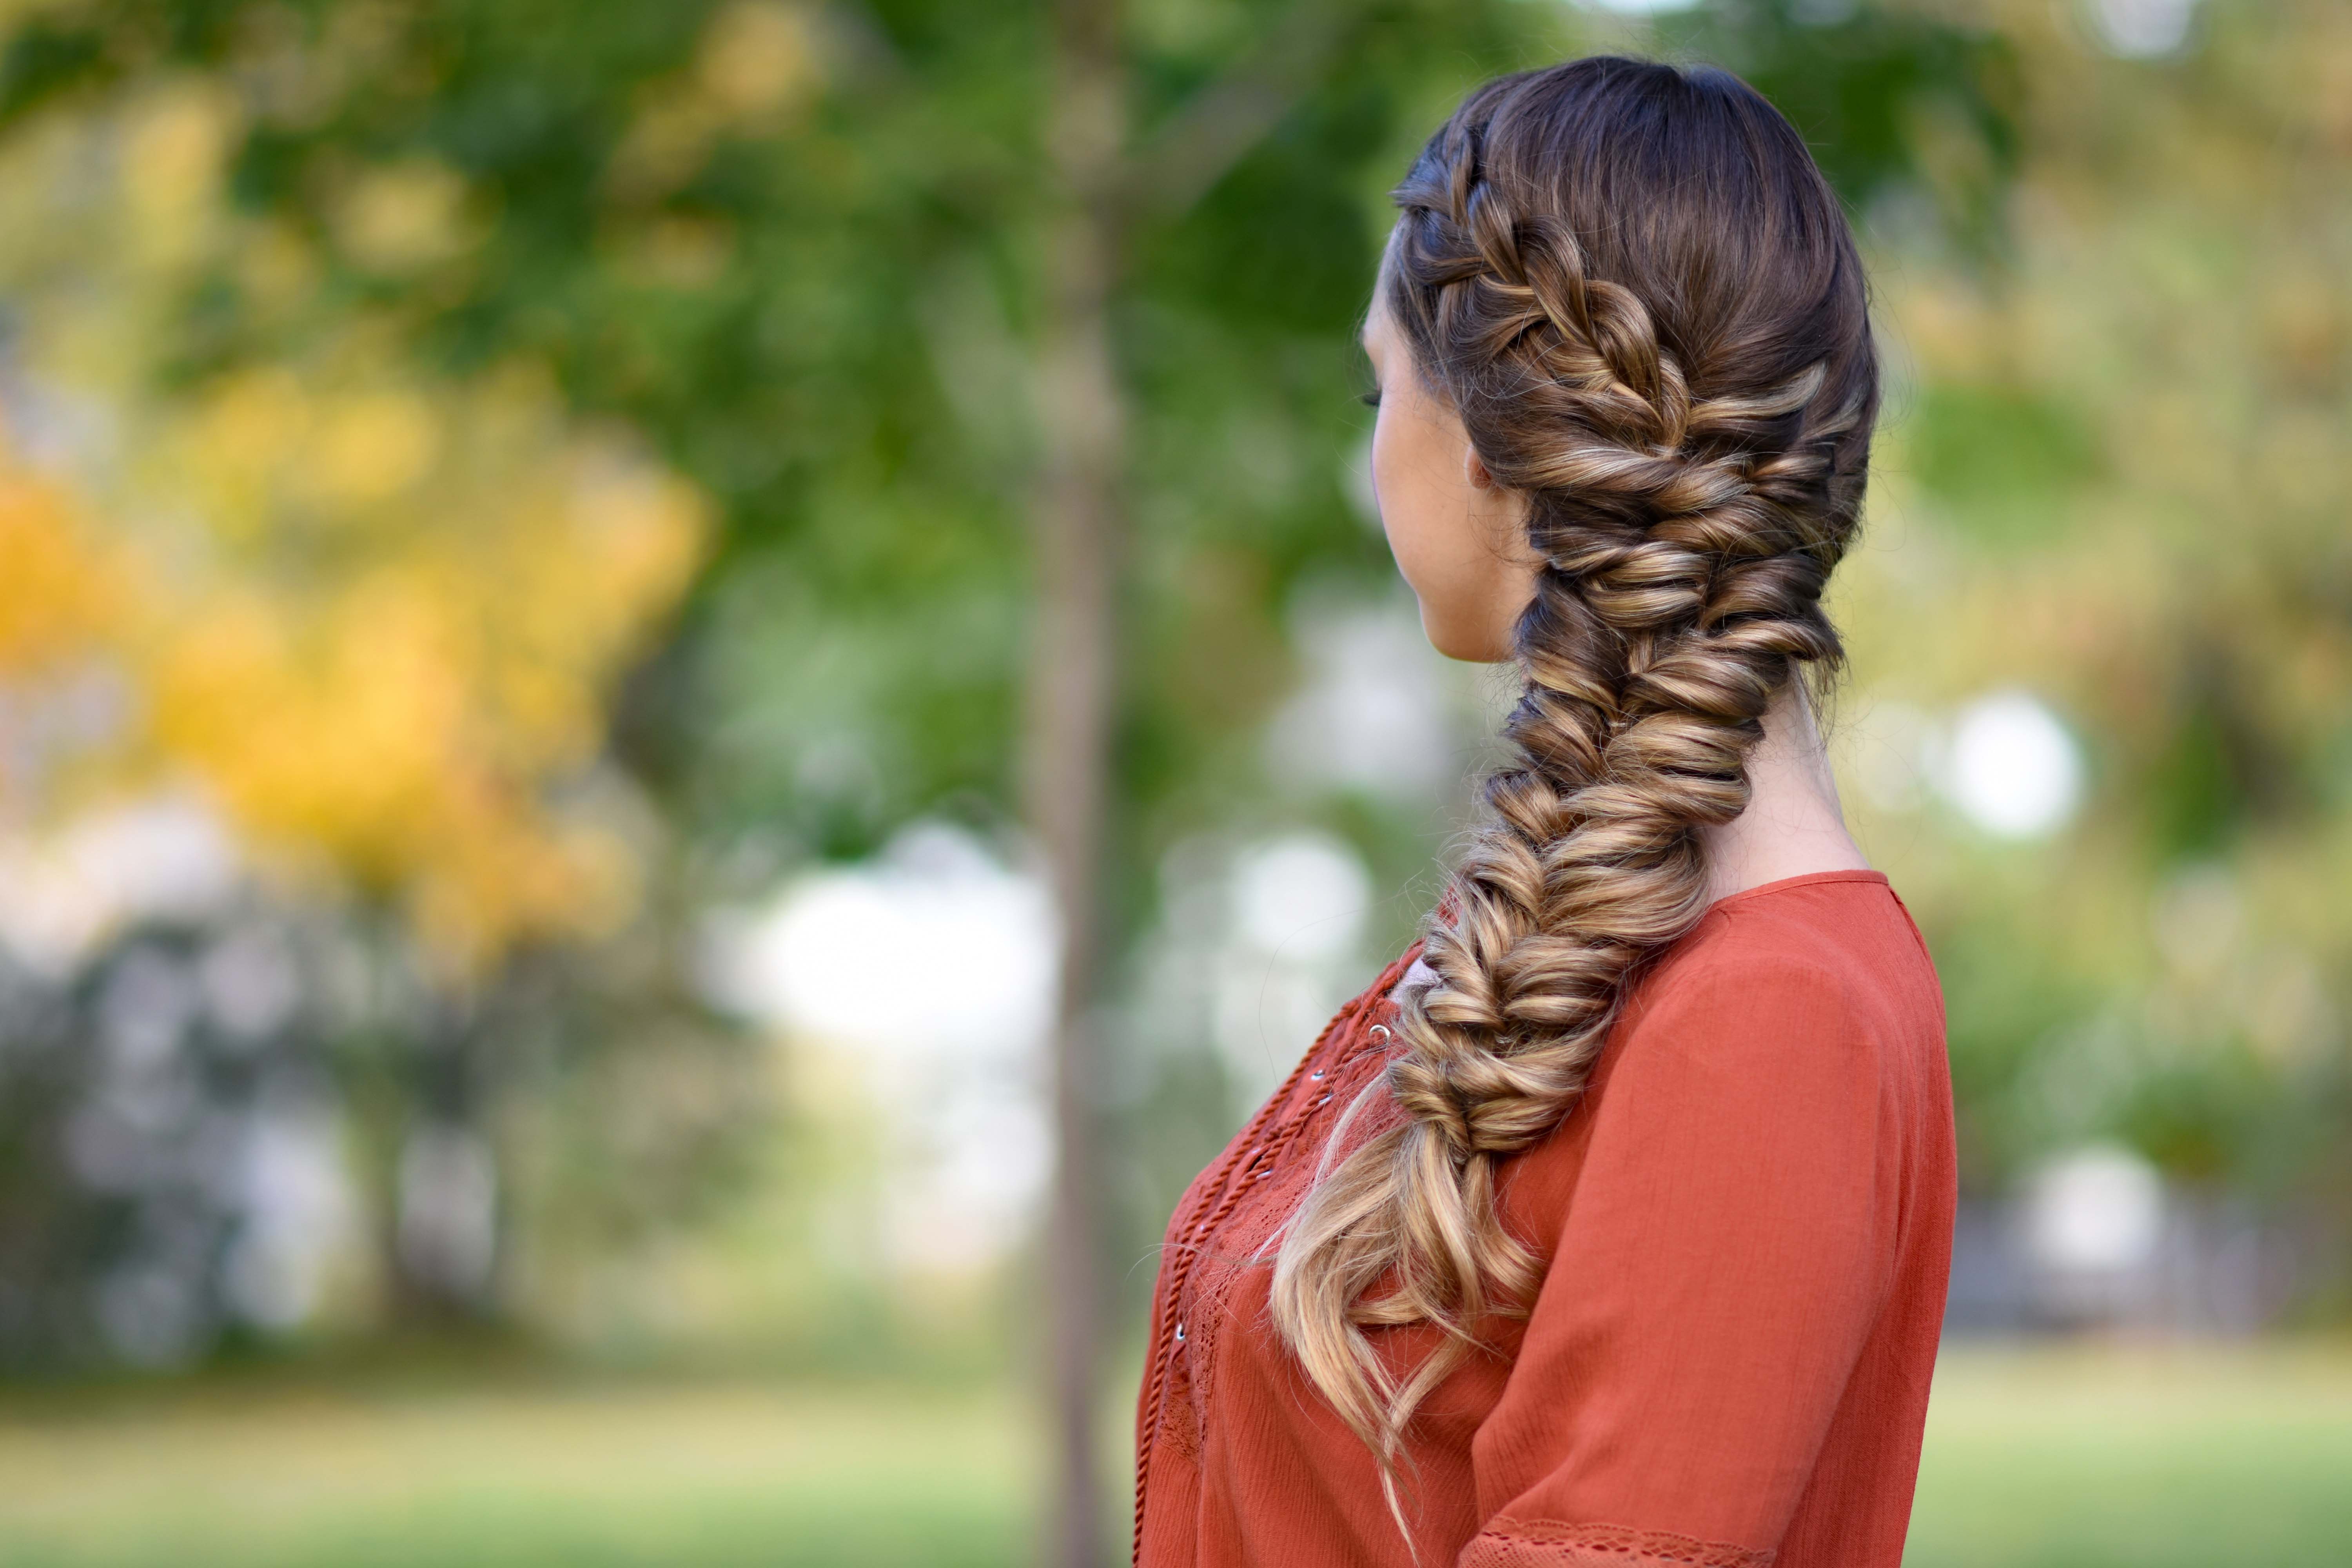
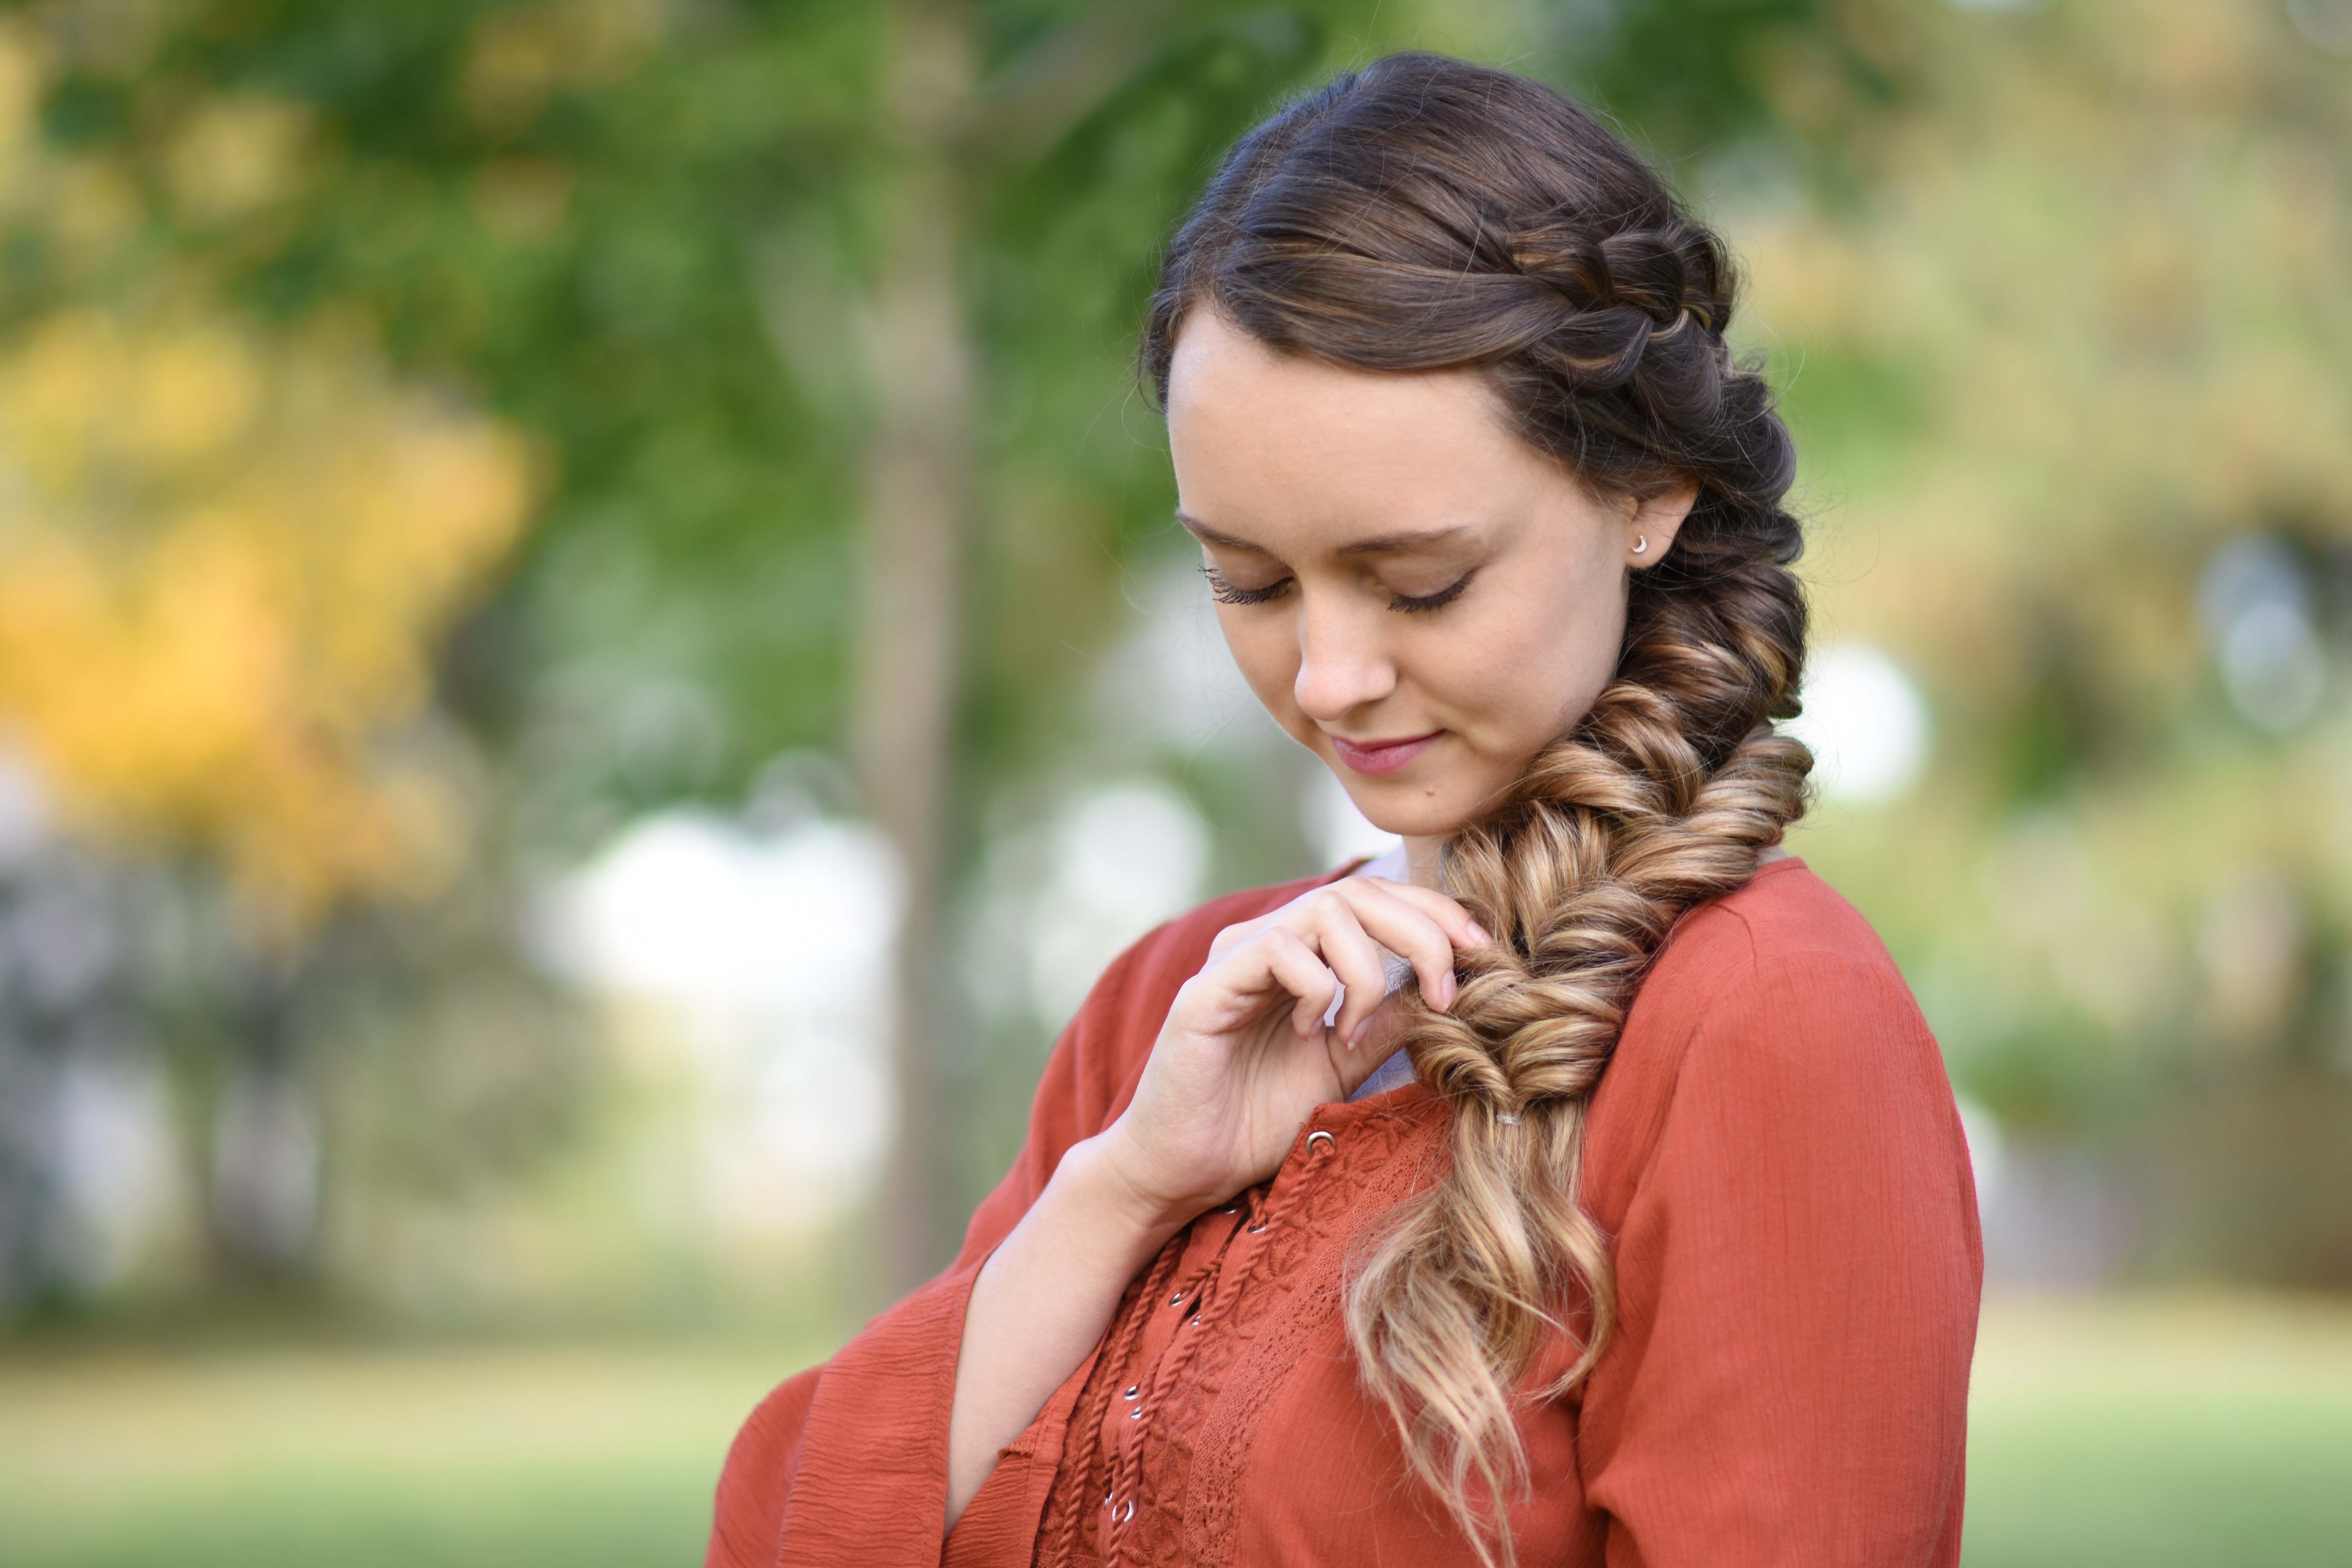
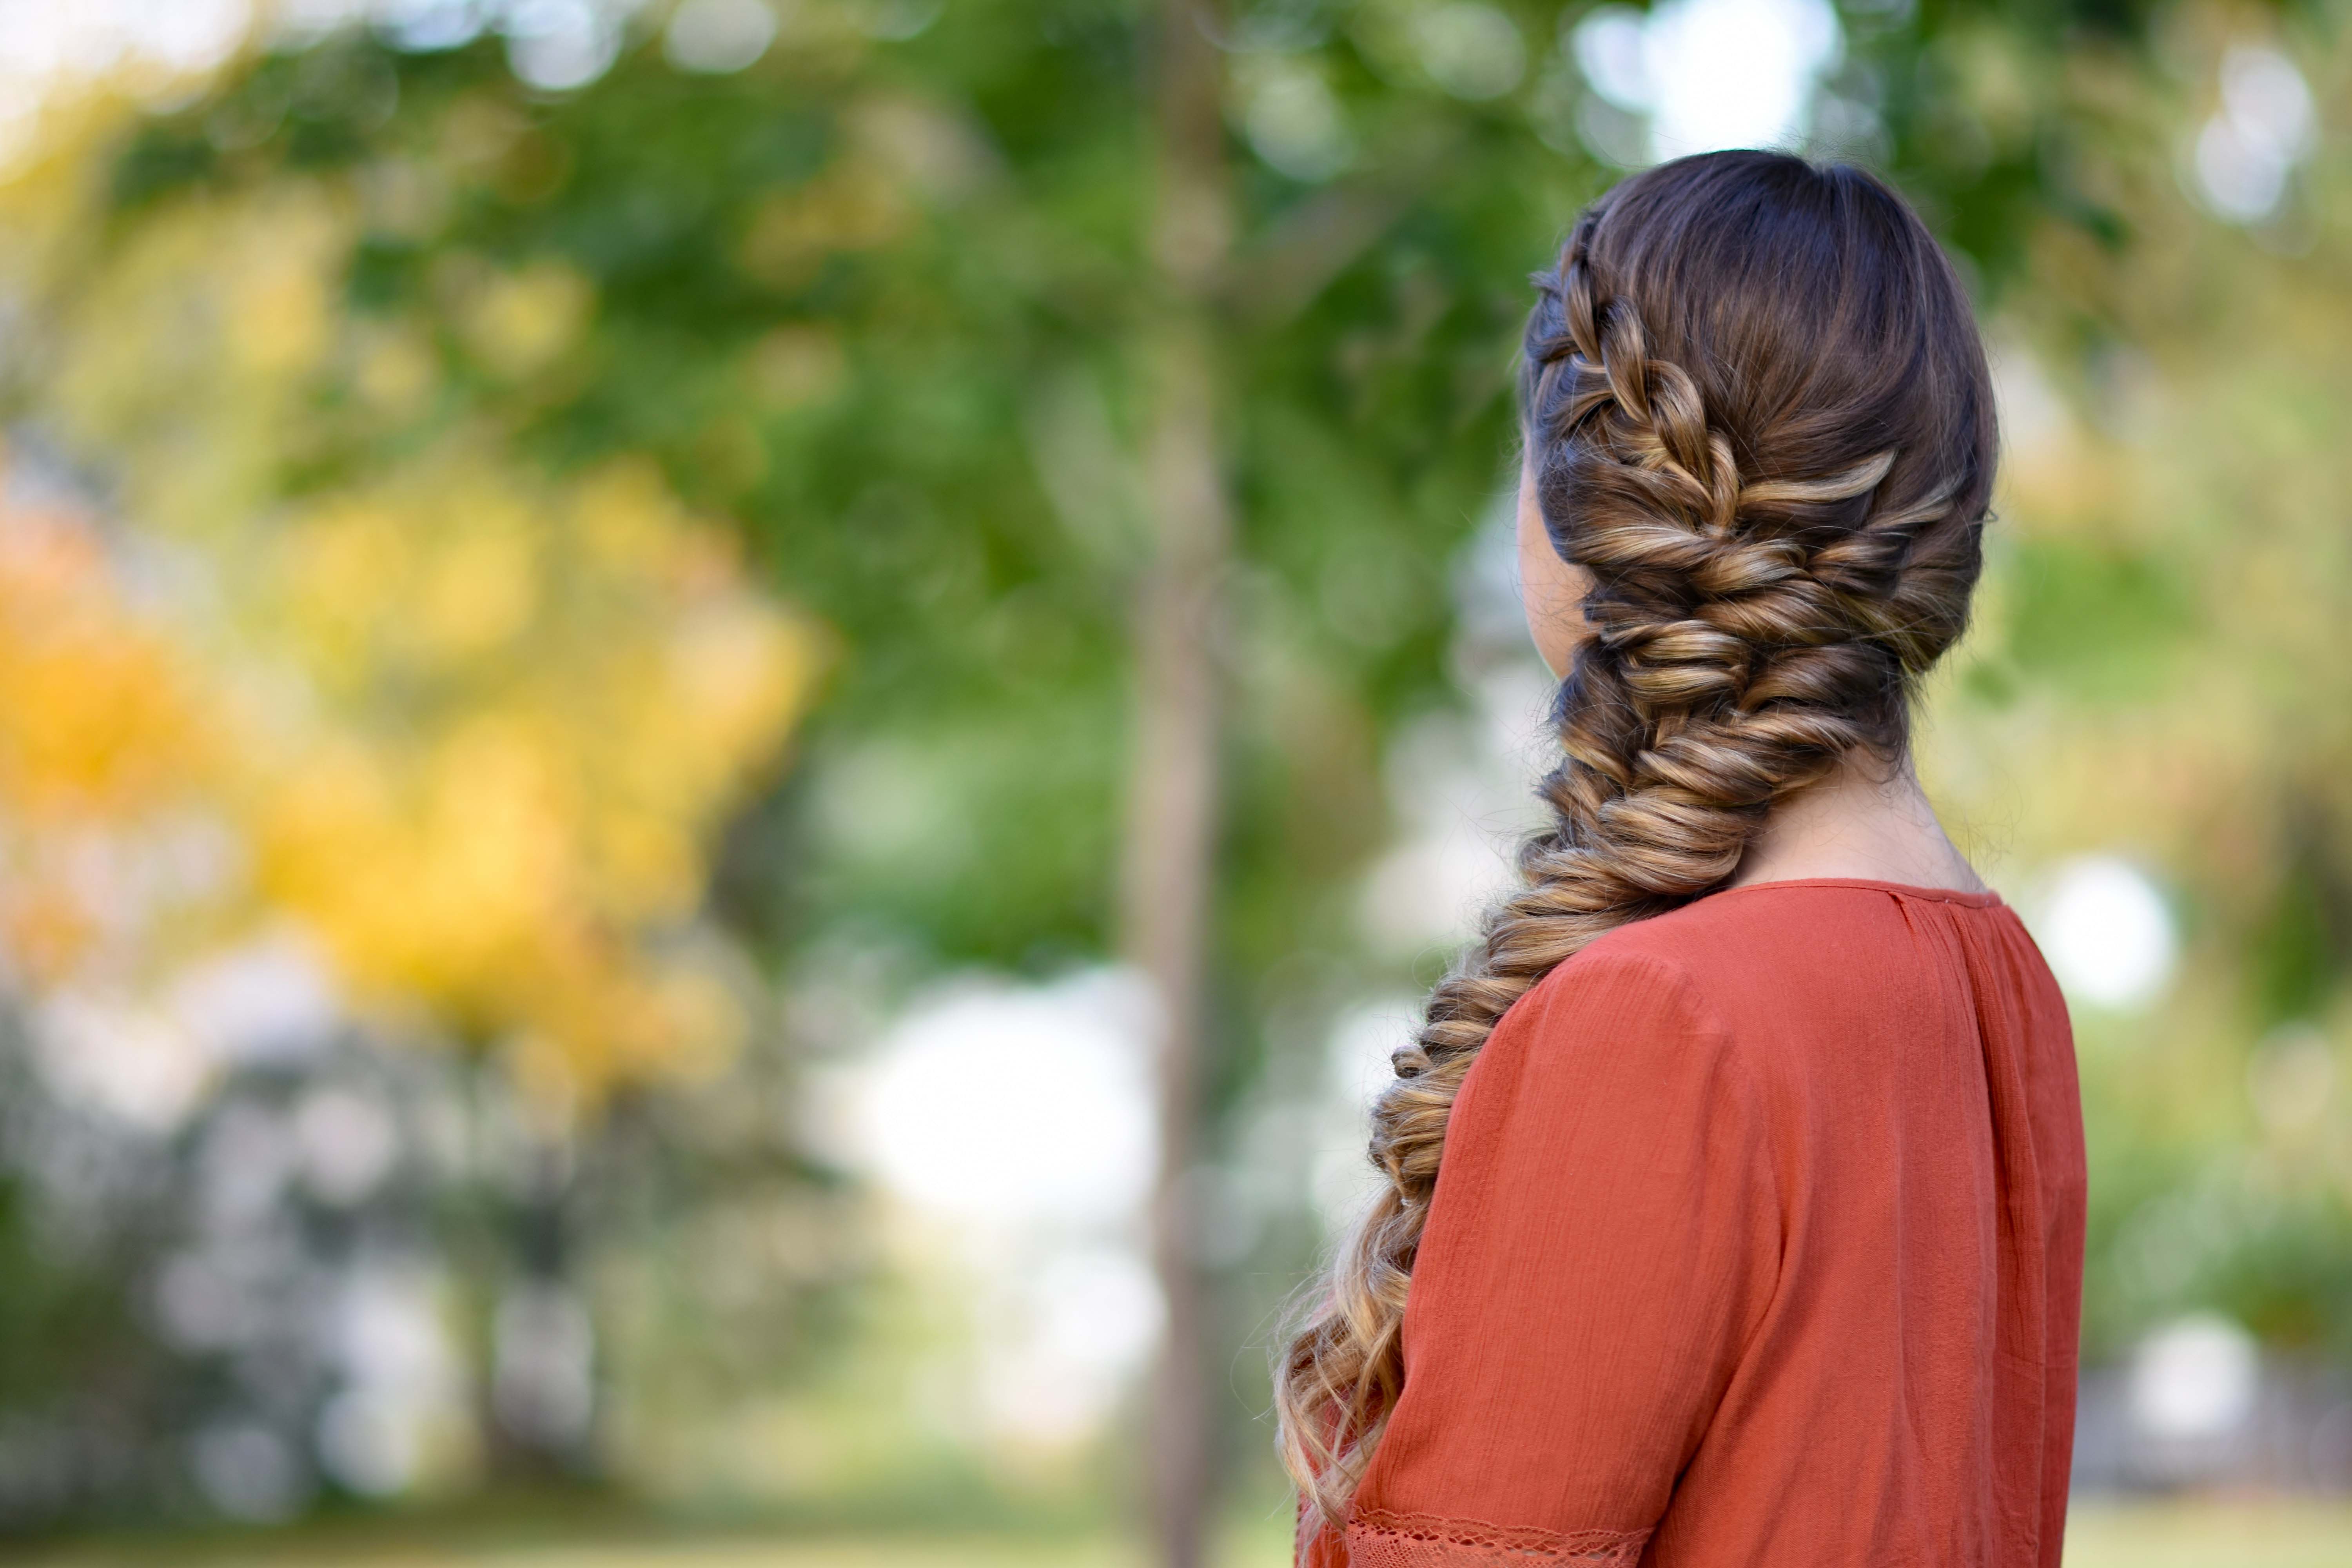
- Go back and generously pancake your braid. When the braid is long enough to reach the back of the head, secure with a small elastic.
- Pick up a medium section of hair from the back of the head. Twist it, then add the 3-strand braid and secure together with a small elastic. You want your elastic to lie just to the side where your braid will sit.
- Tug on your twist a bit to give volume. Remove the first small elastic you used on the 3-strand braid.
- Pick up a small section of hair below your twist and another section of hair below your braid. Pull them back, combine them and secure with a small elastic. Your front piece of hair should cover the first elastic you have in place. And this new section should sit just behind the first.
- Pick up the ponytail you just created and flip it up and through the middle of the two sections. (see video for further details.)
- Go back and tug on your twist to create more volume.
- Pick up two more sections of hair below your last two. Bring them back and secure closer to the ear/front with a small elastic.
- Flip your ends up and through the middle of your two strands and down.
- Go back and tug on your twists to create more volume.
- Continue steps 5-10 all the way down until you run out of hair.
- If any of your elastics are showing, you can use a bobby to hold hair in place to cover.
- Tug/pancake, make any adjustments needed.
- Finish with hairspray {if desired}.
This week on Brooklyn & Bailey… “Our House Tour!”
This week on Kamri Noel… “The Poopyhead Challenge”!