Today I decided to pull out some of my favorite hairstyles that would be perfect for your Holiday Parties! This…
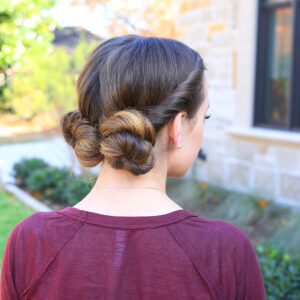
Twisty Buns

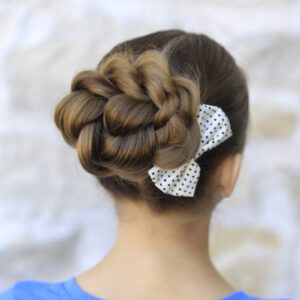
Today we have a simple dutch braid combined with a few “toddler proof” tricks to help your hairdo stay in…
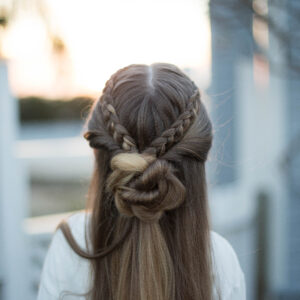
I am in love with this darling combo hairstyle! It consists of braids, a twist, flips, and a bun. I…

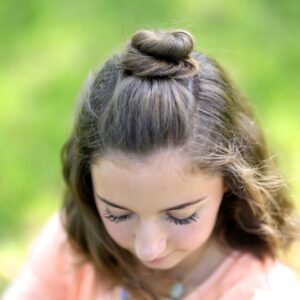
Brooklyn’s Double-Bun Half-up & Hair Hack
Today, Brooklyn agreed to teach us how to create her new “go-to” hairstyle. She says this is her favorite she…
This hair tutorial is a throw back all the way from my 2002 photo album. I love how easy and…

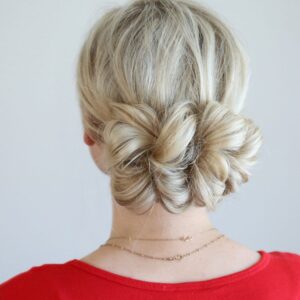
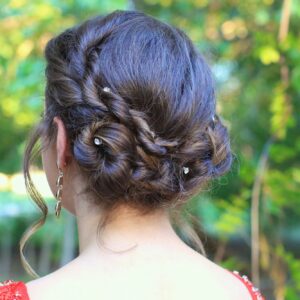
Easy DIY prom hairstyle for girls with short to medium hair with layers
Hello! Glad to be back this month with some prom hairstyle inspiration for you! This up-style is lovely, romantic, elegant…
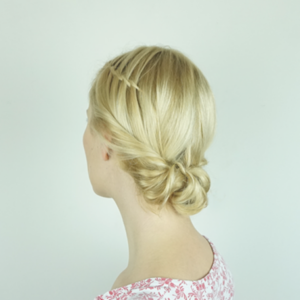
Easy DIY Hairstyles for Spring
Hi Lovelies! Ania from Hairs Affairs here again and I’m happy to be back! Spring is officially here! I love this…
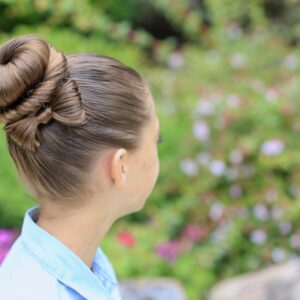
Rope Twist Updo | Homecoming Hairstyles
It is Homecoming season for high schools and universities, so we are going to show you a beautiful updo perfect…
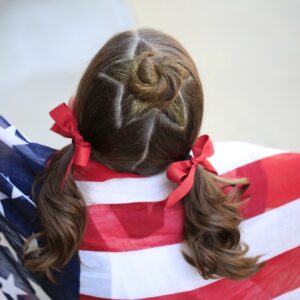
The Star Bun Combo | 4th of July Hairstyles
Please feel free to nominate both CuteGirlsHairstyles & BrooklynAndBailey for a 2015 Streamy Award if you’ve loved our videos and…
Hi everyone, it’s Bailey, and today it’s my turn to give you a tutorial! This Half-Up Bun hairstyle is on trend right…
I’ve been wanting to feature this week’s tutorial for a long time! It combines features we have shown you how to…
Rope Twisted Bun | Hairstyles for Prom
Today’s hairstyle tutorial is part of our Prom series, where we show you cute hairstyles you can wear to your…