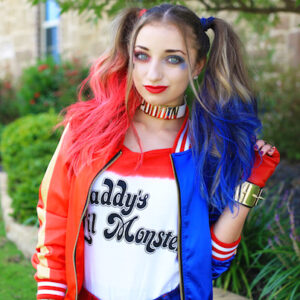
This year is sure to see many Harley Quinn costumes. She is a fan favorite from the popular Suicide Squad…
Holiday
Page 4 of 17
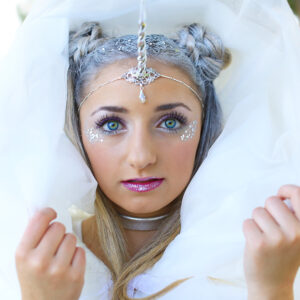
Unicorn Half-Up | DIY Halloween Costume
The unicorn is a breath-taking animal. Who wouldn’t want to be described as rare, beautiful or majestic? There was something…
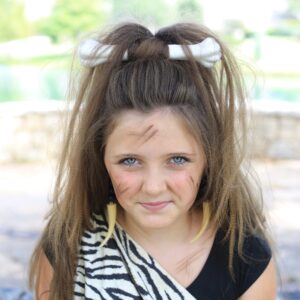
Cave Woman Half-up | Halloween Hairstyle
Halloween is one of our favorite Holidays on CGH! We are super excited to share some new ideas for 2016.…
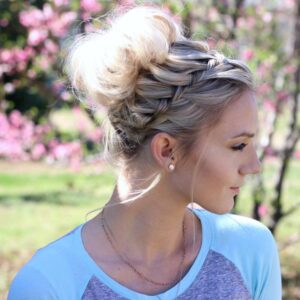
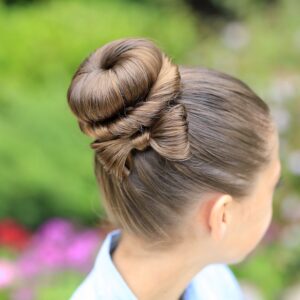
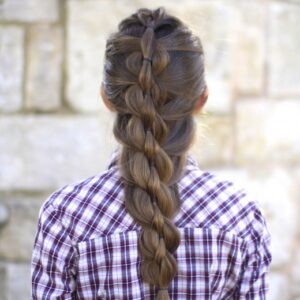
Everyone loves the Waterfall Braid! And a great bun is in the love column as well. Put them together and you…
Every year about this time I get major hair envy because it seems like everyone I know is going to…
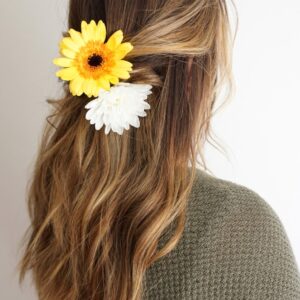
5 Pretty Hairstyles for Easter!
On Easter Sunday we celebrate re-birth and new life. We say goodbye to winter and hello to spring! Easter marks…

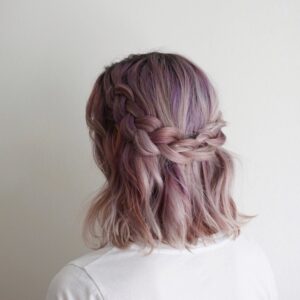
How to Create a Faux Fishtail Crown Braid
I think that this Faux Fishtail Braid Crown is absolutely stunning! We’ve shown you how to use this faux braiding…

If you love tiebacks and braid backs, this hairstyle is for you! I love that this hairstyle is so simple…

3 Romantic Hairstyles for Valentine’s Day
Hello Lovelies! So happy to be back with some love in the (h)air inspiration for you this month! 😉 We’re…
5 Ways to Wear Shoulder Length Hair
If you’re anything like me, chances are you chopped all of your hair off sometime in the past year as the…

Rey’s Triple Buns | Star Wars Hairstyles | The Force Awakens
For this week’s tutorial, we’ll show you how to create Rey’s Triple Bun hairstyle from Star Wars Episode VII – The Force…
Be sure to subscribe to our NEW MillennialMoms YouTube channel! For a few years now, moms have emailed in to ask me why…