
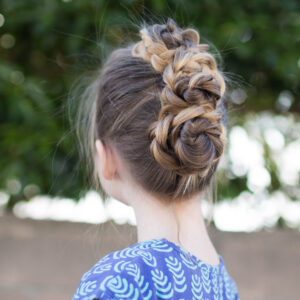
Today we have a simple dutch braid combined with a few “toddler proof” tricks to help your hairdo stay in…
Skill Level
Page 4 of 42

Don’t we all love a good boho hairstyle? Today we are sharing a great one that is perfect for homecoming,…
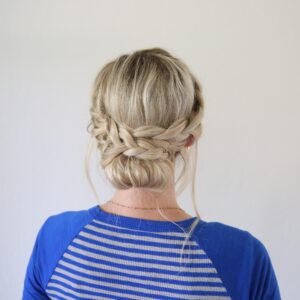
This week we have a very pretty French Lace Braid Updo. It is an elegant look that is perfect for…

Today we have a cute fishtail and twist combo hairstyle to share with you. It is so pretty, simple and…

Pull-Thru braids are seriously my favorite. There are so many different ways to style one. Today we are sharing a…

Every girl needs a few “go to” hairstyles they can wear to work, school, a date, or even a special…

Girls like to have a running list of quick and easy DIY updo’s. Today we have one to share that…
If you live in a hot humid area, you know lots of easy updo hairstyles are necessary. It’s so hot…

Today I’m sharing this super cute French Braided Updo. It is perfect for a fancy event you might have coming…

We are in full swing of school and fall is right around the corner. School brings late night studies and…

School is back in session and that means we are all looking for new hairstyles! We have an easy hairstyle…

I can’t believe it’s time for school again! Time for shopping, school supplies and picking out outfits for the first…