The Bun Hawk | Crazy Hair Day Hairstyles
After filming our segment on the Anderson Cooper show, Anderson stopped by the Green Room to visit with our little…
The Bun Hawk | Crazy Hair Day Hairstyles
After filming our segment on the Anderson Cooper show, Anderson stopped by the Green Room to visit with our little…
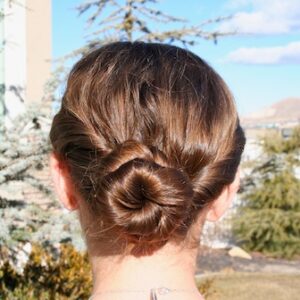
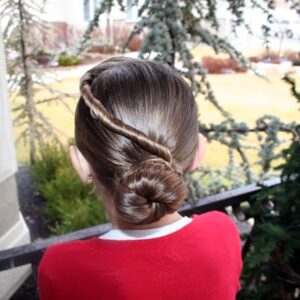
Double Twist-Around Bun | Updo Hairstyles
Here is another super cute bun hairstyle, that is perfect for girls of all ages. It is one of our…
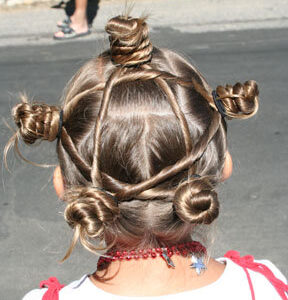
Spiral Twists | Updo Hairstyles
This is a viewer-inspired hairstyle! Cristina emailed me with a link to a YouTube video where she wanted to show…
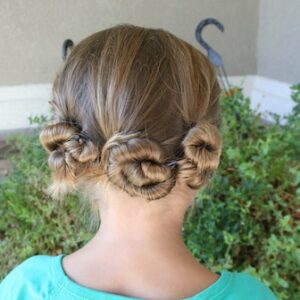
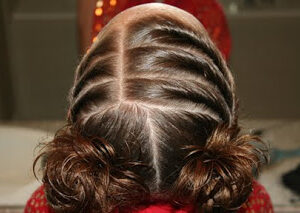
Triple Twist-and-Pin | Updo Hairstyles
As you know, I have been loving Pinterest lately as it allows many of my fans to @Mindy “MrsHairdo” me in…
This hairstyle is another quick one that can be done in under three minutes. It incorporates the use of a…
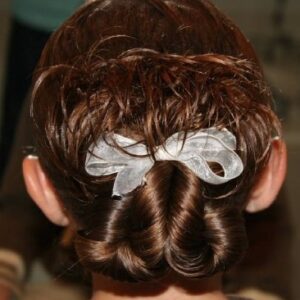
Forward Twistback into Bun | Updo Hairstyles
Interestingly enough, I found the idea for this hairstyle from an article on 2011 Hair Trends which highlights the new…
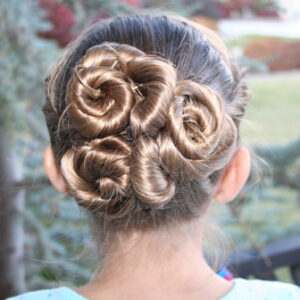
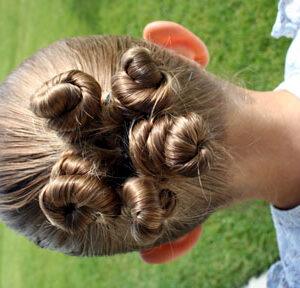
Rosette Buns | Updo Hairstyles
What I love about maintaining this website on cute hairstyles is hearing back from all of you. I feel like…
Star Twists | 4th of July Hairstyle
I had promised a few 4th of July hairstyles, but I just have not had as much time as I…
Hairstyle Video: Triple Twists into Twisty Buns
This fun hairstyle is one of the very first that I ever posted on this website, back in October of…
Triple-Bun Ponytails {Tri-Bun-Onies} | Cute Hairstyles
This fun hairstyle has turned out to be on of my personal favorites, and gets so many comments that you…
Three Quick Bun Ideas | Easy Hairstyles
Everyone has those days that require a quick and easy 2-minute hairstyle. You mothers all know what I’m talking about!…
Rosette Buns | Flower Girl Hairstyle
Here is a super cute bun hairstyle that I think you will love! To see your own photo recreations…