Today we have a great athletic hairdo to share. The #CGHbandedtwist is a combination of twists and banded ponytails.This hairdo …
Banded Ponytails
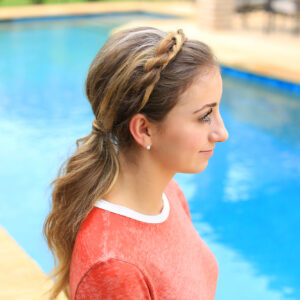
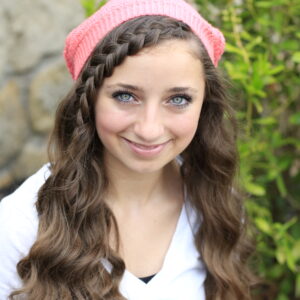
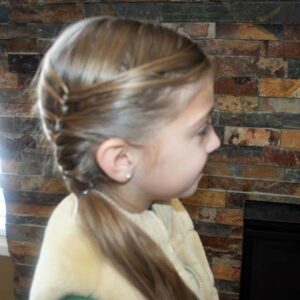
How to create a Rope Twist Headband
Today I have a quick and easy braided headband hairstyle. We are calling it the Rope Twist Headband! If you are…
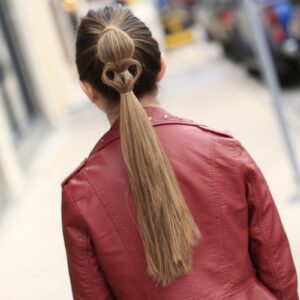
Cute Heart Ponytail | Valentine’s Day Hairstyles
It’s that time of year again, where we start seeing heart hairstyles everywhere! Just take a look at your Instagram…
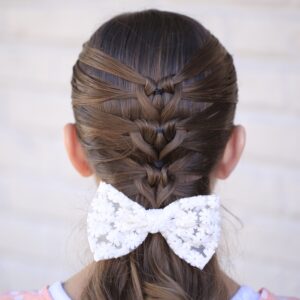
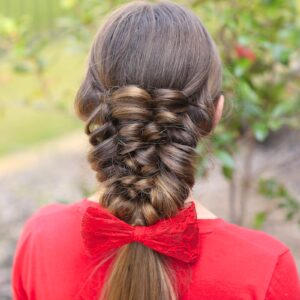
Mermaid Heart Braid | Cute Valentine’s Day Hairstyles
I can’t believe another Valentine’s Day is here! With only a few weeks to go, it is now time for…
How to Create a Banded Puff Braid
A few months ago, Alicia, my friend from high school shared a photo with me on Facebook of this hairstyle…
Miner-Inspired Hair & Beard Styles | Disney’s #8thMinerContest
One of the joys my family has, by doing what we do, is our association with Disney over the past…
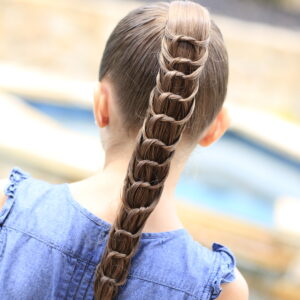
The Knotted Ponytail | Hairstyles for Girls
Our Knotted Headband hairstyle from a few years ago was such a hit, we decided to give you a similar look but in…
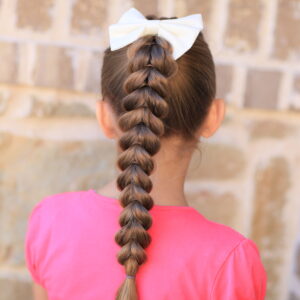
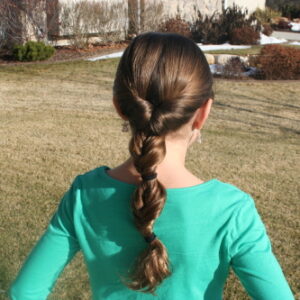
Pull-Through Braid | Easy Hairstyles
My favorite hairstyles over the years happen to be the ones that are so easy to do, but they leave…
Cute Layered Ponytail | Teen Hairstyles
I saw a ponytail hairstyle very similar to this in the mall the other day, only I elaborated on it somewhat and…
Daddy-Do Hairstyles | Triple-Flipped Ponytail
Hi Ladies, I think you will love this one! This was the very first Daddy ‘Do hairstyle that my husband…
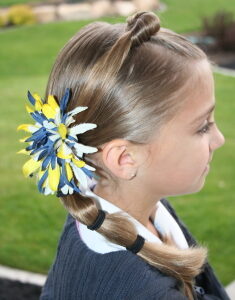
Top Knot into Banded Side Ponytail | Cute Hairstyles
Here is one of our hairstyles we documented a long time ago but we received a request over the weekend…
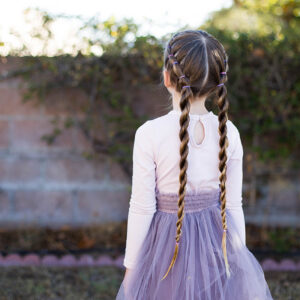
Rows of Three | Cute Hairstyles
*Note from Mindy: Congratulations to Kenzie for being our January’s Hairdoer of the Month!!! She just turned 13 last month,…