Easy Valentine’s Day Hairstyles | DIY Hairstyles
Today I’ve put together a compilation of 3 of my favorite Valentine’s Day Hairstyles from CGH! What I love most…
Easy Valentine’s Day Hairstyles | DIY Hairstyles
Today I’ve put together a compilation of 3 of my favorite Valentine’s Day Hairstyles from CGH! What I love most…
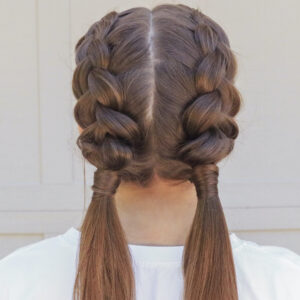
Bailey’s Mini Fishtail Braids | DIY Bandana Hairstyle for Short Hair
Any of you short-haired people out there will know the struggle when it comes to creating cute braids on your…
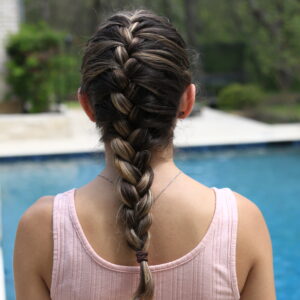
How to French Braid | Back to Basics 101
In order to become a skilled hair braider, you absolutely MUST know how to properly French Braid! Today, I’m going…
3-Strand Pull-Thru Braid | DIY Easy Hairstyles
Today, I’m going to be showing you guys an adorable DIY hairstyle. Every time that I wear this 3-Strand Pull-Thru…
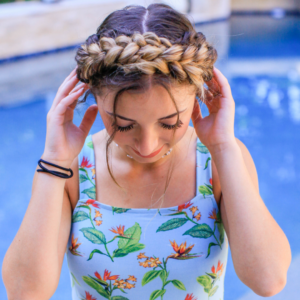
Milkmaid Braids DIY | Ft. Brooklyn McKnight
No one loves the milkmaid braids more than Brooklyn! It’s always been her go-to hairstyle whether she’s in a rush…
Easy Back to School Hairstyles | Do It Yourself
It’s that time of the year again – the beginning of the school year! Whether you’re in the comfort of…
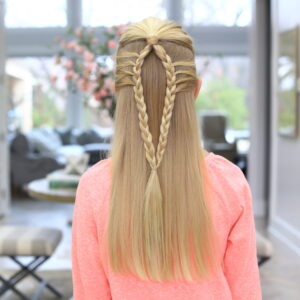
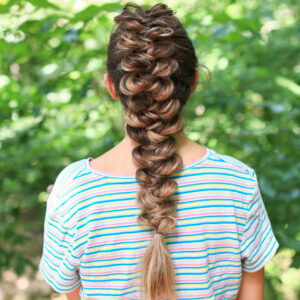
Mermaid Loop Braid | Easy Braided Hairstyles
Whimsical and versatile are exactly the words to describe the Mermaid Loop Braid. I absolutely love this look for so…
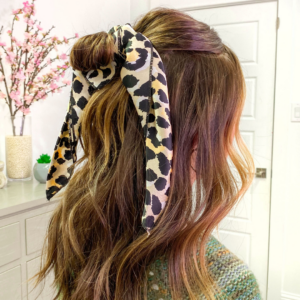
My favorite thing about scarf hairstyles is that they’re so easy to do, and they add style to your hair!…
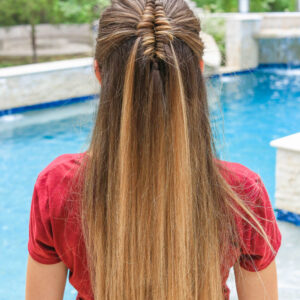
French Wrap Braid | Summer Hairstyle
As you know, the sweat-inducing summer heat gives anyone more reason to pull their hair back, out of the face,…
Double Dutch Wrap | Easy School Hair
Let’s be honest, “long hair, don’t care” only works when you’re not hanging out in 100°F weather. Fear, not my…
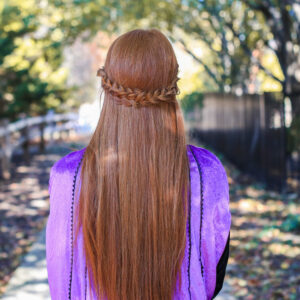
Diamond Infinity Braid | The Perfect Summer Look
You know the Cute Girls Hairstyles squad and I are always on the lookout for fresh styles. One day, while…
Frozen 2 Anna’s Double Braid-Back
I still can’t believe it’s been six years since Frozen first premiered in theaters. My kids seemed so little when…